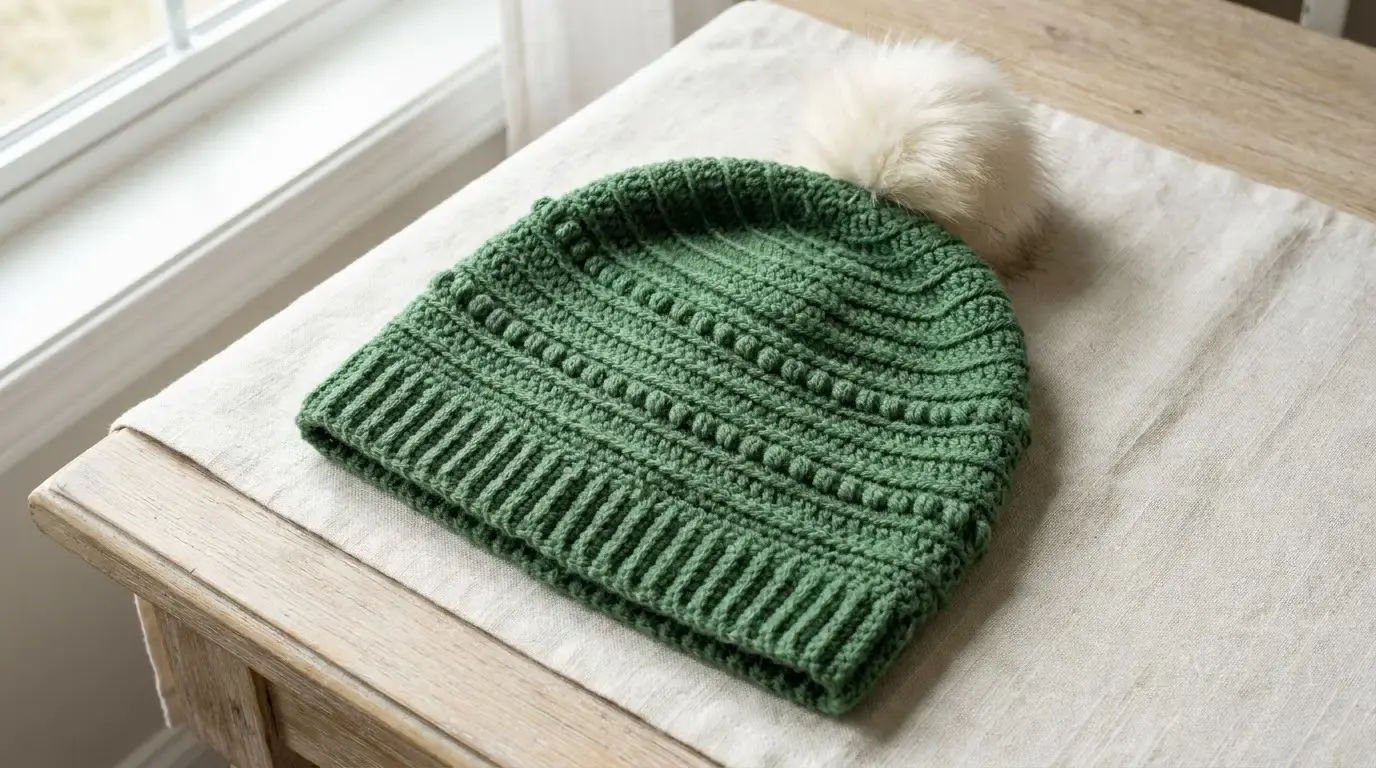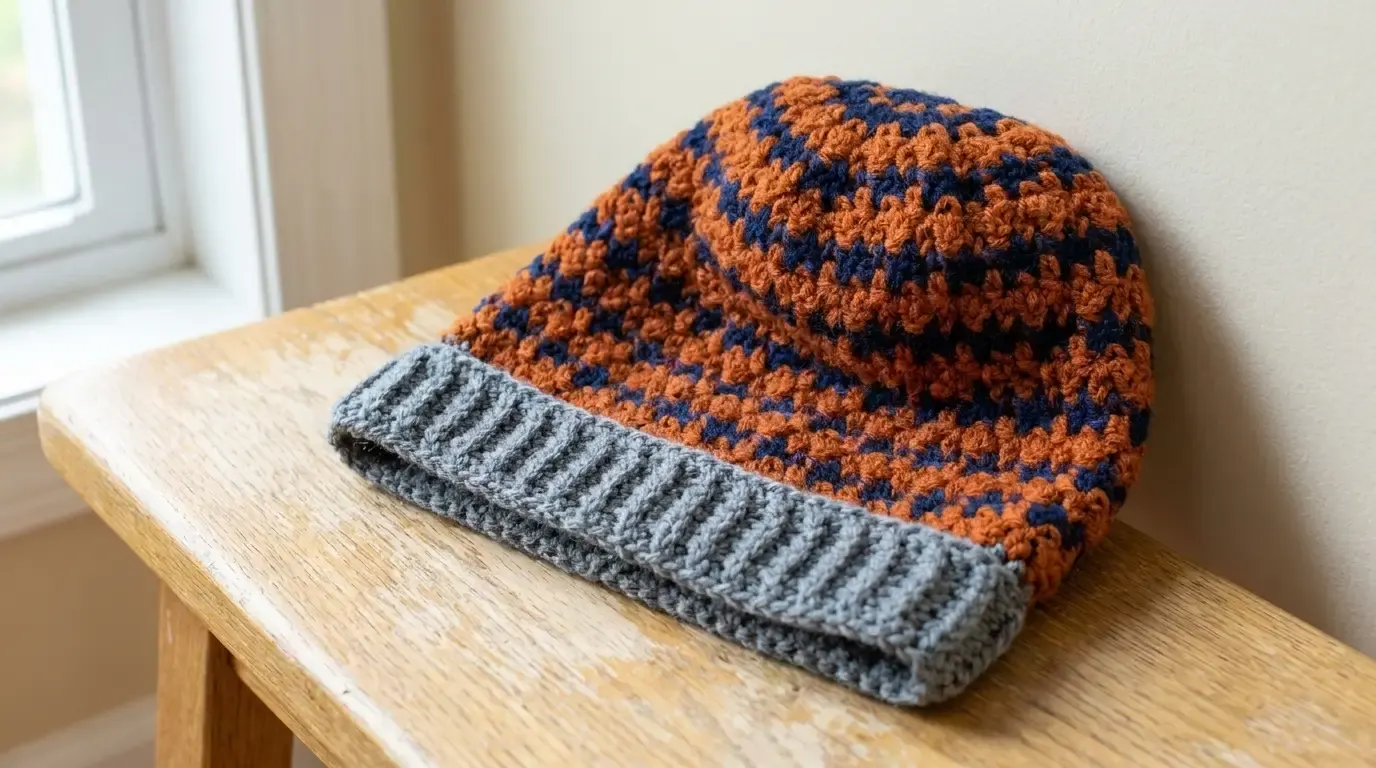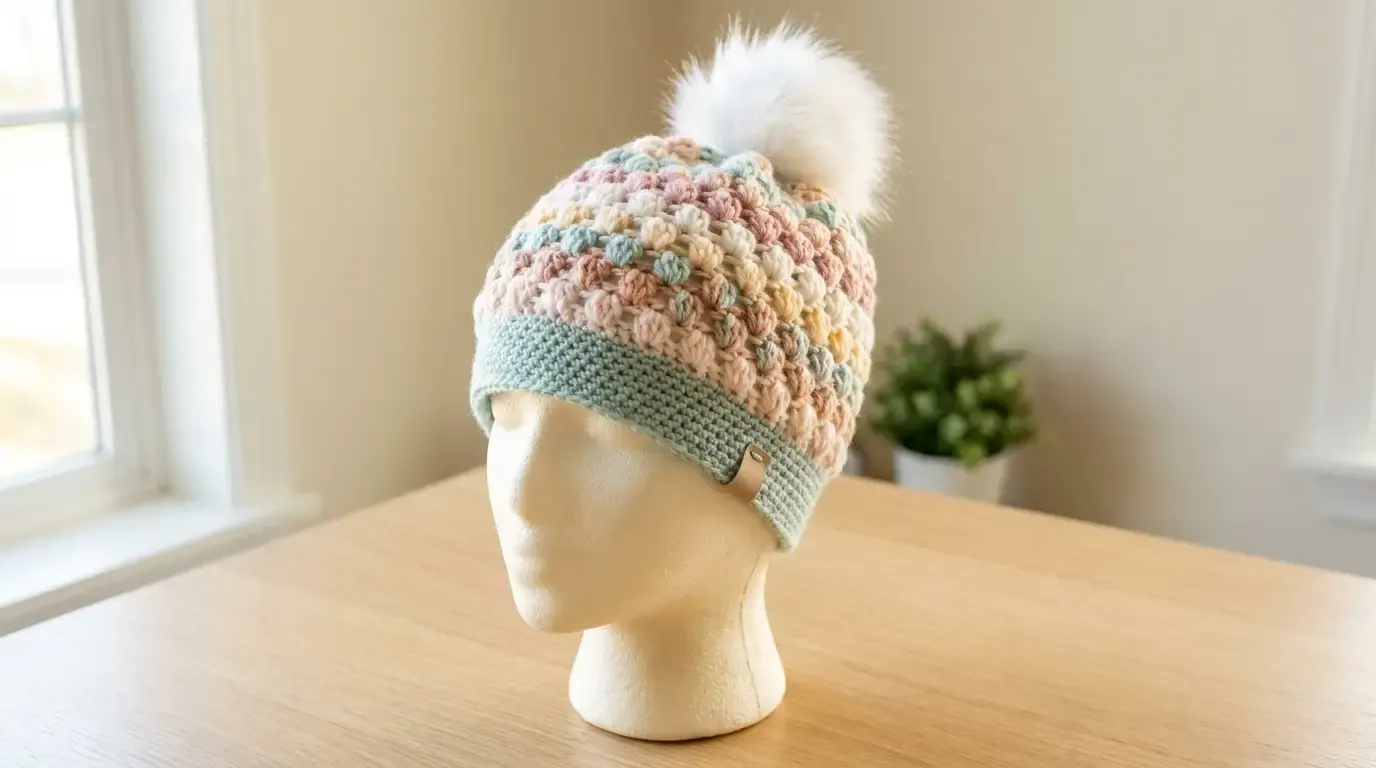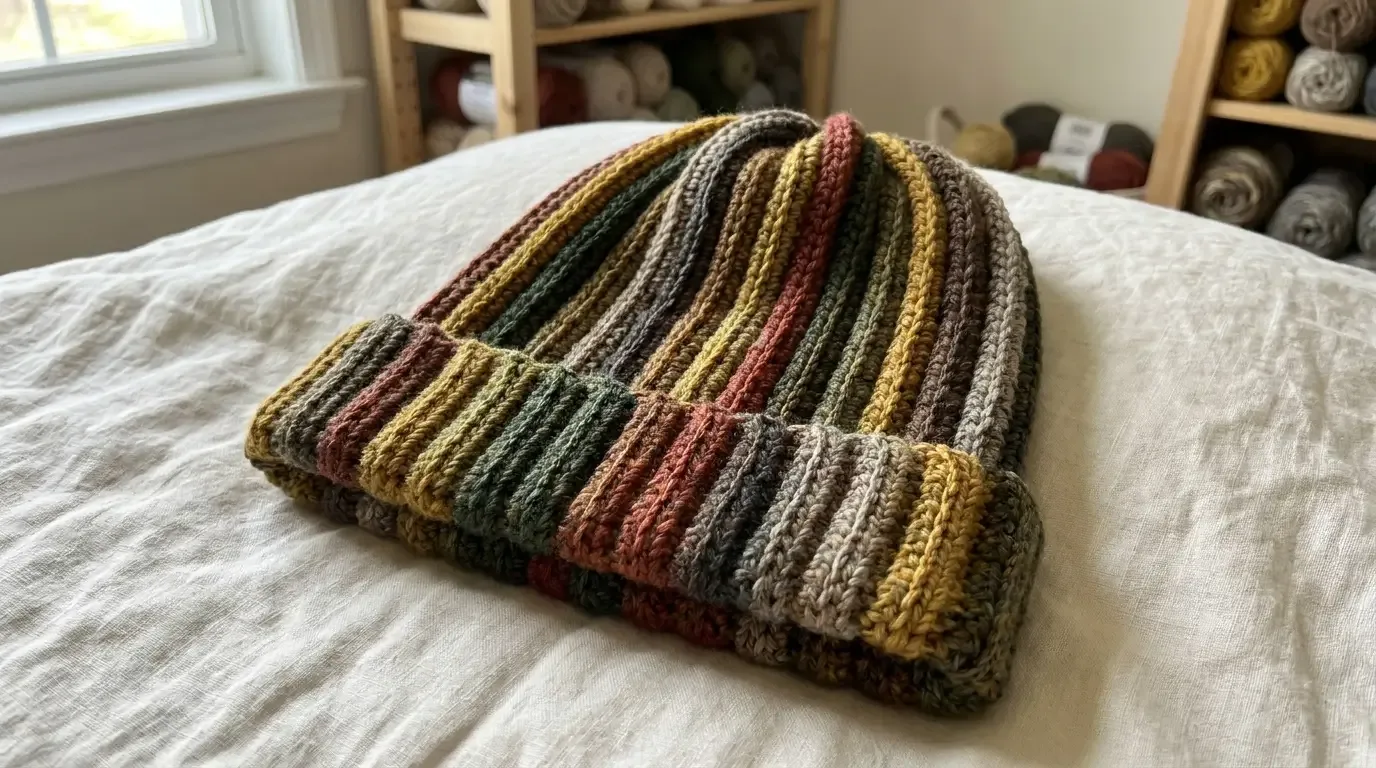
This one-piece HookElla beanie is worked sideways in back-loop half double crochet, shaped with short rows at the crown, joined into a tube, and finished with a deep fold-up cuff. Its autumn color changes come from slow-striping yarn rather than separate sewn-on pieces.
About this pattern
This original HookElla beanie is worked sideways as one shaped, flat panel in back-loop half double crochet, with a short single-crochet section at the crown edge. Six repeated wedges form a gently narrowed top; the panel is seamed into a tube, the crown is gathered, and the lower edge folds up to make the cuff. A slow-changing autumn yarn creates the irregular color flow. The pattern is mathematically reviewed but has not been physically sample-tested, so gauge, dimensions, yardage, and fit are estimates or targets—not verified results.
Materials
- Approximately 200–250 yd (183–229 m) of #4 medium/worsted-weight slow-color-changing yarn in a forest-and-autumn palette. This is an estimate, not a measured usage. The exact manufacturer and colorway shown in the reference are unknown.
- 5.5 mm (I/9) crochet hook.
- Yarn needle, scissors, two removable stitch markers, and a flexible measuring tape.
Finished size and fit
One adult size is planned for a head circumference of about 21–23 in (53–58.5 cm). The relaxed brim-edge target is about 19.5–20.5 in (49.5–52 cm), with enough stretch to fit the intended range. The flat panel is intended to measure about 11–11.5 in (28–29 cm) from the brim edge to the crown edge, including the future cuff; a roughly 2.25 in (5.7 cm) fold leaves a nominal visible depth near 9.25 in (23.5 cm) before crown gathering. All are planning estimates only. The crown gather and the shorter sc section affect the actual shape and height.
Gauge or tension check
Target—not a measured HookElla swatch: 16 hdc BLO stitches by 12 rows = about 4 × 4 in (10 × 10 cm), measured relaxed and unstretched. Use the specified yarn and hook to make a swatch: ch 21, work 20 hdc in the second chain and across, then ch 1, turn, and work 15 more rows of hdc BLO. Let it relax, then measure an interior 4 in (10 cm) square. Adjust hook size until the swatch is close to the target.
At this provisional row gauge, 60 rows correspond to about 20 in (51 cm) around the brim. The 46 chain-position height is nominally 11.5 in (29 cm) at 16 stitches per 4 in, but the eight sc positions are shorter than hdc, so this is only a gauge-based estimate. Measure the actual panel before assembly and check that it stretches comfortably around the intended head; arithmetic does not establish a tested fit. The Yarnivo Gauge Calculator can convert counts from a measured swatch; it cannot confirm fit or automatically recalculate this shaped crown.
Abbreviations (US terms)
- BLO: back loop only
- ch: chain
- FO: fasten off
- hdc: half double crochet
- rep: repeat
- RS / WS: right side / wrong side
- sc: single crochet
- st(s): stitch(es)
- sl st: slip stitch
Special stitches and construction notes
- Hdc: Yarn over, insert hook in the indicated stitch, yarn over and pull up a loop, yarn over and draw through all three loops.
- Hdc BLO: Make an hdc under only the back top loop of the indicated stitch.
- Sc BLO: Insert hook under only the back top loop, yarn over and pull up a loop, yarn over and draw through both loops.
- Short row: Work the stated stitches only, leave the remaining crown-end stitches unworked, ch 1, and turn. Do not work into the turning chain; it never counts as a stitch.
The foundation chain establishes the panel’s brim-to-crown height; the 60 rows establish its circumference. The first 38 positions are hdc and the last 8 are sc to keep the crown edge less bulky. Row 1 is worked in both loops of the foundation chain; all later rows are BLO. The brim edge is the side reached by every row. The crown edge is opposite it. Use a marker at the crown end if helpful.
At the short-row recovery points, the next 8 sc are worked into the actual unworked sc loops of the earlier full row, not into a turning chain or an invented gap. Keep turns snug. If a small turn opening remains, close it neatly with the joining tail during assembly rather than adding stitches that change the counts.
Pattern instructions
Foundation
With the slow-color-changing yarn, ch 47 loosely. This provides 46 working positions. Mark the crown end after Row 1 if needed. Ch 1 at each row end is for turning only and does not count as a stitch.
Wedge 1 — Rows 1–10
-
Row 1 (brim toward crown): Starting in the second ch from hook, hdc in each of the next 38 chains, then sc in each of the last 8 chains. 46 sts. (38 hdc, 8 sc.) Ch 1, turn.
-
Row 2 (crown toward brim): Sc BLO in each of the first 8 sts; hdc BLO in each of the next 38 sts. 46 sts. Ch 1, turn.
-
Row 3 (short row, brim toward crown): Hdc BLO in each of the first 38 sts. Leave the last 8 crown-end sc unworked. 38 sts. Ch 1, turn.
-
Row 4 (short return): Hdc BLO in each of the 38 sts. 38 sts. Ch 1, turn.
-
Row 5 (full recovery): Hdc BLO in the 38 Row 4 sts; continue into the 8 actual sc loops left unworked at the crown end of Row 2, making 1 sc BLO in each. 46 sts. (38 hdc, 8 sc.) Ch 1, turn.
-
Row 6 (full return): Sc BLO in each of the first 8 sts, then hdc BLO in each of the next 38 sts. 46 sts. Ch 1, turn.
-
Row 7 (short row): Hdc BLO in each of the first 38 sts, leaving the final 8 crown-end sc unworked. 38 sts. Ch 1, turn.
-
Row 8 (short return): Hdc BLO in each of the 38 sts. 38 sts. Ch 1, turn.
-
Row 9 (full recovery): Hdc BLO in the 38 Row 8 sts; continue into the 8 actual sc loops left unworked at the crown end of Row 6, making 1 sc BLO in each. 46 sts. (38 hdc, 8 sc.) Ch 1, turn.
-
Row 10 (full return): Sc BLO in each of the first 8 sts, then hdc BLO in each of the next 38 sts. 46 sts. Ch 1, turn.
Wedges 2–6 — Rows 11–60
Repeat the same ten-row schedule five more times, always working BLO into the previous row after the foundation. Use these numbered groups:
- Rows 11–20: repeat the schedule above. In Row 15, work the final 8 sc into the unworked crown-end sc loops of Row 12; in Row 19, work them into those of Row 16.
- Rows 21–30: repeat the schedule. Recovery rows are Rows 25 and 29; pick up the crown-end loops left unworked on Rows 22 and 26, respectively.
- Rows 31–40: repeat the schedule. Recovery rows are Rows 35 and 39; pick up the loops left unworked on Rows 32 and 36.
- Rows 41–50: repeat the schedule. Recovery rows are Rows 45 and 49; pick up the loops left unworked on Rows 42 and 46.
- Rows 51–60: repeat the schedule. Recovery rows are Rows 55 and 59; pick up the loops left unworked on Rows 52 and 56.
For every ten-row group, the sequence is: full outgoing (46 sts), full return (46), short outgoing (38), short return (38), full recovery (46), full return (46), short outgoing (38), short return (38), full recovery (46), full return (46). Each recovery row is 38 hdc BLO followed by 8 sc BLO. Each return row is 8 sc BLO followed by 38 hdc BLO. Do not work the short rows across all 46 positions.
Count check: 6 wedges = 60 rows total: 36 full rows × 46 sts and 24 short rows × 38 sts. Each wedge contributes six full rows at the outer crown edge; the six wedges therefore provide 36 crown-reaching row ends for gathering. All 60 rows reach the brim edge. The six repeat groups begin and end on a full row, leaving the two side edges available for a stitch-for-stitch seam.
Color handling
Let the self-striping yarn change color naturally as you work across each row; do not cut yarn at every color change or assign a fixed row count to each shade. Each row runs from the brim toward the crown or back, so color placement will vary with the yarn’s stripe length and tension. If a color shift differs from the pictured reference, treat it as a natural variation rather than an exact color match.
Assembly
After Row 60, leave a long tail. Lay the panel flat with its RS facing you, brim edge along the bottom and crown edge at the top. Bring the foundation-chain edge and Row 60 edge together, right sides facing inward. Align their 46 stitch positions from brim to crown and join with a flexible mattress stitch or a relaxed whipstitch. Match corresponding loops consistently and avoid pulling the ribbing tight. The panel is now a tube; leave the lower brim opening and shaped crown opening unsewn.
Gather the crown
Turn the tube WS out as needed. Thread a separate 24 in (61 cm) length of strong matching yarn onto the needle. Follow the actual outer crown contour, catching the exposed crown-facing row-end loops at the ends of the full-length rows and the exposed loops at each stepped transition. Each wedge has six rows that reach the outer crown edge, for 36 such row ends overall; do not stitch through empty space or skip a real exposed edge section. Draw the yarn up gradually and evenly. Cross the remaining small opening several times through genuine fabric loops, secure on the inside, and turn RS out. Do not add a separate crown disk.
Fold the cuff and finish
At the straight lower opening, fold about 2.25 in (5.7 cm) of the existing fabric up on the outside. Align the vertical ribs and keep the fold even. The cuff is integrated and may remain free; if desired, tack it discreetly at the side seam only. Do not add a separate band, pom-pom, tag, or decoration. Weave the foundation, seam, and crown tails securely on the inside along the rib direction. Remove markers and shape gently by hand. Follow the yarn label for care; avoid direct heat or blocking that flattens the ribs.
Fit adjustments and troubleshooting
- Check circumference before seaming: relax the panel, then measure the straight brim edge from the foundation side to the final-row side. The target is about 19.5–20.5 in (49.5–52 cm). Wrap it around the intended head with comfortable stretch; do not assume the target gauge ensures fit.
- Check depth before seaming: measure from brim to crown along a full row. The provisional target is about 11–11.5 in (28–29 cm), but the short sc section, turns, and gathering affect the actual result.
- If the panel is too short around: after swatching, add or remove complete ten-row wedges only if the shaping proportion and crown gather remain appropriate; each wedge changes the brim circumference by about 3.33 in (8.5 cm) at the target row gauge. This is a large adjustment, so small fit changes should instead be resolved by a carefully recalculated repeat schedule and a new swatch—not by silently adding arbitrary rows.
- If the panel depth is off: change the starting chain count only after swatching both hdc and the crown-end sc section. Keep a clearly marked 38-position hdc section and 8-position sc section unless the whole pattern is recalculated.
- Turn gaps: make the turning chain snug without tightening the first stitch. Close only small residual openings with the tail during assembly; large gaps indicate the short-row recovery placement needs checking.
- Bulky top: check that each recovery row reaches the actual 8 skipped crown stitches and that the gather passes through real exposed edge loops. Pull the drawstring evenly, not in one hard tug.
- Visible seam: use matching edge loops and consistent tension; line up the ribs before securing the seam.
- Uneven cuff: fold against a flat surface and align the same rib columns before tacking.
- Color variation: stripe length is yarn-dependent; the same skein may make a different arrangement than the photograph.
Frequently asked questions
Why is the beanie worked sideways?
The chain sets the brim-to-crown depth, while the rows travel around the head. Back-loop stitches form the vertical ribs after the panel is joined.
Why do some rows stop eight stitches early?
The paired short rows make the crown edge narrower than the brim edge. Full recovery rows then return to the actual loops left unworked on the preceding full row.
How do I know which edge is the crown?
The crown is the end of the first row’s 8 sc section. The opposite side, reached by every row, is the brim. Keep a marker at the crown end while working.
Is this a tested 21–23 inch adult fit?
No. The pattern has reviewed stitch arithmetic but no physical HookElla sample. The gauge and size are targets only. Swatch, measure, and check stretch on the intended wearer before finishing.
Can I use a solid color?
Yes; the construction does not rely on color changes. A solid yarn will not reproduce the irregular autumn striping in the visual reference.
Technique acknowledgments
This is an independently specified HookElla pattern inspired by the broad visual characteristics of the supplied autumn-ribbed beanie. No original designer was identified in the project brief, so none is claimed. LeeLee Knits’ ribbed beanie article and Viv Crochets’ ribbed beanie tutorial were consulted only as general references for sideways ribbing and crown-shaping concepts. Their source-specific rows, prose, charts, and photographs are not reproduced here. The finished HookElla image is the authorized visual reference for this article. The optional construction infographic is omitted because its “sc BLO” wedge caption conflicts with the written hdc-BLO body and crown-edge sc construction.
Helpful questions
Is this crochet beanie physically tested?
No. The stitch counts and gauge-based estimates were reviewed mathematically, but no HookElla sample has been crocheted. Swatch and measure your fabric before assembly.
How is the vertical ribbing made?
The hat is worked sideways as a flat panel. Half double crochet stitches worked in the back loop only form ribs that run from the folded brim toward the crown.
Why are some rows shorter?
Short rows leave the crown-end stitches unworked temporarily. Later full recovery rows pick up those actual loops, creating a narrower crown edge without changing the brim-edge row count.
Can I use a different self-striping yarn?
Yes. Choose a similar #4 worsted weight and check gauge. Stripe placement depends on the yarn’s color-change length, so another colorway will make a different arrangement.