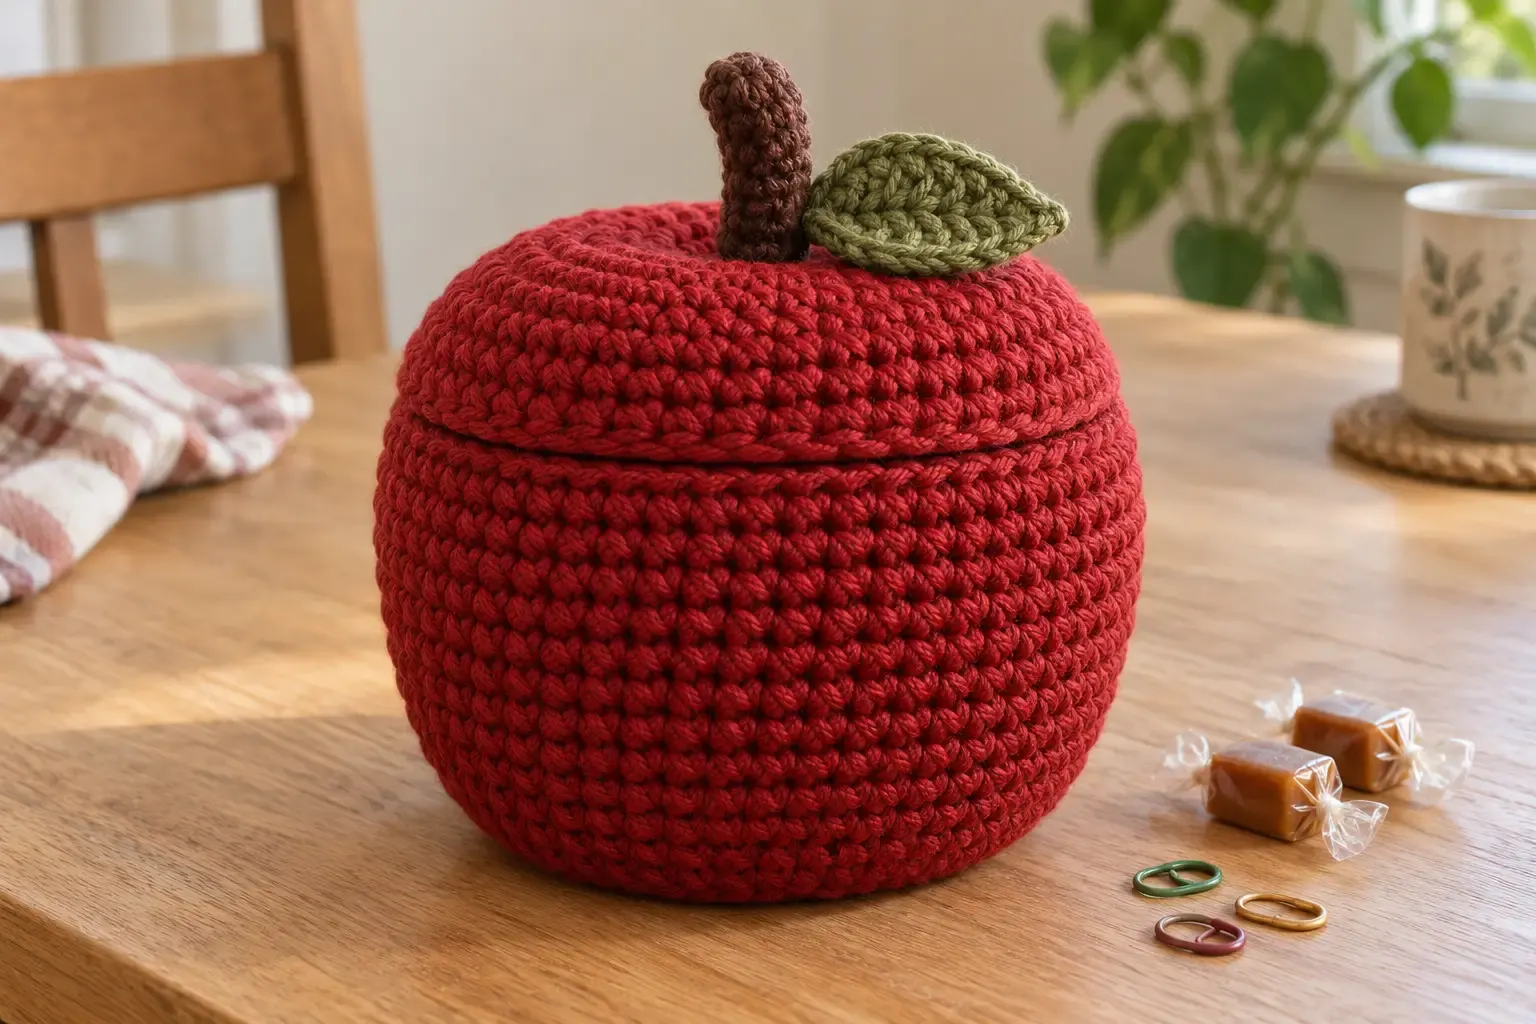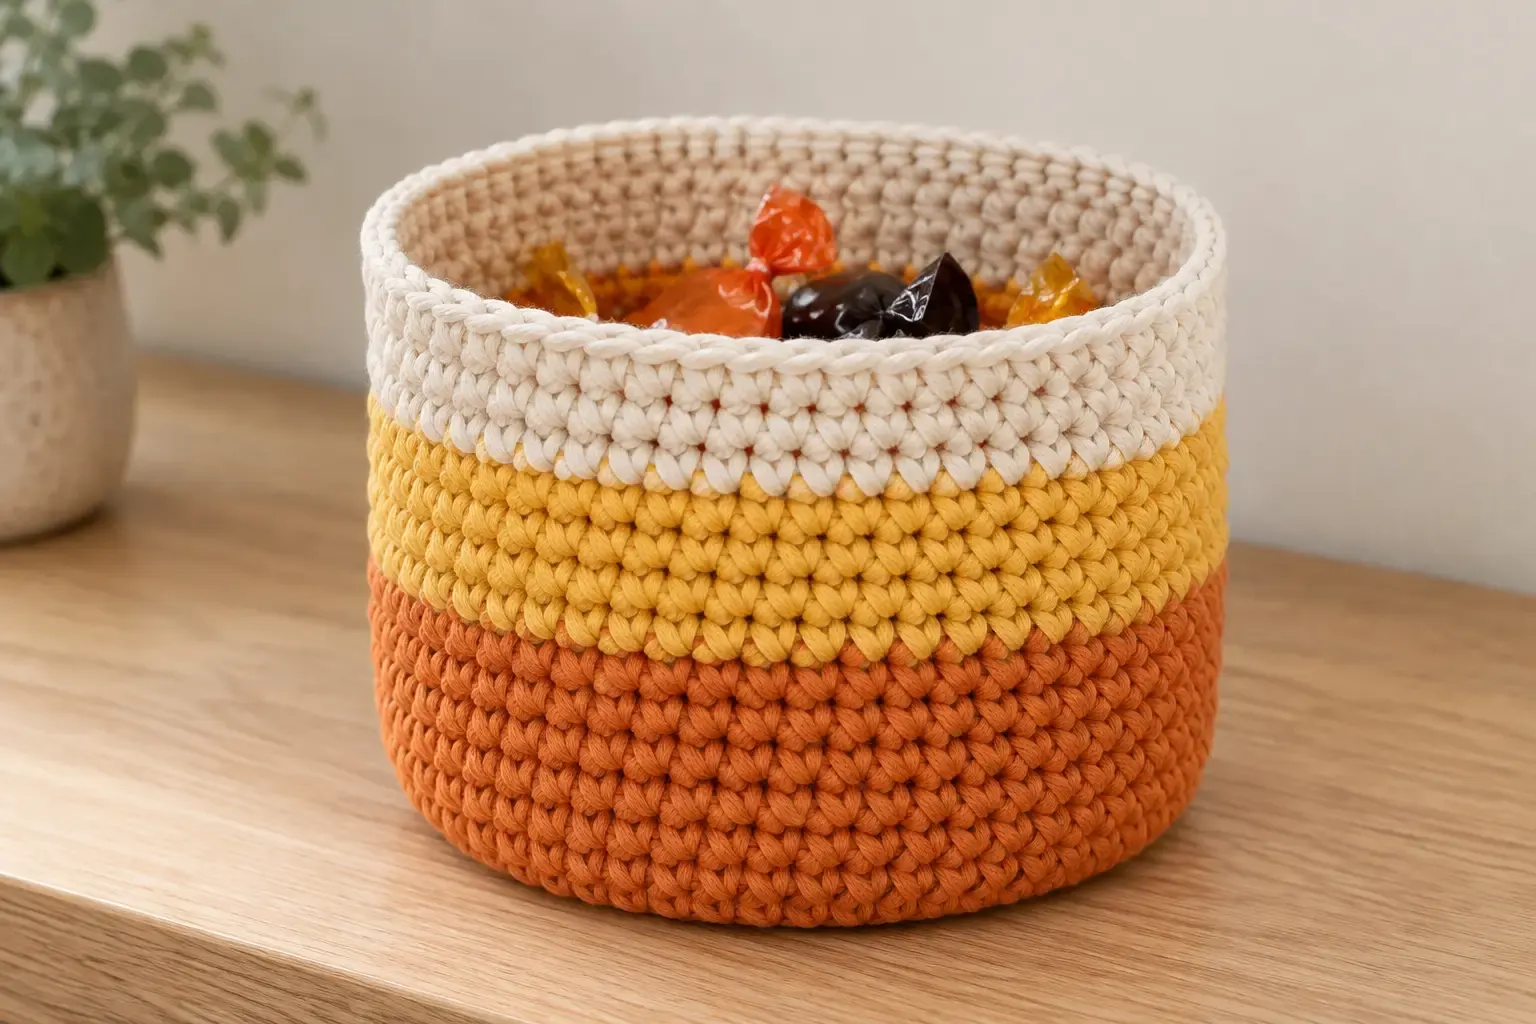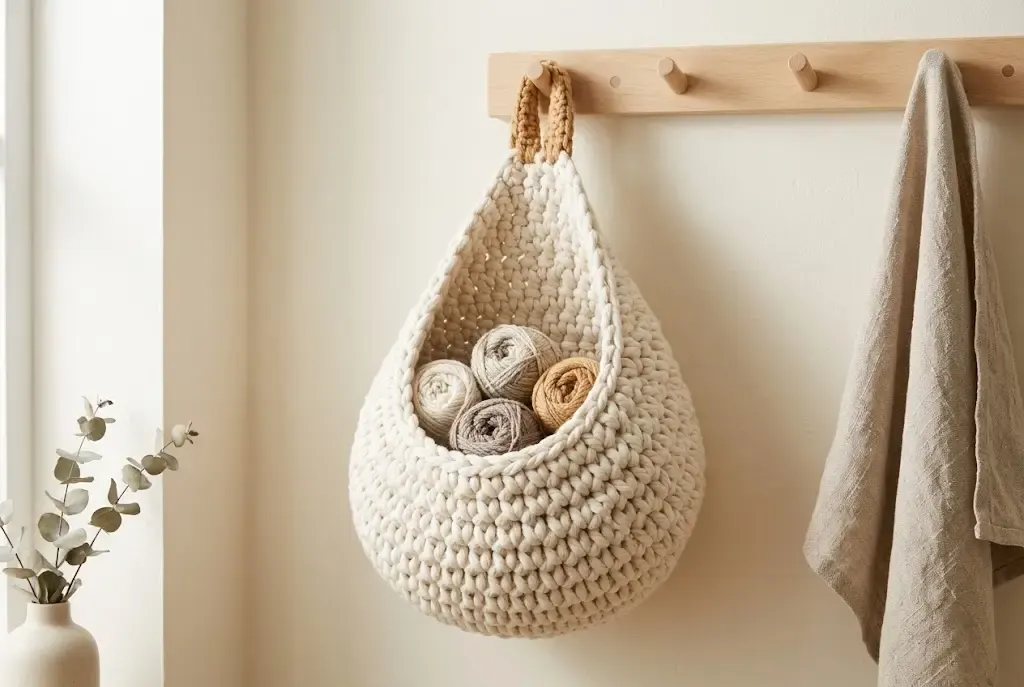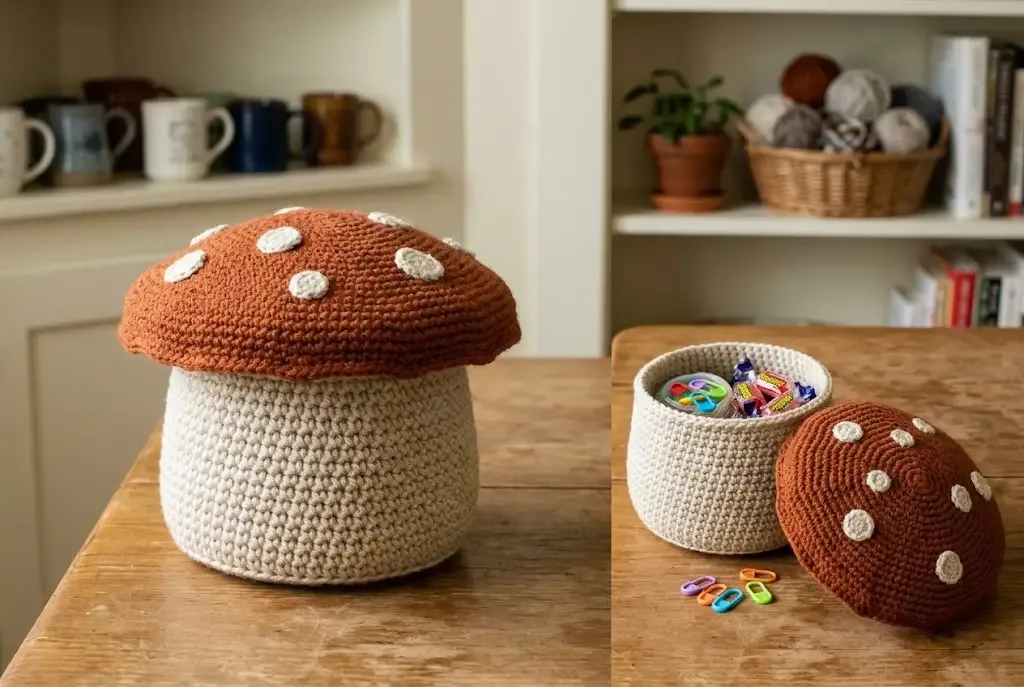
Bring a little forest-floor charm to your shelf with this useful mushroom basket. The oatmeal body is crocheted from a flat circle in dense single crochet, gently narrows at the opening, and supports a separate cinnamon-rust cap lid with small cream spots.
About this pattern
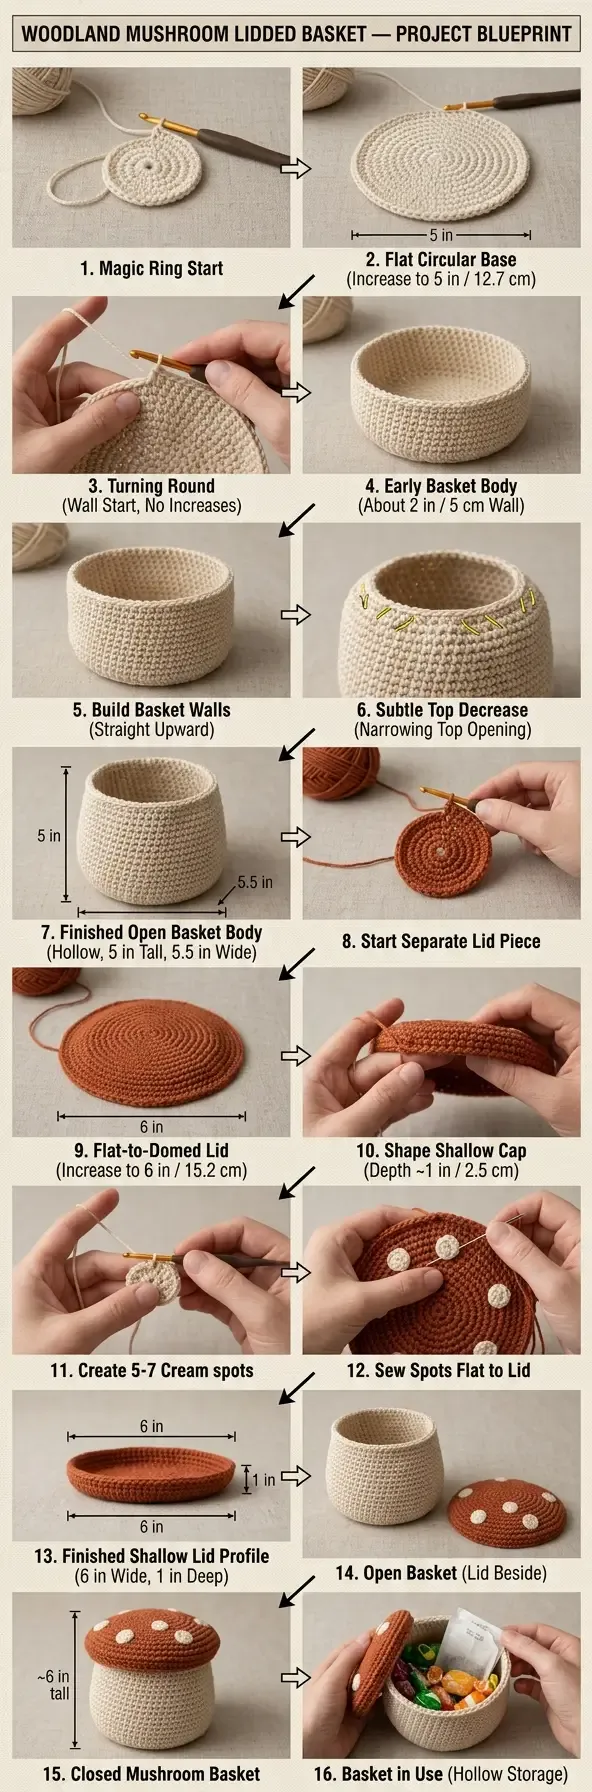
The Woodland Mushroom Lidded Basket is a compact container with an oatmeal “stem” and a cinnamon-rust cap. Eight increase rounds create a flat five-inch base of 48 stitches. After a back-loop-only turning round, the body is worked straight in dense single crochet, then narrows once to a 44-stitch opening. The separate cap grows to 54 stitches for a six-inch diameter and finishes with only a few shallow rounds, so it reads as a mushroom lid rather than another basket.
US crochet terminology is used throughout. No stuffing, face, handles, or permanent lid attachment is used; the finished piece remains an open, useful basket.
Materials
- #4 medium-weight cotton-blend yarn: approximately 150 yd (137 m) oatmeal for the basket body
- Approximately 70 yd (64 m) cinnamon-rust yarn for the cap lid
- Small amount of soft cream yarn for five to seven spots
- 5.0 mm (H-8) crochet hook
- Tapestry needle, scissors, stitch marker, and optional bowl for shaping
Finished size and gauge
The basket body is approximately 5.5 in (14 cm) wide × 5 in (12.5 cm) tall, with a flat circular base about 5 in (12.7 cm) in diameter. The removable lid is approximately 6 in (15 cm) wide × 1 in (2.5 cm) deep. Aim for about 14 sc and 15 rounds per 4 in (10 cm); a firm gauge helps the body stand upright and the cap keep its shallow dome.
Abbreviations
- ch — chain
- sc — single crochet
- BLO — back loop only
- sl st — slip stitch
- st(s) — stitch(es)
- inc — 2 sc in the same stitch
- sc2tog — single crochet two stitches together
Pattern notes
- Work the body and lid in joined rounds. Ch 1 does not count as a stitch; join with a slip stitch to the first sc.
- Move the stitch marker after every join and count the stated stitches before beginning the next round.
- The body sequence is 48 stitches, then 44 at the neck. The lid finishes at 54 stitches so its edge overlaps the opening without stretching.
- Change colors only between pieces. Fasten off and weave each end inside for a clean interior.
Instructions
Oatmeal basket body
With oatmeal yarn, make a magic ring. Alternatively, ch 2 and work Round 1 into the second chain.
- Round 1: Ch 1, work 6 sc in the ring — 6 sts. Join.
- Round 2: Ch 1, inc in each stitch around — 12 sts. Join.
- Round 3: Ch 1, sc in the next st, inc in the next st around — 18 sts. Join.
- Round 4: Ch 1, sc in the next 2 sts, inc in the next st around — 24 sts. Join.
- Round 5: Ch 1, sc in the next 3 sts, inc in the next st around — 30 sts. Join.
- Round 6: Ch 1, sc in the next 4 sts, inc in the next st around — 36 sts. Join.
- Round 7: Ch 1, sc in the next 5 sts, inc in the next st around — 42 sts. Join.
- Round 8: Ch 1, sc in the next 6 sts, inc in the next st around — 48 sts. Join.
Lay the circle flat. It should measure close to 5 inches and lie smooth before the sides begin.
- Round 9 (turning round): Ch 1, sc in the BLO of every stitch around — 48 sts. Join. This creates the base-to-wall corner and turns the fabric upward.
- Rounds 10–25 (straight body): Ch 1, sc in every stitch around — 48 sts. Join after each round.
- Round 26 (upper narrowing): Ch 1, sc in the next 6 sts, sc2tog around — 42 sts. Join.
- Rounds 27–29: Ch 1, sc in every stitch around — 42 sts. Join after each round. Fasten off and weave in the end.
The body should be nearly cylindrical with a softly narrower opening. If your gauge produces a shorter or taller body, add or remove plain rounds before Round 26 while keeping the 42-stitch neck.
Cinnamon-rust cap lid
With cinnamon-rust yarn, make a magic ring.
- Round 1: Ch 1, work 6 sc in the ring — 6 sts. Join.
- Round 2: Ch 1, inc in each stitch around — 12 sts. Join.
- Round 3: Ch 1, sc in the next st, inc in the next st around — 18 sts. Join.
- Round 4: Ch 1, sc in the next 2 sts, inc in the next st around — 24 sts. Join.
- Round 5: Ch 1, sc in the next 3 sts, inc in the next st around — 30 sts. Join.
- Round 6: Ch 1, sc in the next 4 sts, inc in the next st around — 36 sts. Join.
- Round 7: Ch 1, sc in the next 5 sts, inc in the next st around — 42 sts. Join.
- Round 8: Ch 1, sc in the next 6 sts, inc in the next st around — 48 sts. Join.
- Round 9: Ch 1, sc in the next 7 sts, inc in the next st around — 54 sts. Join.
- Rounds 10–13 (shallow cap): Ch 1, sc in every stitch around — 54 sts. Join after each round. Fasten off and leave a 10-inch sewing tail.
The lid should measure close to 6 inches across and about 1 inch deep. Place it over the 42-stitch opening; the 54-stitch edge should sit over the neck evenly. If needed, lightly block the cap over the basket before adding spots.
Cream mushroom spots
Make five to seven spots in soft cream.
- Round 1: Make a magic ring, ch 1, work 6 sc in the ring — 6 sts. Join.
- Round 2: Ch 1, inc in each stitch around — 12 sts. Join, fasten off, and leave a 5-inch sewing tail.
Flatten each small circle. Arrange the spots across the top of the cap with more space near the outer edge, then sew them flat through the outer loops. Weave the tails to the underside and trim.
Assembly and finishing
- Shape the oatmeal body over a bowl close to the five-inch base diameter. Lightly mist and let it dry upright; do not stretch the opening.
- Check the spotted cap on the 42-stitch neck. It should lift off easily while the wider 54-stitch edge prevents it from sliding inside.
- If you want the cap to stay centered, sew a few discreet tacking stitches from the underside of the cap edge into the top oatmeal round. Keep them loose enough that the lid remains removable.
- Weave in every remaining end and smooth the cap into a shallow dome with your fingers.
Helpful tips and customization
- Verify the body base sequence: 6, 12, 18, 24, 30, 36, 42, 48. A flat circle confirms the increase mathematics.
- The body shaping is 48 → 42 at the opening; the lid is 54 at its edge. Keep these counts for the intended overlap.
- Make a taller basket by adding plain 48-stitch rounds before the upper narrowing, or a shallower one by removing rounds from the straight body.
- Use rust, mustard, or forest green for the cap, and vary the spot count from five to seven for a one-of-a-kind woodland look.
- Fill the open basket with wrapped sweets, stitch markers, jewelry, keys, or other small dry items.
This pattern is for personal use. You may sell finished baskets made from it, but please do not redistribute, resell, or repost the written pattern or photographs. Keep small spots and yarn tails away from babies and pets.
Enjoy your woodland mushroom basket—a practical little hideaway with a removable cap and plenty of handmade character.
Helpful questions
Is the mushroom cap a second basket?
No. The cap is a shallow, flat-to-domed lid about 1 inch deep. It rests over the narrowed opening and lifts off for access.
How many spots should I make?
Make five, six, or seven cream spots. Six gives the balanced look shown, while five or seven lets you change the spacing.
Can I make the body taller?
Add plain 48-stitch rounds before the upper decrease. Keep the final 44-stitch opening and the 54-stitch lid edge for the same fit.