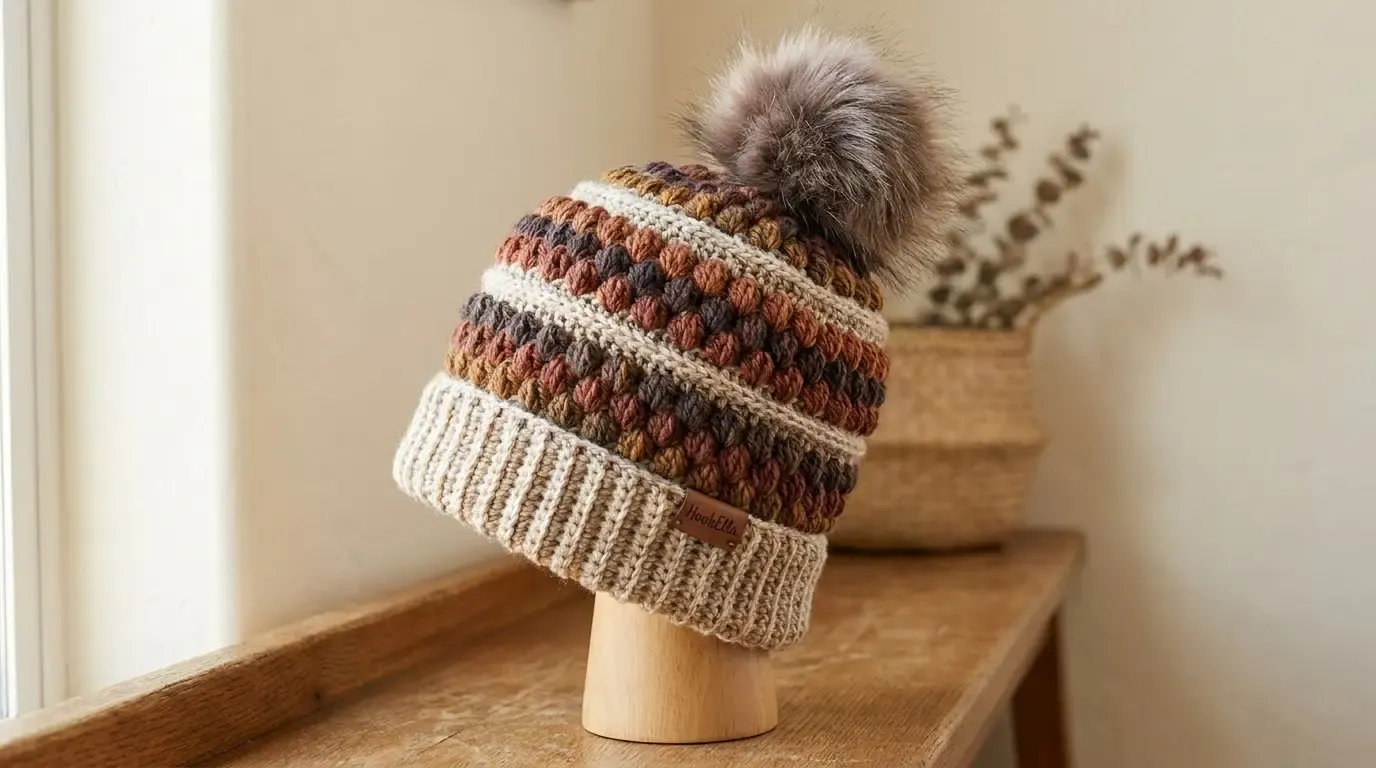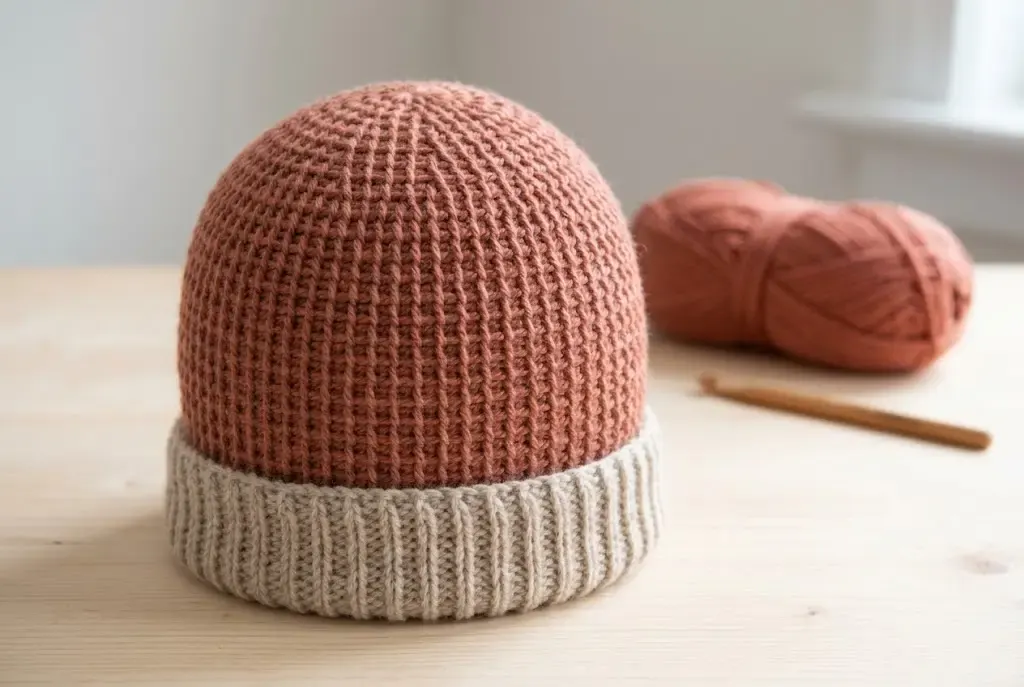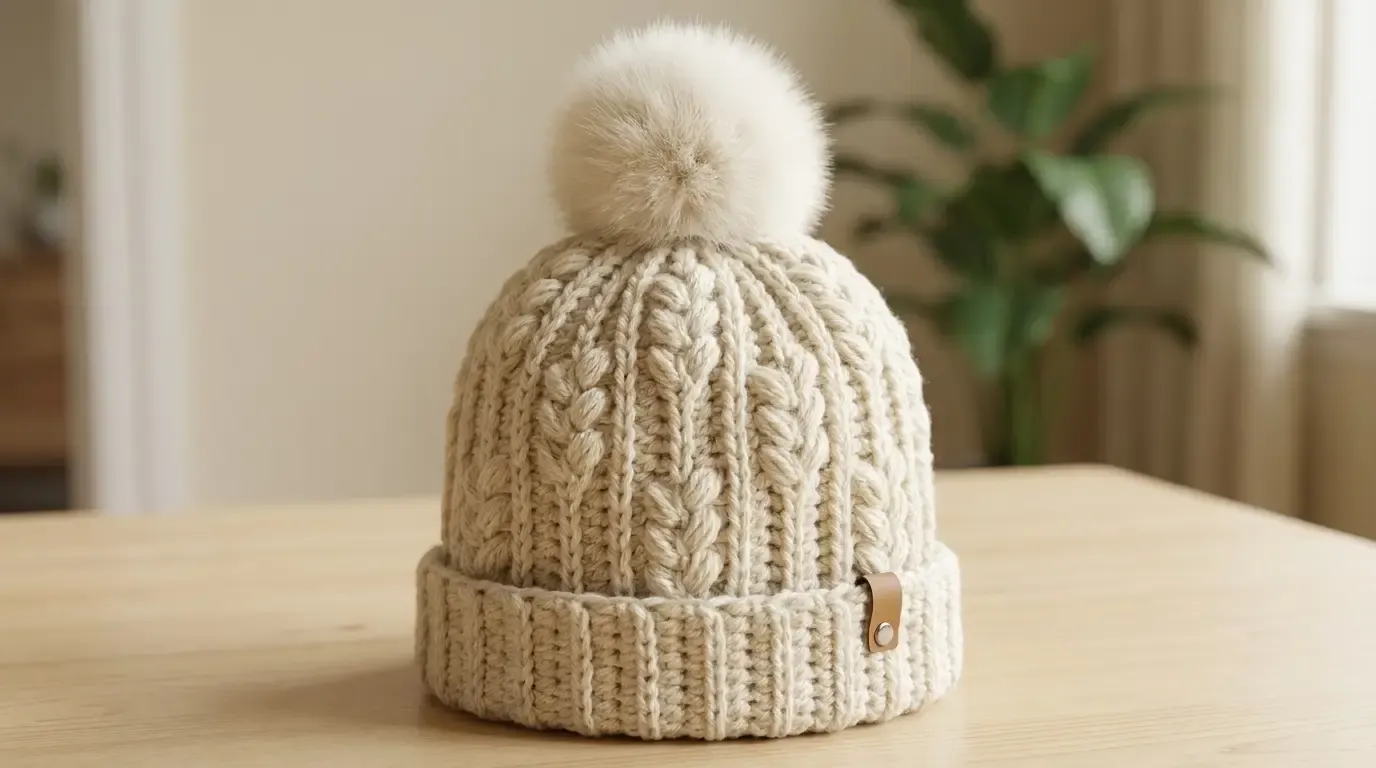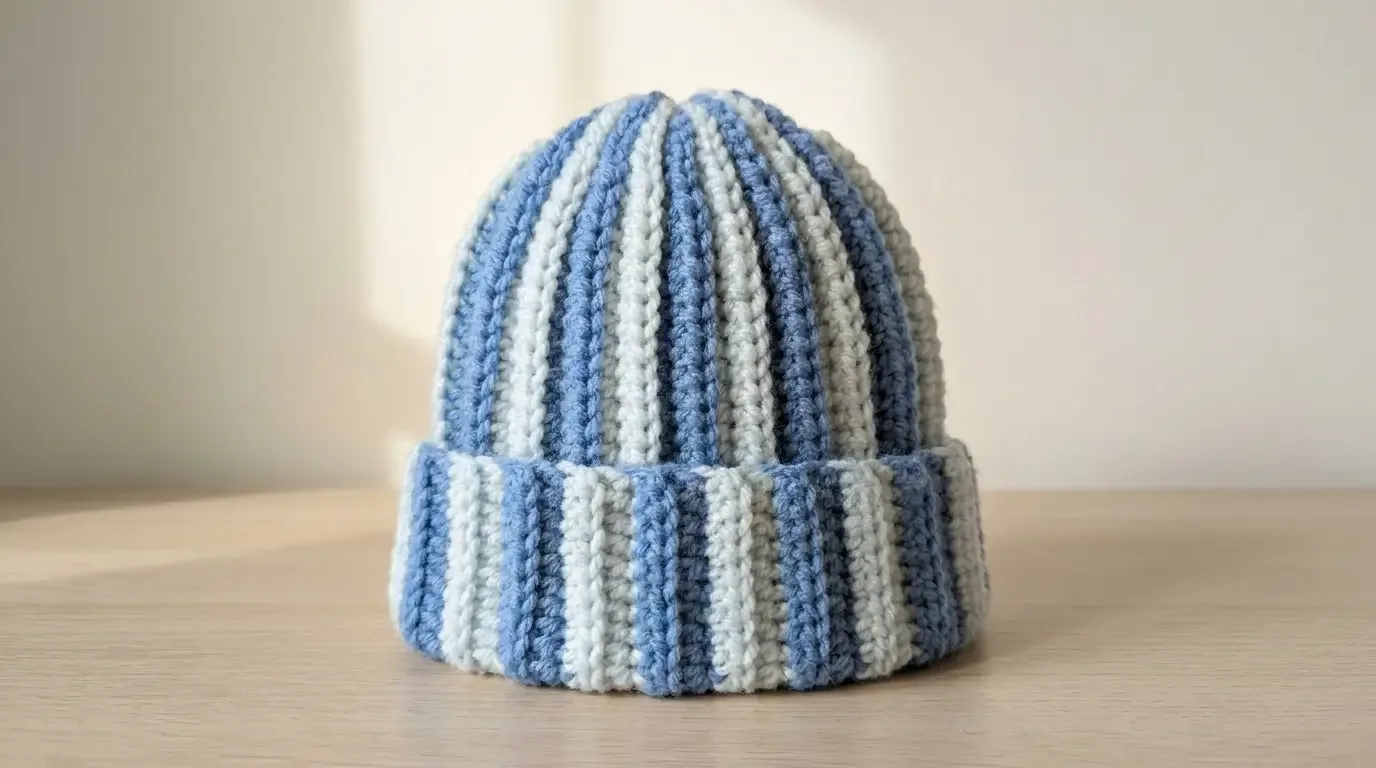
Cornflower blue and icy white alternate in crisp vertical bands on this warm, stretchy beanie. The hat is crocheted sideways as one shaped panel, seamed into a tube, gathered at the crown, and finished with a generous fold-up brim.
About this pattern
This HookElla beanie combines a stretchy ribbed fabric with simple two-color striping and a softly rounded top. The panel is made in rows rather than in joined rounds: a 41-stitch foundation establishes the height, while 24 rows establish the relaxed circumference. A small, symmetrical change in the number of slip stitches near the crown edge gives the upper edge a gentle contour before it is gathered closed.
The featured photograph and six-stage construction image are the exact supplied HookElla assets. The stitch architecture and row plan below are independently written; they are not a transcription of another designer’s pattern. This is one adult-medium size, not a graded multi-size pattern.
Materials
- About 90 g / 161 yd total of medium-weight (category 4) yarn, divided between two colors. The shown palette is cornflower blue and icy blue/white. The rows use each color for the same number of stripes, so plan roughly 45 g / 80 yd of each.
- 6 mm (J-10) crochet hook, or the size needed to match gauge.
- Yarn needle with a blunt tip, scissors, and a locking stitch marker.
- Measuring tape.
Buy a little extra yarn if you need a generous swatch or are substituting a yarn with a different fiber or loft. A smooth, springy acrylic or wool blend makes the ribbing easy to see and helps the folded cuff recover after wear.
Finished size and fit
The adult-medium panel measures approximately 26 cm (10¼ in) wide × 27 cm (10⅝ in) long before seaming and folding. Once seamed, the relaxed circumference is about 53 cm (21 in). Fold the lower edge upward by about 8 cm (3⅛ in) for a finished height of approximately 19–20 cm (7½–8 in).
The ribbed fabric should stretch comfortably around a head near 53–55 cm (21–21¾ in). Measure the intended wearer and compare the panel’s relaxed and gently stretched circumference before closing the seam. The image shows a close-fitting adult beanie; yarn and hand tension can shift the final measurements.
Gauge and sizing check
In the main half-double-crochet fabric, 15 hdc across the row and 9 rows high = 10 cm (4 in) after the swatch is relaxed. Make a swatch at least 16 stitches wide and 11 rows tall in the same back-loop technique and color-change rhythm. Measure the center, excluding the edges. Adjust the hook until both stitch and row gauge are close; changing only one gauge direction can distort the hat’s proportions. The Yarnivo Gauge Calculator can help convert measured swatch counts into dimensions, but the fit check below remains essential.
Gauge-based checks for this size:
- 41 hdc positions ÷ 15 × 10 = 27.3 cm panel length before the cuff is folded.
- 24 rows ÷ 9 × 10 = 26.7 cm relaxed flat width, or about 53.3 cm around after seaming.
- Folding the lower edge over by 12 stitch positions covers about 8 cm, leaving roughly 19.3 cm visible height.
These are calculated dimensions, not physical test results. The slip-stitch shaping at the crown makes the top edge curve gently and is not included in the body gauge measurement.
Abbreviations (US terms)
- ch — chain
- hdc — half double crochet
- BLO — back loop only
- sl st — slip stitch
- st(s) — stitch(es)
- RS / WS — right side / wrong side
- rep — repeat
Stitch guide and construction notes
- Hdc BLO: Yarn over, insert the hook under the back loop only of the next stitch, yarn over and pull up a loop, yarn over and pull through all three loops.
- Sl st BLO: Insert the hook under the back loop only, yarn over and pull through both the stitch and the loop on the hook. Keep these slip stitches relaxed enough to turn and seam comfortably.
- The turning ch 1 does not count as a stitch. Work the first stitch into the first stitch, not into the turning chain.
- Every row has 41 stitch positions. A slip stitch is shorter than an hdc but still uses one stitch position; it does not decrease the count.
- Rows are worked back and forth. Odd-numbered rows travel from the cuff edge toward the crown edge; even-numbered rows travel back. Therefore, crown-side slip stitches are placed at the end of odd rows and the beginning of even rows.
- Change color after each two-row block. Fasten off at each change and weave the tails into the side seam for clean, low-bulk edges. Do not pull the color joins tight.
Complete crochet instructions
Foundation
With Color A (cornflower blue), ch 43. The first 2 chains are the turning allowance; the remaining 41 chains provide the 41 stitch positions.
Rows 1–24
Follow the row list in order. The number after “short” is the number of crown-edge positions worked as slip stitches for that row. All other positions are hdc BLO. The final stitch count stays at 41 sts on every row.
- Row 1 (Color A; short 0): Hdc in the 3rd ch from hook and in each remaining chain across. Turn. 41 sts.
- Row 2 (Color A; short 0): Ch 1, hdc BLO in each st across. Turn. 41 sts.
- Row 3 (Color B; short 1): Ch 1, hdc BLO in the first 40 sts, sl st BLO in the last st. Turn. 41 sts.
- Row 4 (Color B; short 1): Ch 1, sl st BLO in the first st, hdc BLO in the remaining 40 sts. Turn. 41 sts.
- Row 5 (Color A; short 2): Ch 1, hdc BLO in the first 39 sts, sl st BLO in the last 2 sts. Turn. 41 sts.
- Row 6 (Color A; short 2): Ch 1, sl st BLO in the first 2 sts, hdc BLO in the remaining 39 sts. Turn. 41 sts.
- Row 7 (Color B; short 3): Ch 1, hdc BLO in the first 38 sts, sl st BLO in the last 3 sts. Turn. 41 sts.
- Row 8 (Color B; short 3): Ch 1, sl st BLO in the first 3 sts, hdc BLO in the remaining 38 sts. Turn. 41 sts.
- Row 9 (Color A; short 4): Ch 1, hdc BLO in the first 37 sts, sl st BLO in the last 4 sts. Turn. 41 sts.
- Row 10 (Color A; short 4): Ch 1, sl st BLO in the first 4 sts, hdc BLO in the remaining 37 sts. Turn. 41 sts.
- Row 11 (Color B; short 5): Ch 1, hdc BLO in the first 36 sts, sl st BLO in the last 5 sts. Turn. 41 sts.
- Row 12 (Color B; short 5): Ch 1, sl st BLO in the first 5 sts, hdc BLO in the remaining 36 sts. Turn. 41 sts.
- Row 13 (Color A; short 5): Ch 1, hdc BLO in the first 36 sts, sl st BLO in the last 5 sts. Turn. 41 sts.
- Row 14 (Color A; short 5): Ch 1, sl st BLO in the first 5 sts, hdc BLO in the remaining 36 sts. Turn. 41 sts.
- Row 15 (Color B; short 4): Ch 1, hdc BLO in the first 37 sts, sl st BLO in the last 4 sts. Turn. 41 sts.
- Row 16 (Color B; short 4): Ch 1, sl st BLO in the first 4 sts, hdc BLO in the remaining 37 sts. Turn. 41 sts.
- Row 17 (Color A; short 3): Ch 1, hdc BLO in the first 38 sts, sl st BLO in the last 3 sts. Turn. 41 sts.
- Row 18 (Color A; short 3): Ch 1, sl st BLO in the first 3 sts, hdc BLO in the remaining 38 sts. Turn. 41 sts.
- Row 19 (Color B; short 2): Ch 1, hdc BLO in the first 39 sts, sl st BLO in the last 2 sts. Turn. 41 sts.
- Row 20 (Color B; short 2): Ch 1, sl st BLO in the first 2 sts, hdc BLO in the remaining 39 sts. Turn. 41 sts.
- Row 21 (Color A; short 1): Ch 1, hdc BLO in the first 40 sts, sl st BLO in the last st. Turn. 41 sts.
- Row 22 (Color A; short 1): Ch 1, sl st BLO in the first st, hdc BLO in the remaining 40 sts. Turn. 41 sts.
- Row 23 (Color B; short 0): Ch 1, hdc BLO in each st across. Turn. 41 sts.
- Row 24 (Color B; short 0): Ch 1, hdc BLO in each st across. Do not fasten off yet. 41 sts.
The shaping sequence is mirrored across the two halves: the crown-edge short-stitch count by two-row stripe block is 0, 1, 2, 3, 4, 5, 5, 4, 3, 2, 1, 0. Six blocks are Color A and six are Color B, alternating from Color A. The maximum short section is five stitches, not a decrease: all rows retain 41 positions.
Form the tube and gather the crown
- Lay the panel with the right side facing you and bring the first and last row edges together. Check that the cuff edge and crown edge align and that the panel is not twisted.
- With the last-row tail or a separate length of yarn, seam the first and last rows together using a flexible mattress stitch, matching each of the 41 positions. Secure the seam without compressing the ribbing. The seam runs from the lower edge to the crown.
- Thread a long yarn tail through the row ends around the crown edge, catching one row end in each stitch. Pull gradually to close the opening, distributing the gathers evenly rather than drawing them all to one side.
- Stitch across the small opening once more in two directions, knot securely on the inside, and weave in the end. The slightly shorter slip-stitch sections should sit toward the crown and create a smooth, gently rounded top.
Construction image
The supplied six-stage image follows this sequence: foundation chain; working the ribbed rows; completing the two-color panel; checking its tapered crown edge; gathering the top; and folding the finished cuff. The rows remain flat until the side seam is made.
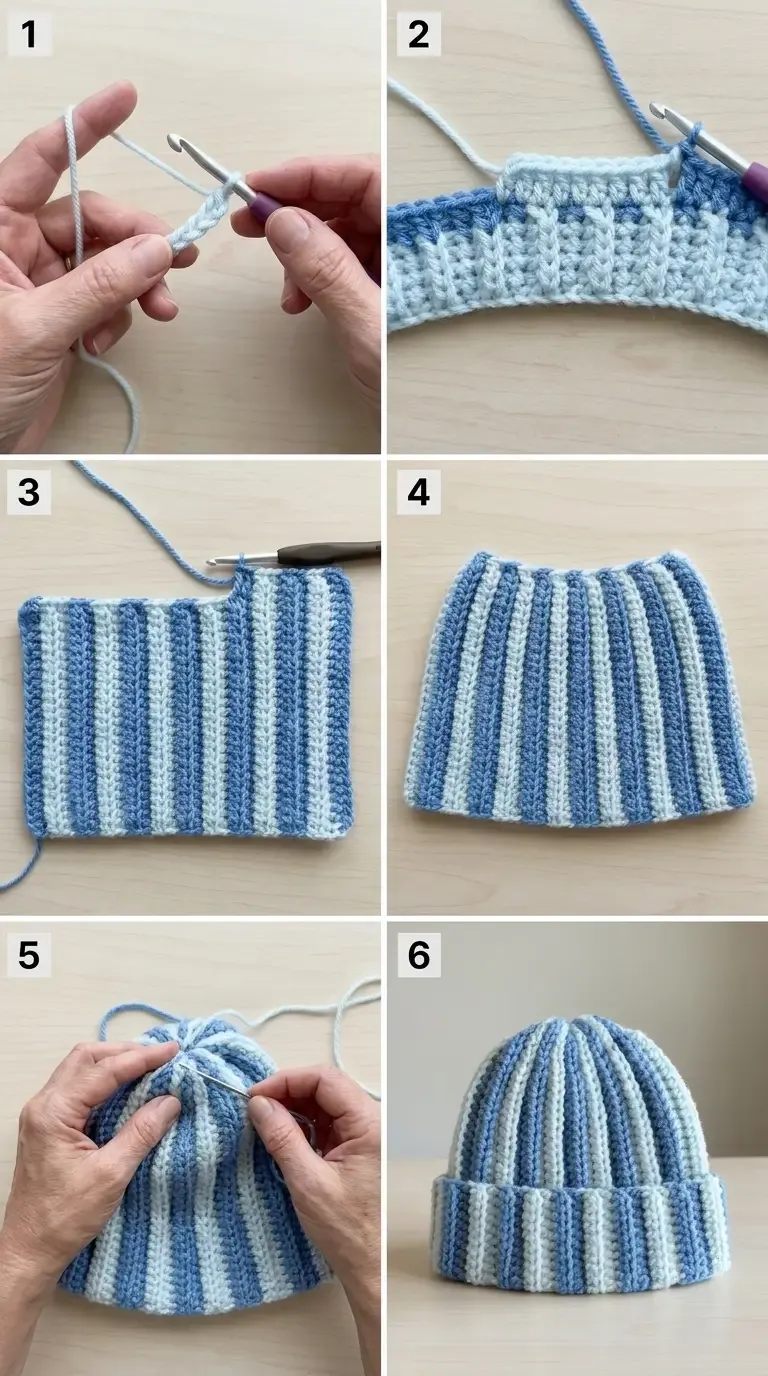
Cuff, finishing, and care
Turn the beanie so the right side is out. Fold the lower edge upward by about 8 cm (3⅛ in), smoothing the fold evenly around the opening. The cuff is part of the same panel; there is no separate brim piece. If you prefer a shallower fold, turn up less, but remember that a deeper fold shortens the visible hat height.
Weave in all color and seaming tails on the inside, following the ribs for a short distance so the ends are secure without making the fabric stiff. Gently wash or steam only as recommended on the yarn label, then dry flat and reshape the crown and fold. Avoid hanging the wet hat, which can stretch the ribbing.
Frequently asked questions
Can I use one color?
Yes. Work all 24 rows in one shade; keep the written crown taper and stitch counts unchanged.
Does the hat have a separate brim?
No. The ribbed cuff is worked into the same sideways rows as the hat body and folds upward after the panel is seamed.
Fit adjustments and troubleshooting
- Panel circumference: The 24 rows create about 53 cm around at gauge. Before seaming, wrap the panel around the head with the edge relaxed, then stretch it just enough to feel secure. For a slightly smaller fit, remove one complete two-row stripe pair; for a larger fit, add one complete pair. Recheck the top-edge taper because the written 24-row shaping is intended for this sample size; mirror a new taper schedule around the midpoint rather than repeating an end taper blindly.
- Panel height: The 41 stitch positions give about 27 cm before folding. If the wearer prefers a taller or shorter hat, adjust the foundation chain by a small number of stitches, keeping the two-chain turning allowance and checking both the brow depth and cuff fold on the wearer.
- Crown puckers: Make sure the seam and gather pass through every row end consistently. Ease the yarn in stages and spread the folds before tightening fully.
- Crown remains open: Add a second circular pass through the remaining opening and pull the tail snug before securing it.
- Cuff flares or feels tight: Confirm gauge and keep the fold relaxed. The fold should lie flat without stretching the lower edge; a tight seaming or finishing pass can remove the fabric’s natural give.
- Color edges look bulky: Keep tails on the two panel edges and enclose them in the vertical seam. Weave each end through several stitches in the same color rather than carrying a long float across the fabric.
Frequently asked questions
Can I use one color?
Yes. Work all 24 rows in one shade, or use a tonal pair. Keep the two-row color blocks if you want the narrow vertical stripe rhythm shown in the photo.
Can I substitute yarn?
Choose a category 4 yarn with similar thickness and enough resilience to hold ribbing. A soft acrylic, washable wool blend, or smooth cotton-acrylic blend can work, but match gauge and assess the drape: a very stiff yarn can make the cuff bulky, while a heavy yarn can pull the gathered crown down.
Is this suitable for a beginner?
It uses only chains, half double crochet, slip stitches, color changes, a seam, and a gathered closure. The key is to keep all 41 stitch positions and place the crown-side slip stitches on the correct end of alternating rows.
Is this a physically tested sample?
No. The count sequence and gauge-based measurements are mathematically checked, but no physical test crochet is claimed. Use the swatch and fit checks before finishing the seam and crown.
Inspiration and attribution
The blue-and-white striped beanie project was publicly presented by VivCrochets. The instructions on this page are a separate HookElla construction with its own stitch counts and crown-taper sequence; they do not reproduce the source pattern. VivCrochets retains authorship of its own design and instructions.
Helpful questions
Is this beanie worked from the brim upward?
No. The beanie is a single flat panel worked sideways. The foundation-chain edge becomes the lower edge; the panel is seamed into a tube and the opposite edge is gathered for the crown.
How do the stripes stay vertical?
Each color is used for two rows, and the rows run from the lower edge toward the crown. Once the short panel edges are joined, each two-row color block reads as a vertical stripe.
Can I change the circumference?
Yes. Add or remove complete two-row color blocks, keeping an even number of rows and matching the cuff edge to the wearer’s head with gentle stretch. The crown taper schedule is designed for 24 rows, so changing the row count changes the crown shape; do not assume the same taper will fit every circumference.
Was this pattern physically test-crocheted?
No. The stitch counts and gauge-based dimensions have been checked mathematically, but HookElla has not physically test-crocheted this sample. Make and measure a swatch before starting.