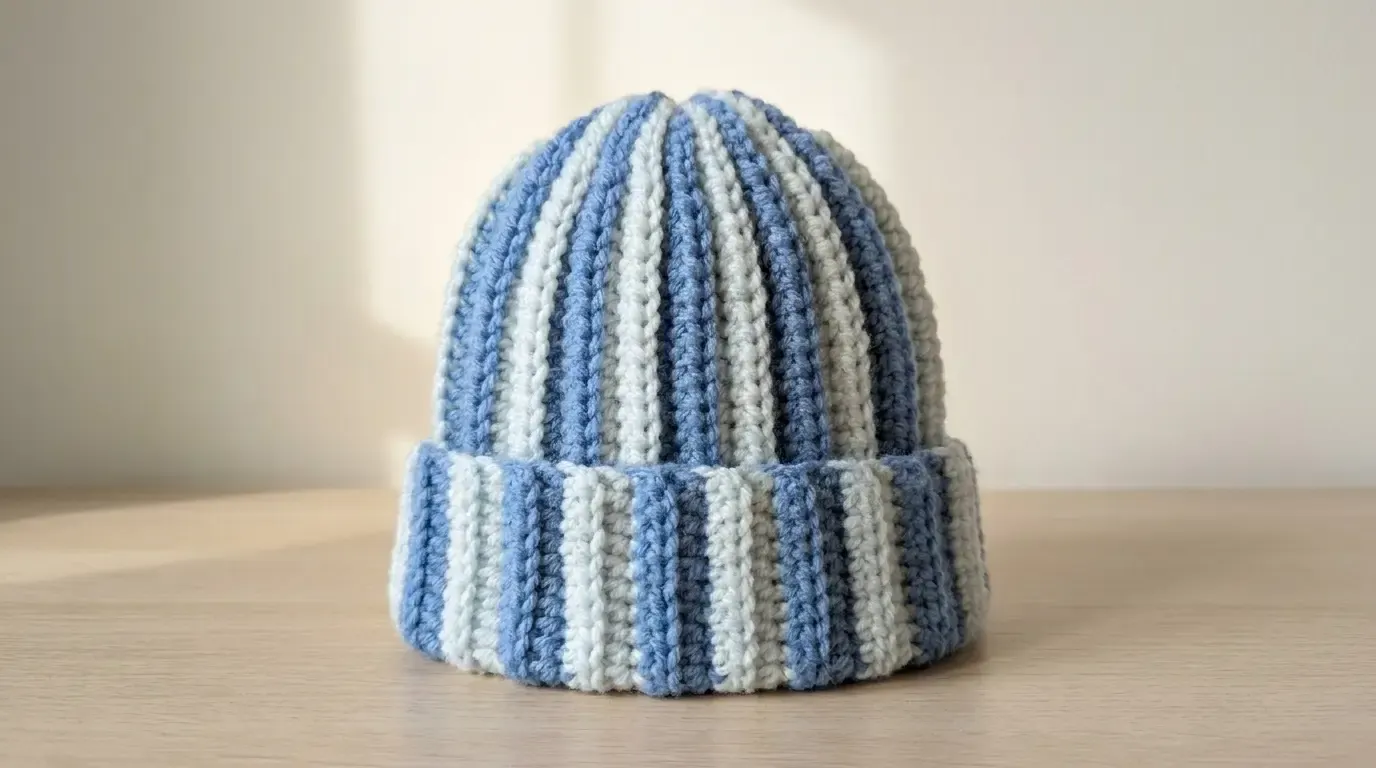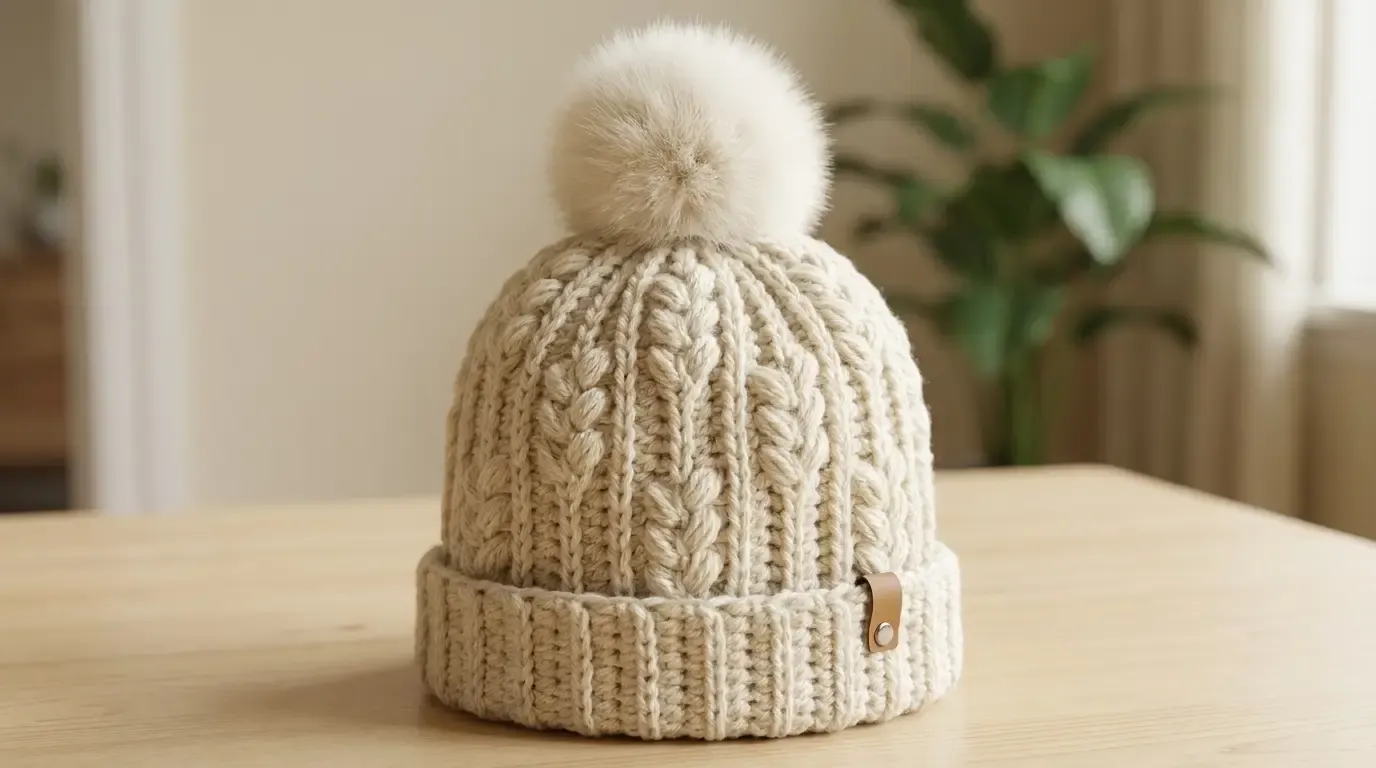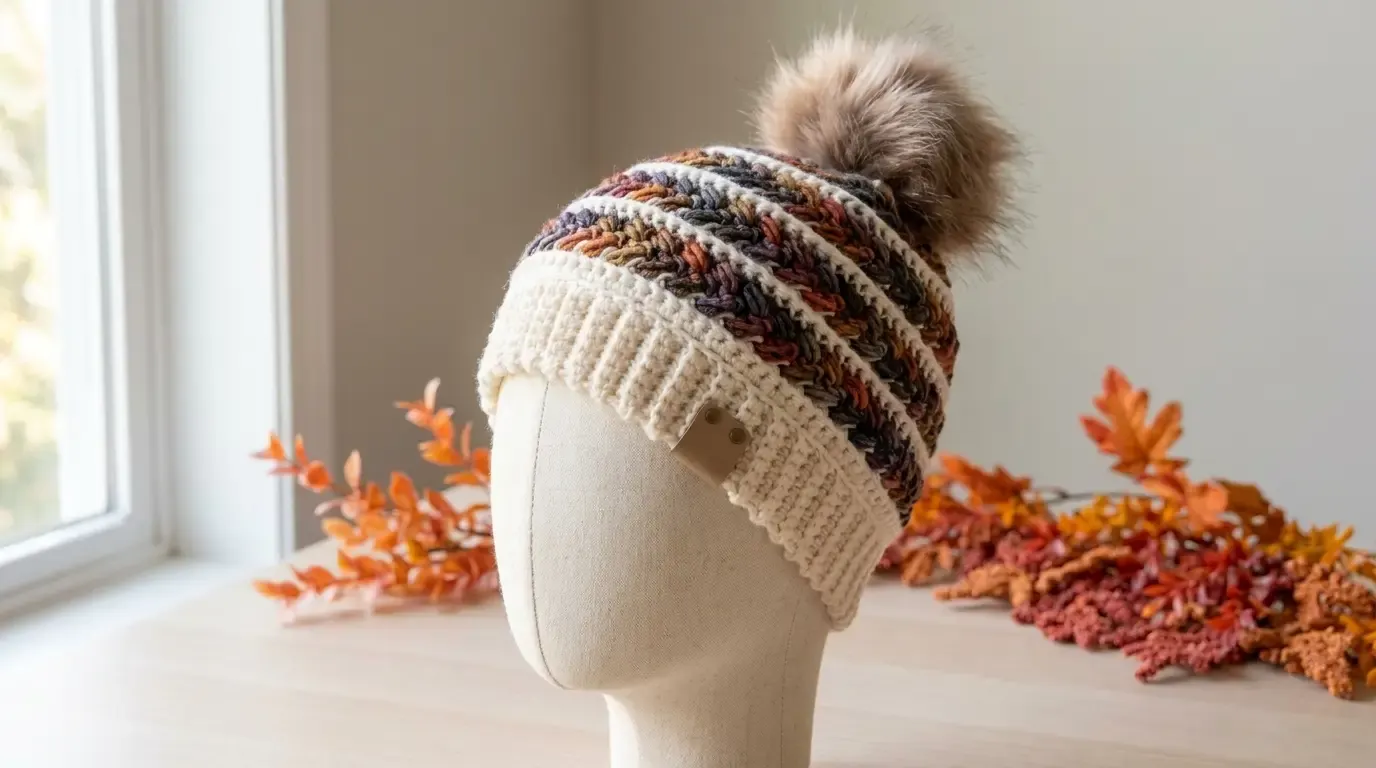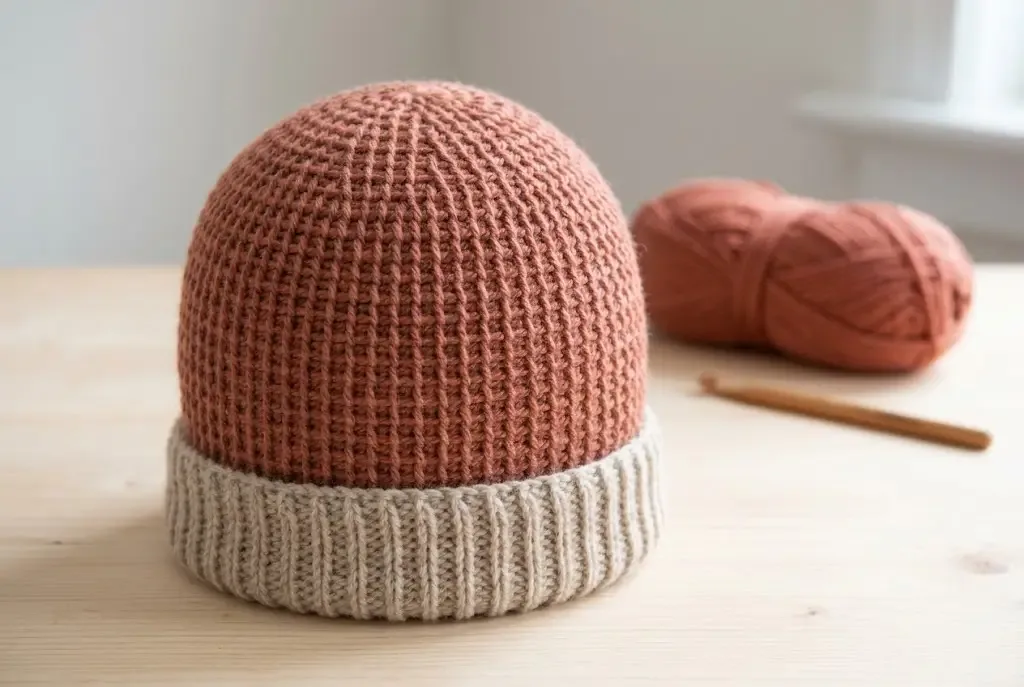
This easy ribbed crochet beanie is built from two simple rectangles: a tall crown panel and a contrasting cuff. Working half double crochet through the back loop creates the vertical ribs shown in the finished photos, while the gathered top keeps the crown rounded without complicated decreases.
About this beanie
This project is a wearable accessory worked flat in US half double crochet through the back loop only (hdc BLO). The sideways rows make the ribs run from the cuff toward the crown when the hat is worn. A separate cuff is folded upward for extra warmth and a neat two-tone finish.
Materials
- 180–220 yd (165–201 m) worsted-weight yarn (category 4) in dusty rose for the crown
- 60–80 yd (55–73 m) worsted-weight yarn in cream for the cuff
- 5 mm (H-8) crochet hook, or the size needed to meet gauge
- Tapestry needle and scissors
- Four locking stitch markers (optional)
Gauge and finished size
Gauge is 16 hdc BLO and 12 rows in a 4 in (10 cm) square after a light steam or wash test. The finished hat is approximately 20 in (51 cm) around and 9 in (23 cm) tall before folding the cuff, with comfortable negative ease for an average adult head. Measure the wearer’s head and adjust the row count if needed.
Abbreviations
- ch — chain
- hdc — half double crochet
- hdc BLO — half double crochet through the back loop only
- sl st — slip stitch
Pattern notes
- Turning chains do not count as stitches.
- The foundation-chain edge is the height of each panel; the row ends create the hat circumference.
- Work every hdc of the main panels through the back loop to keep the ribbing consistent.
- The crown is gathered with a running stitch rather than decreased in rounds, so the opening can be adjusted before it is closed.
Crown panel
With dusty rose yarn, ch 34.
Row 1: Hdc in the second chain from the hook and in each chain across. (33 sts)
Rows 2–60: Ch 1, turn. Hdc BLO in each stitch across. (33 sts)
Fasten off, leaving a 20 in (51 cm) sewing tail. The panel should measure about 8½–9 in (22–23 cm) tall and 20 in (51 cm) long when relaxed.
Seam and gather the crown
- Fold the panel so the first and last row meet, with the ridges running vertically. Using the long tail and a mattress stitch or neat whip stitch, seam the short ends. Secure the seam and weave in the starting end only; keep the long tail available for gathering.
- Thread the long tail through the top edge, making small running stitches through every row end. Pull gently until the opening closes into a rounded crown. Add a few extra stitches across the opening, then knot securely on the inside.
- Turn the crown right side out and smooth the gathered top. If the crown looks too pointed, loosen the gathers slightly and redistribute them before securing again.
Folded cuff
With cream yarn, ch 14.
Row 1: Hdc in the second chain from the hook and in each chain across. (13 sts)
Rows 2–60: Ch 1, turn. Hdc BLO in each stitch across. (13 sts)
Fasten off, leaving a 20 in (51 cm) tail. The cuff panel should measure about 3½ in (9 cm) tall and 20 in (51 cm) long.
Fold the cuff panel so the first and last row meet. Seam the short ends with a mattress stitch. Do not twist the ring. With the wrong side facing, align the lower edge of the crown with one long edge of the cuff and whip stitch the two layers together, easing in any small difference in length. Turn the cuff upward so the seam sits inside the fold.
Finishing
Weave in all remaining ends on the inside. Try the beanie on before trimming the tails; the ribbing should stretch comfortably without a loose gap at the crown. Lightly steam or wash according to the yarn label, then lay flat and shape the cuff and crown.
Fit adjustments
For a smaller or larger adult size, make a short gauge swatch and change the number of rows in both panels. At the stated gauge, four rows change the circumference by about 1⅓ in (3.3 cm). Keep the cuff and crown row counts identical so their seams align. To change the height, adjust the starting chain in both panels while keeping the cuff roughly one-third of the crown height.
Tips for clean ribbing
- Keep the turning chain relaxed; a tight chain can pull the panel edge inward.
- Count the 33 or 13 stitches at the end of the first few rows so the panel stays straight.
- Seam with the same tension as the fabric. A tight seam removes the stretch that makes the hat comfortable.
- Use a blunt tapestry needle and small, even running stitches when gathering the crown.
Helpful questions
Can I make this beanie smaller or larger?
Yes. Change the number of rows in both panels to alter the circumference. Remove or add rows in pairs so the cuff and crown stay the same size, then check the panel against the wearer’s head before seaming.
Is exact gauge important?
Gauge controls the finished fit. Make the swatch before beginning, especially when changing yarn weight or fiber, and adjust your hook until the fabric is stretchy but not loose.
Can I use one color instead of two?
Absolutely. Use one shade for the crown and cuff, or choose a close contrast for a subtle folded-rib effect.
How should I wash the beanie?
Follow the yarn label. Lay the hat flat to dry and reshape the crown and cuff while damp rather than hanging it, which can stretch the ribbing.