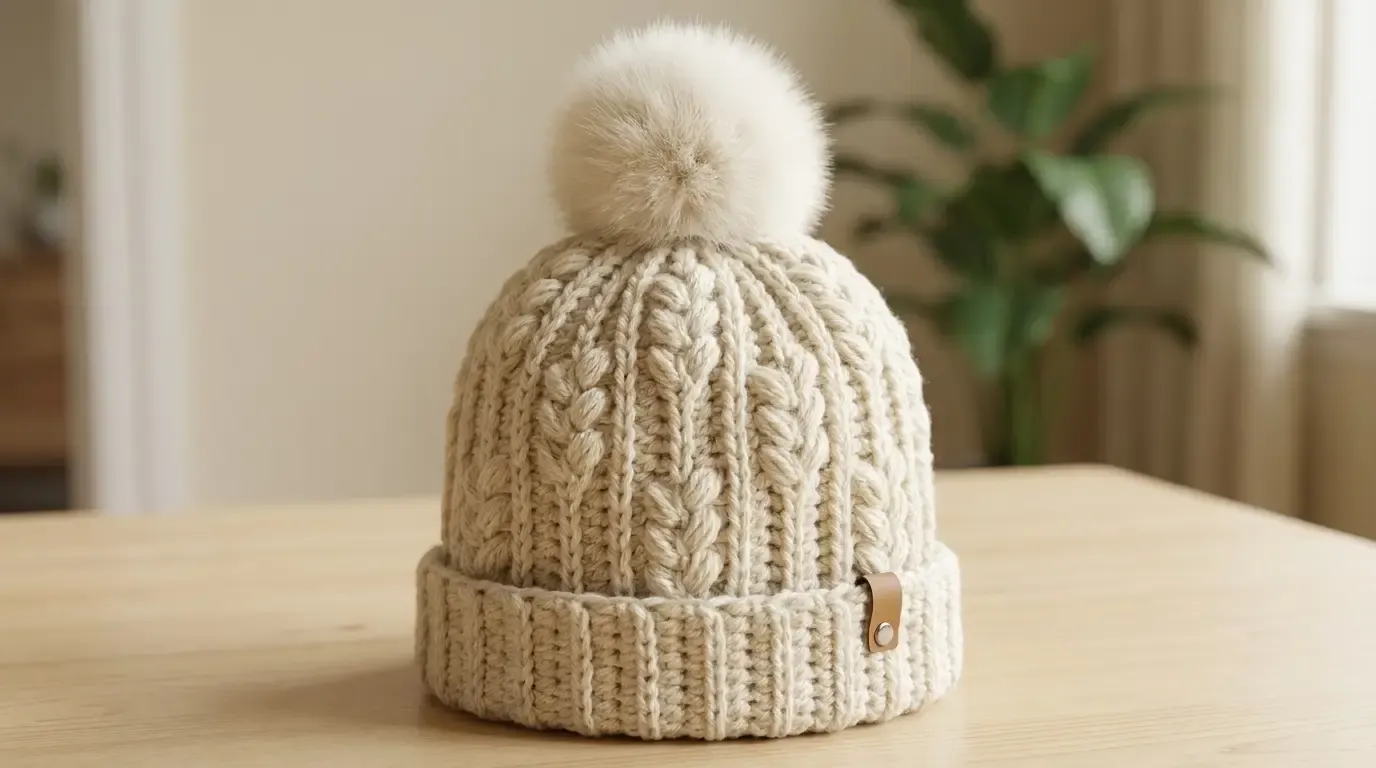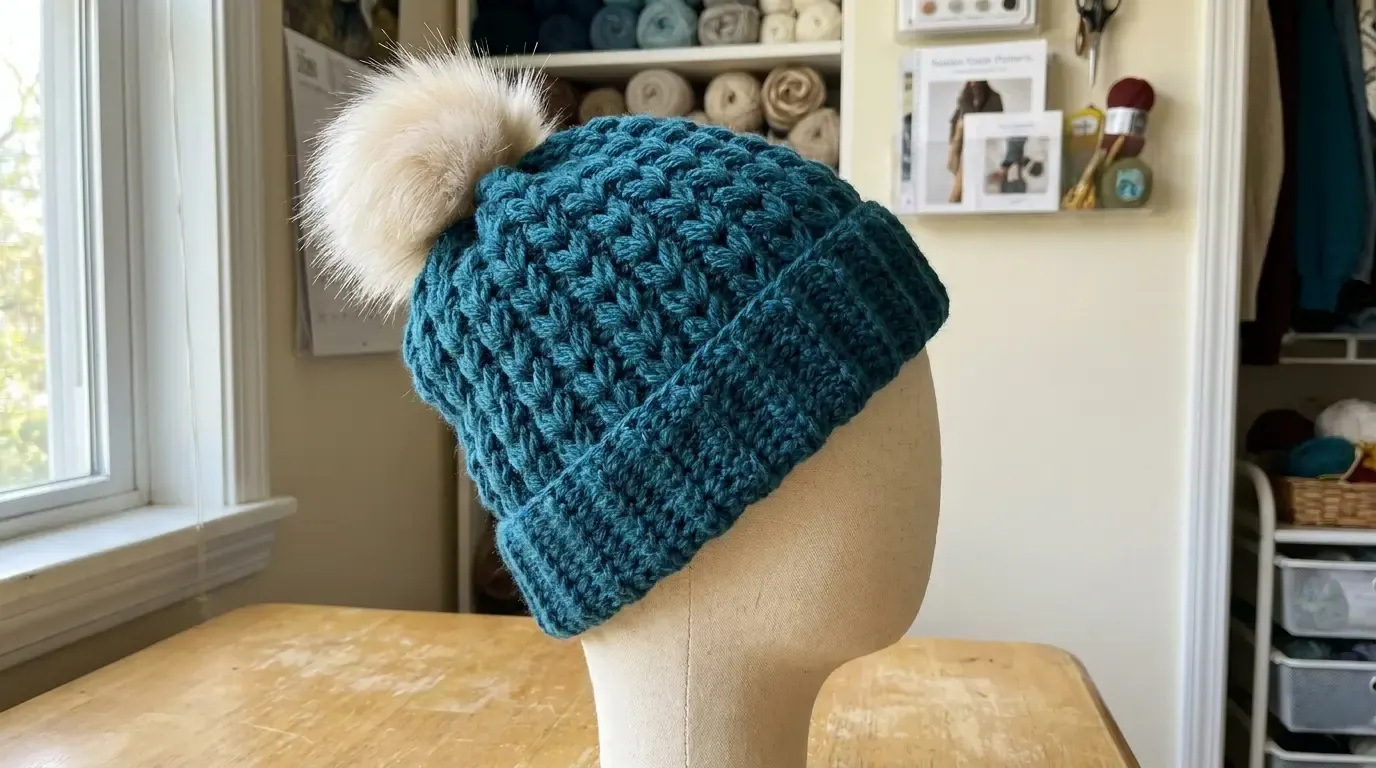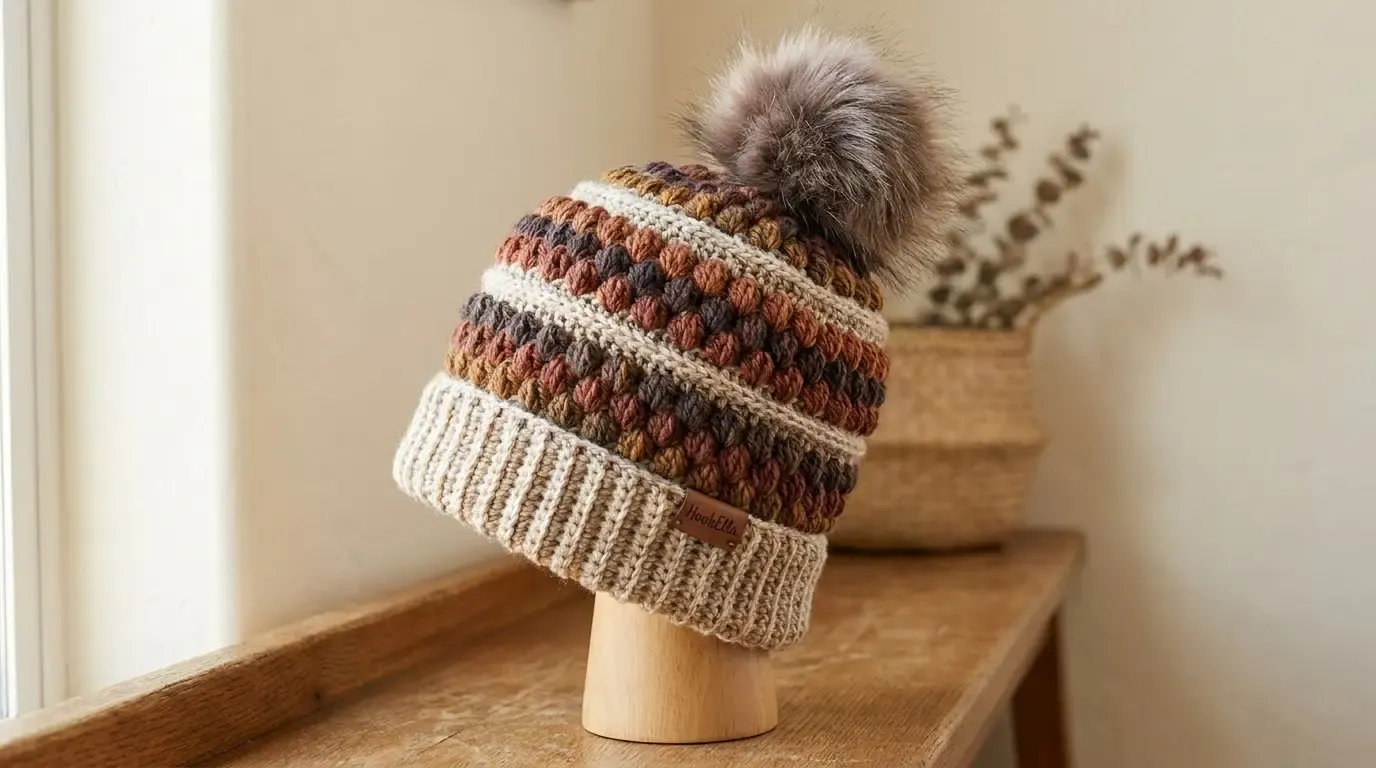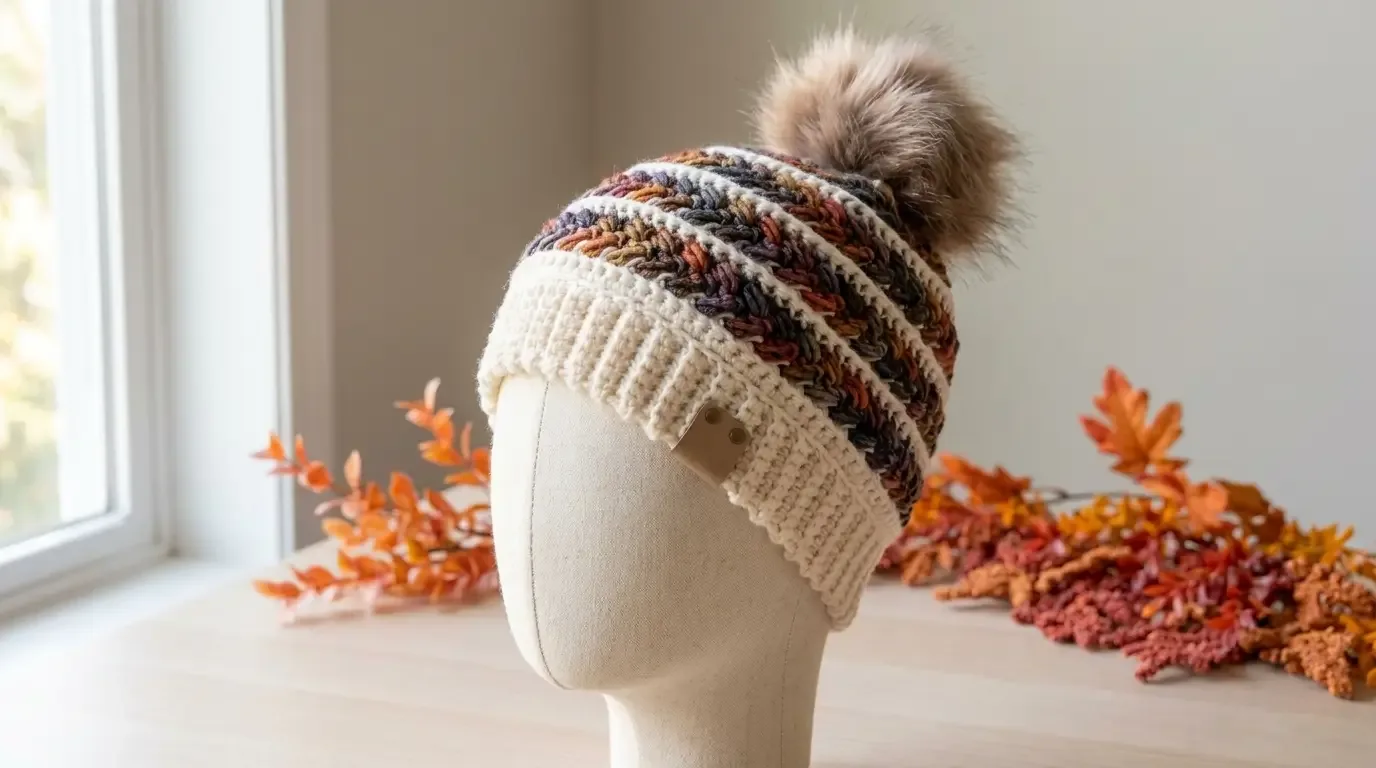
A cream cuff frames the rich flecks of autumn yarn in this cozy, textured hat. The original HookElla pattern is worked from a ribbed band upward in joined rounds, with small raised clusters, narrow cream separators, and a rounded gathered crown.
About this pattern
This original HookElla beanie pairs a warm, multicolor body with a deep ivory cuff and fine cream bands. The compact raised clusters are staggered around the hat to make a subtle grain-like texture without relying on a proprietary stitch sequence. The hat is worked bottom-up: first make the ribbed band flat, join its short edges into a ring, crochet the body directly from the band, then decrease and gather the crown.
The featured photograph and six-stage infographic show the same color placement and construction: cream ribbing, autumn-variegated textured rounds separated by cream rounds, a tapered crown, and one taupe faux-fur pom-pom. The texture in the written pattern is made with the standard three-half-double-crochet cluster defined below. The pattern has been checked for stitch arithmetic and construction consistency, but has not been physically test-crocheted.
Materials
- 180–220 yd (165–201 m) worsted-weight/category 4 autumn-variegated yarn for the body. Choose a colorway with rust, gold, brown, charcoal, and muted blue or plum flecks.
- 80–100 yd (73–91 m) worsted-weight/category 4 cream yarn for the cuff, separator rounds, and crown decreases.
- 4 mm (G/6) hook for the cuff; 5 mm (H/8) hook for the body and crown, or sizes needed to meet gauge.
- Tapestry needle, stitch marker, scissors, and tape measure.
- One large taupe faux-fur pom-pom with a sew-on loop or secure button attachment; optional woven label.
The yarn estimate is for the hat and does not include the pom-pom. A soft, washable yarn with a smooth, non-splitting strand makes the cuff comfortable and the cluster stitches easy to see. If substituting yarn, use the same weight for both colors and swatch them together; a much thicker cream yarn can make the separator rounds flare.
Finished size and fit
One adult-medium size is written. The calculated relaxed circumference is about 20 in (51 cm), designed to stretch comfortably over an adult head measuring approximately 21–22 in (53–56 cm). The ribbed cuff is about 3 in (7.5 cm) deep before folding. Eighteen body rounds measure about 7¼ in (18 cm) at gauge; folding the 3-in cuff in half adds about 1½ in (3.8 cm), for an estimated finished height of about 8¾ in (22 cm), depending on yarn, blocking, and fold depth.
These are gauge-based estimates, not physical sample measurements. Try the joined cuff over the intended wearer’s head before beginning the body. It should stretch without strain and recover when released.
Gauge and sizing check
With the 5 mm hook, target 12 sc or cluster stitches across and 10 rounds high = 4 in (10 cm) in the body fabric, measured relaxed after washing and drying the swatch as you plan to care for the hat. For the cuff, target 16 hdc across and 12 rows high = 4 in (10 cm) using the 4 mm hook and BLO ribbing.
Make a swatch at least 20 stitches wide and 12 rounds tall, including raised cluster rounds and a cream separator round. The stitch gauge controls circumference and the round gauge controls height. The Yarnivo Gauge Calculator can convert your swatch counts into measured gauge; it cannot confirm the fit or change the crown shaping for you. If your body swatch is wider than gauge, try a smaller hook; if narrower, try a larger one. Recheck the cuff separately because it uses a different hook and stitch pattern.
The body’s 60-stitch circumference and the cuff’s 60 ribbing rows are deliberate: they meet at one stitch per row end, and 60 is divisible by the four-stitch texture repeat and the crown’s decrease groups.
Abbreviations (US terms)
- ch: chain
- hdc: half double crochet
- sc: single crochet
- sc2tog: single crochet two together
- st(s): stitch(es)
- BLO: back loop only
- rep: repeat
- rnd(s): round(s)
- sl st: slip stitch
- RS: right side
Beginning chains do not count as stitches. Join each body round with a slip stitch to the first stitch, then chain 1; do not turn. The chain 1 does not count as a stitch. Move the beginning-of-round marker up each round.
Special stitches
Grain cluster (3-hdc cluster in one stitch): Yarn over, insert the hook into the next stitch, yarn over and pull up a loop, yarn over and pull through 2 loops, leaving 2 loops on the hook. Repeat that sequence twice more in the same stitch; 4 loops remain. Yarn over and pull through all 4 loops. This cluster uses one base stitch and counts as one stitch. Do not add a chain after it. The following round is worked into its top as you would a single crochet.
Sc2tog (single-crochet decrease): Insert the hook into the next stitch and pull up a loop (2 loops on hook); insert the hook into the following stitch and pull up a loop (3 loops on hook); yarn over and pull through all 3 loops. This turns 2 stitches into 1.
Pattern instructions
Ribbed cuff — worked flat
With cream yarn and the 4 mm hook, ch 14.
- Row 1 (RS): Hdc in the 3rd ch from hook and in each remaining ch across. 12 hdc. Ch 2 (does not count), turn.
- Rows 2–60: Hdc BLO in each of the 12 sts across. Ch 2, turn. 12 hdc each row. Keep the row edges even; do not tighten the turning chains.
The rectangle should measure about 20 in (51 cm) along the row direction and 3 in (7.5 cm) from foundation to last row at cuff gauge. To form a ring, bring Row 1 and Row 60 together without twisting. Seam the short edges with a flexible mattress stitch through the outer loops. Fasten off and weave in the seam tail. The foundation chain edge is the lower edge; the Row 60 edge is the upper edge where the body will attach.
Attach the body
Turn the cuff so its right side faces outward and the upper long edge is accessible. With the 5 mm hook and cream yarn, join yarn at the seam. Work 1 sc into the end stitch/turning-chain space of each cuff row around the upper edge, distributing them evenly and placing the last stitch beside the first. Join to the first sc with a sl st. 60 sc. If an edge has a tight or loose spot, redistribute the 60 stitches before joining; do not add extra stitches.
Body and autumn grain texture
Work all rounds without turning. For every round, join with a sl st to the first stitch and ch 1; the ch-1 never counts. Change colors in the final yarn-over of the joining slip stitch: use the new color to pull through the loops, then chain 1. Carry the unused strand loosely up the inside for the nearby cream separators, or fasten off and rejoin if carrying would show through the light yarn.
- Round 1 (cream setup): Ch 1, sc in each st around. Join. 60 sc. Change to autumn-variegated yarn.
- Round 2 (variegated, cluster positions 1): Rep
[grain cluster in next st, sc in next 3 sts]15 times. Join. 60 sts: 15 clusters, 45 sc. - Round 3 (variegated, shift cluster one position): Rep
[sc in next st, grain cluster in next st, sc in next 2 sts]15 times. Join. 60 sts: 15 clusters, 45 sc. - Round 4 (cream separator): Sc in each st around. Join. 60 sc. Change to variegated yarn.
- Round 5 (variegated, shift cluster two positions): Rep
[sc in next 2 sts, grain cluster in next st, sc in next st]15 times. Join. 60 sts: 15 clusters, 45 sc. - Round 6 (variegated, shift cluster three positions): Rep
[sc in next 3 sts, grain cluster in next st]15 times. Join. 60 sts: 15 clusters, 45 sc. - Round 7 (cream separator): Sc in each st around. Join. 60 sc. Change to variegated yarn.
Rounds 2–7 make one six-round texture band. Repeat Rounds 2–7 once more, working Rounds 8–13. Keep the same cluster placement order in the second band. You will have 13 rounds from the cream setup through the second band, each with 60 stitches. After the final cream separator, change to autumn-variegated yarn for Round 14. The cluster rounds consume 60 stitches and make 60 stitches because each four-stitch repeat contains one one-stitch cluster and three single crochets.
Crown shaping
Continue joining and chaining 1 as before. Work each decrease over two consecutive stitches; each sc2tog counts as one stitch.
- Round 14 (variegated): Rep
[sc in next 3 sts, sc2tog]12 times. Join. 48 sts. - Round 15 (cream): Rep
[sc in next 2 sts, sc2tog]12 times. Join. 36 sts. - Round 16 (variegated): Rep
[sc in next st, sc2tog]12 times. Join. 24 sts. - Round 17 (cream): Sc2tog 12 times around. Join. 12 sts.
- Round 18 (variegated): Sc2tog 6 times around. Join and fasten off, leaving a 12 in (30 cm) tail. 6 sts.
The count sequence is 60 → 48 → 36 → 24 → 12 → 6. Each decrease round uses all stitches from the preceding round exactly once. The alternating cream and variegated rounds make narrow color changes across the crown; for a solid crown, use cream throughout Rounds 14–18.
Construction infographic
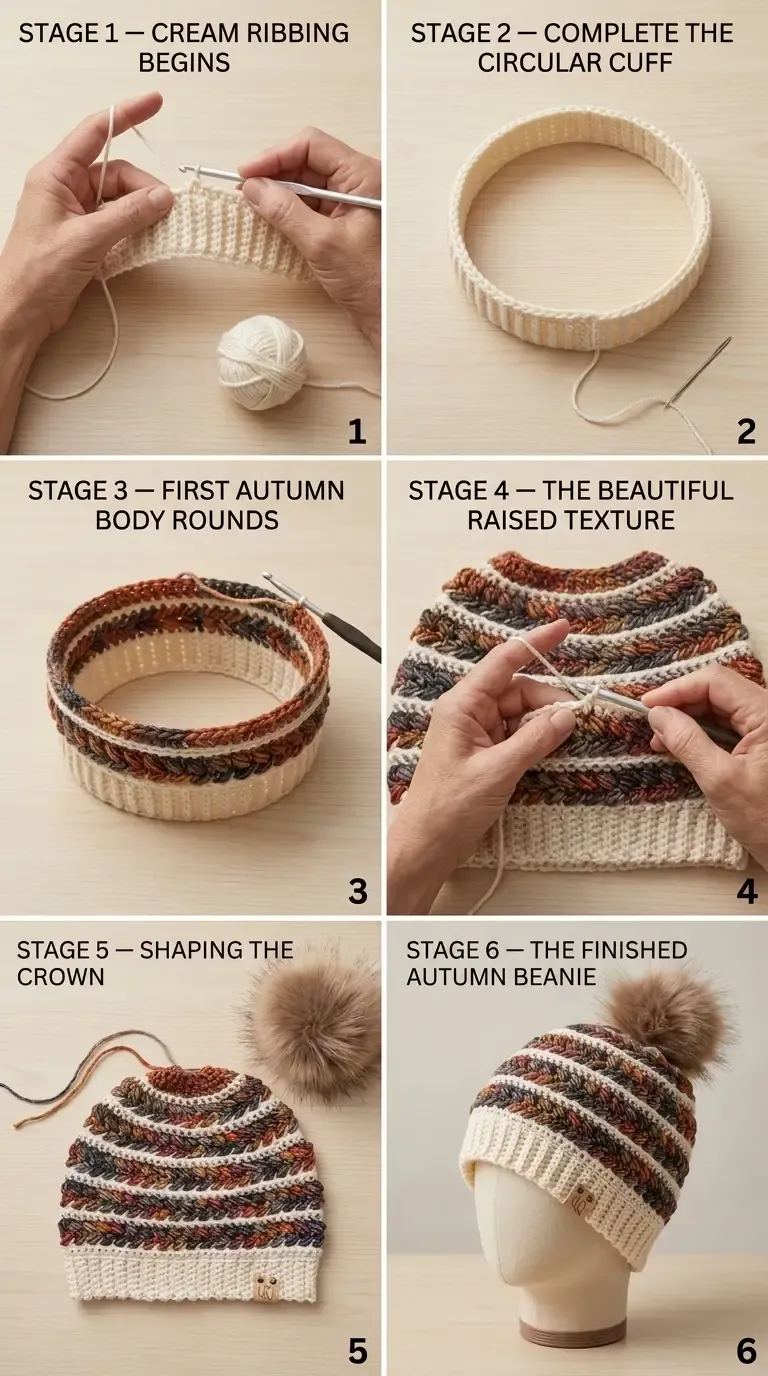
The infographic is a process overview, not a substitute for the written counts above. Its stages correspond to the flat ribbing, joined cuff, bottom-up body rounds, raised cluster texture, decreasing crown, and finished hat. Use the written pattern for the exact cluster placement and round counts.
Assembly and finishing
Thread the 12 in crown tail onto a tapestry needle. Pass it through the front loops of the remaining 6 stitches, remove the hook, and draw the opening closed evenly. Pass through the stitches a second time, then make several small securing stitches across the gathered center. Weave the tail into the inside of the crown, changing direction at least once.
Fold the lower half of the 3-in cuff upward over the upper half so the doubled cuff shows about 1½ in (3.8 cm); adjust the fold to suit the wearer. The image shows a substantial turned-up cuff. If you prefer the cuff to stay in place, tack it invisibly at the side seam and at the opposite side; otherwise leave it free to unfold. Attach the taupe faux-fur pom-pom securely at the crown using its sewn loop. If using a detachable button-backed pom, check the attachment regularly and do not use it where a loose button could pose a choking risk. A woven label is optional; sew it to the cuff after trying on the hat so it sits straight when worn.
Weave in all ends on the inside, following the stitch paths for at least 2 in (5 cm) and changing direction once. Hand-wash or machine-wash only as the yarn label allows. Reshape the crown and cuff while damp, and dry flat. Avoid ironing the raised texture or placing heat directly on faux fur.
Fit, adjustments, and troubleshooting
- Check cuff fit before the body: The joined cuff should stretch gently over a 21–22 in head without gaping. If it feels too tight or loose, adjust hook size and remake the cuff swatch before changing the 60-row count; the body join and crown are written for 60 stitches.
- Adjust circumference: This article fully writes one adult-medium size. To change fit without rewriting the decrease math, adjust the hook until a washed swatch gives the stated circumference and stretch. Do not simply add body stitches or cuff rows: the 60-stitch repeat and crown decreases depend on the count shown.
- Adjust height: Add or remove one complete six-round texture band before the crown. This changes body height by about 2⅜ in (6 cm) at the stated round gauge and also changes yarn use; check the hat against the wearer before beginning the crown.
- Texture looks lumpy: Check that each grain cluster has three hdc legs worked into one stitch and is closed through all 4 loops. Do not work an extra chain into the cluster.
- Cluster repeat drifts: Each motif repeat covers exactly 4 stitches. Place a marker at the first stitch of every round and count 15 clusters on each textured round.
- Cream separators ripple: Keep the carried yarn relaxed and use the same 5 mm hook for the cream separator rounds as for the body. Do not pull the carried strand tightly across the inside.
- Crown will not lie smoothly: Confirm the stitch counts before each decrease round and distribute the final drawstring evenly before securing it. A firm gather is expected; sharp folds usually mean the tail was pulled closed too quickly.
Frequently asked questions
Can I make this with one solid color?
Yes. The cluster texture remains visible in a solid worsted yarn. The cream separator rounds are part of the pictured color story but can be made in the main color.
Is the pom-pom necessary?
No. It is a decorative finish and can be omitted. If you add one, use a secure sewn attachment and follow the pom-pom maker’s care directions.
Has the pattern been physically tested?
No physical test crochet is claimed. The stitch counts, repeat arithmetic, crown decreases, round totals, and gauge-derived size estimates have been checked on paper. Make a swatch and confirm cuff fit before proceeding.
What if my yarn is a different fiber?
Choose a comfortable, washable yarn with good recovery. Wool blends may feel springier; acrylic is often easy-care; cotton can make a heavier, less elastic cuff. Fiber and ply affect drape and yardage, so wash and dry your swatch before measuring.
For another hat project, see the Cloudridge 3D Beanie or browse HookElla’s Wearables & Accessories.
Inspiration and attribution
This is an independently written HookElla pattern with its own cluster placement, color sequence, stitch counts, and crown shaping. It is not the Wheat Stitch™ Beanie by Briana K Designs, and no proprietary instructions or stitch sequence from that design are reproduced here. The separate reference project is by Briana K Designs.
Helpful questions
Is the Autumn Grain Beanie physically tested?
No physical sample test is claimed. The stitch arithmetic, repeat counts, shaping, and gauge-derived measurements were checked mathematically; make and measure a swatch before starting.
Can I use a solid yarn instead of autumn variegated yarn?
Yes. A solid worsted yarn will show the raised grain clusters clearly. Keep the cream separator rounds for the pictured contrast, or work them in the main color for a quieter look.
Is the pom-pom required?
No. The pom-pom is optional. Sew it securely to the gathered crown, or omit it for a simpler finish.