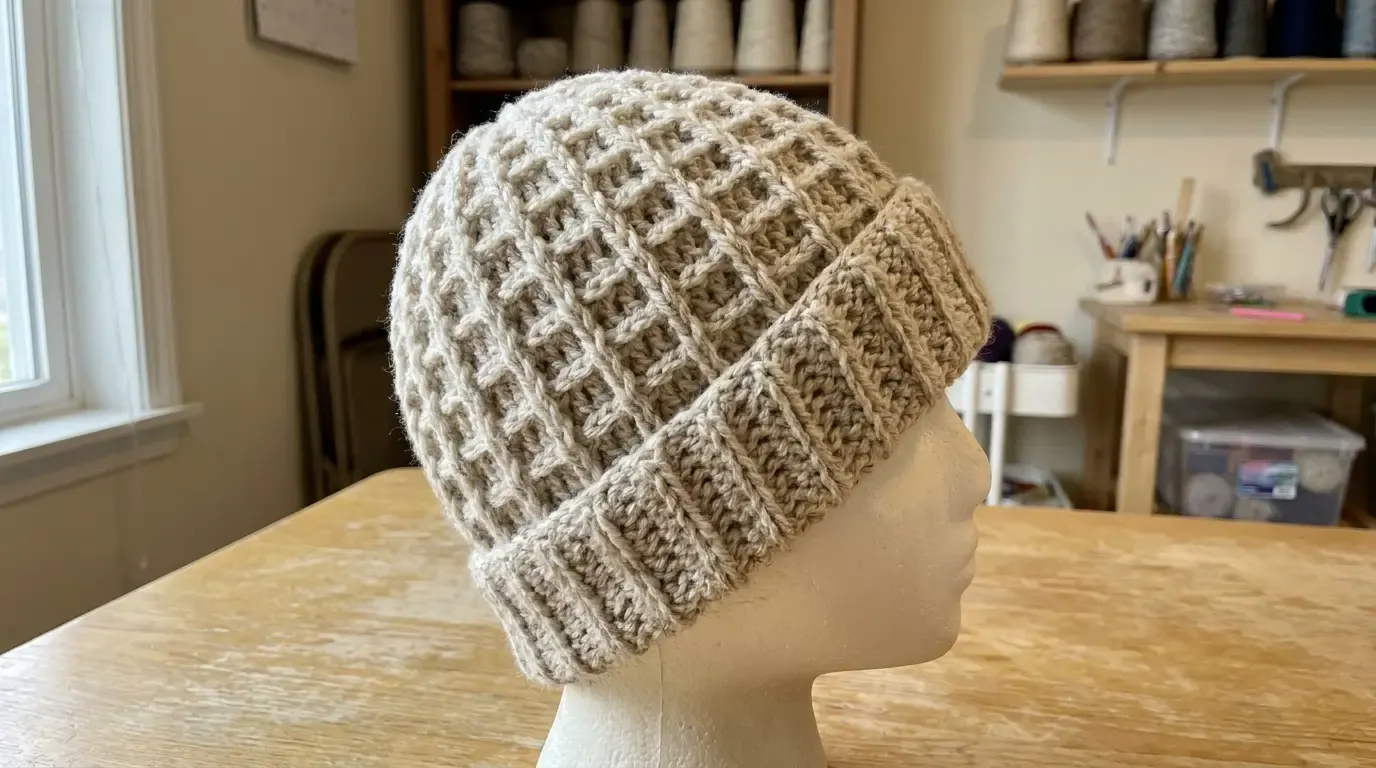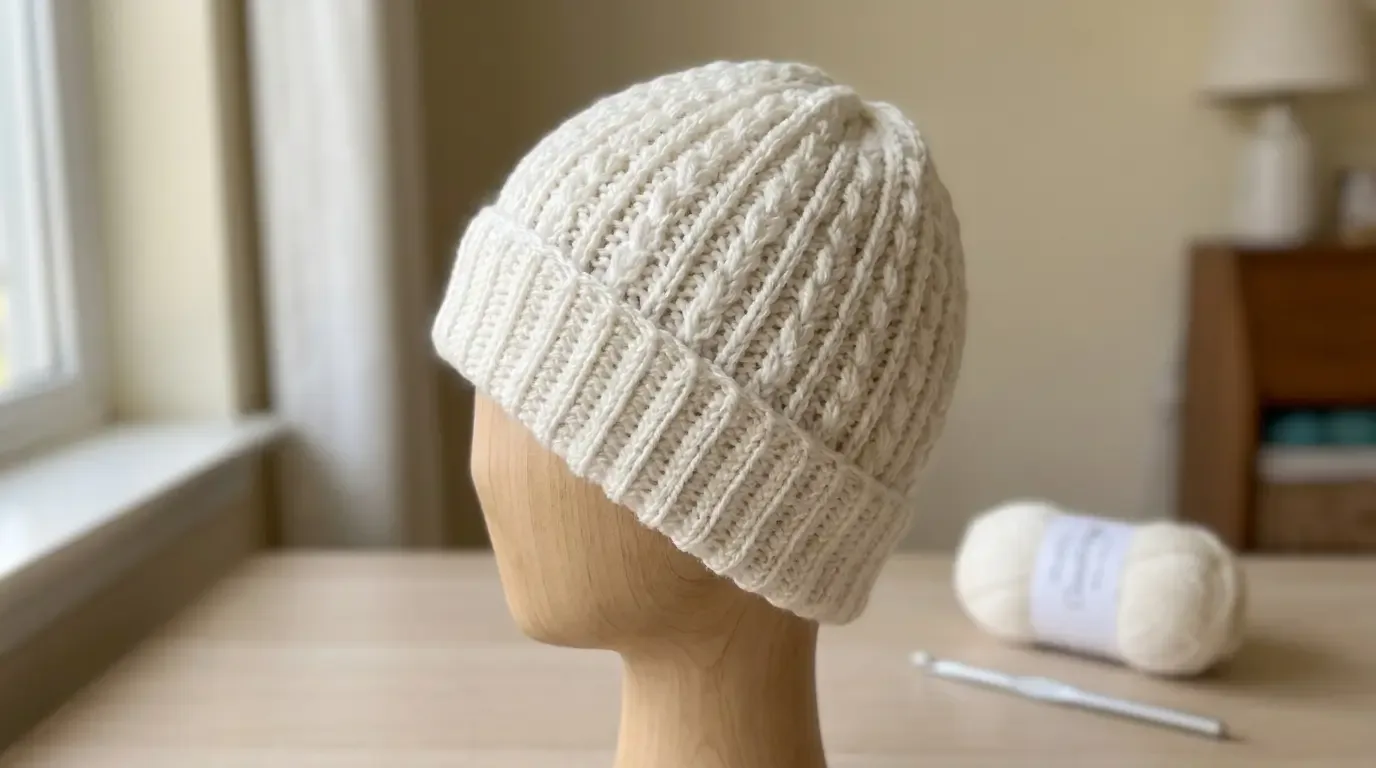
The Cloudridge 3D Beanie pairs a deep folded cuff with raised vertical ribs and a rounded crown. It is worked from the cuff upward, making the fit easy to check before the crown decreases begin.
About the Cloudridge Beanie
This beanie is worked cuff-up. A stretchy strip forms the folded brim; stitches are picked up through both cuff layers, and the body grows in the round. Paired front-post ridges make the dimensional texture, while evenly spaced crown decreases shape the top.
The pattern uses US crochet terms. Choose the size by head measurement and use the matching stitch count throughout. The crown shaping is written for this stitch count and does not automatically adapt to other motifs or constructions.
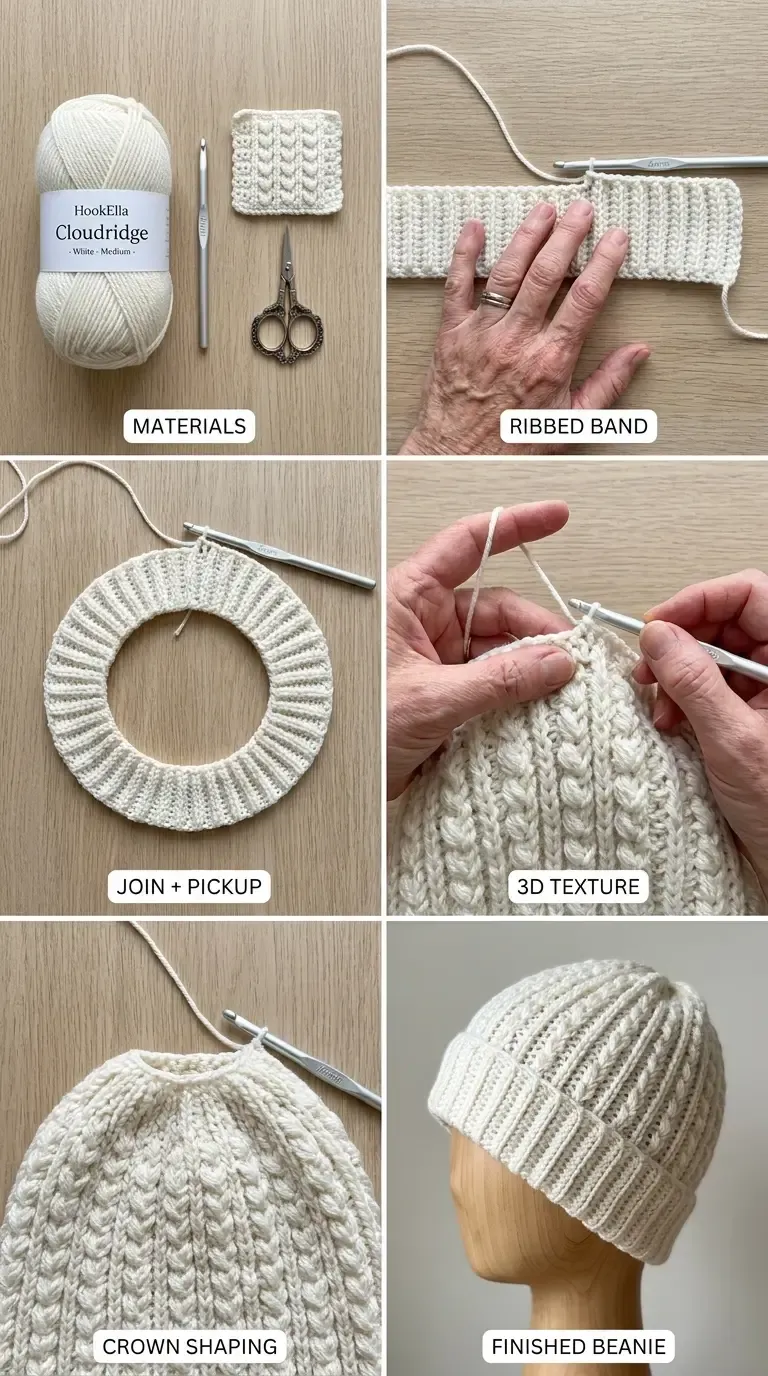
Sizes and finished measurements
Choose the size closest to your head circumference, measured around the widest part of the head just above the ears.
| Size | Head circumference | Finished hat circumference | Body stitches |
|---|---|---|---|
| S | 20–21 in (51–53 cm) | 19.5 in (49.5 cm) | 88 |
| M | 22–23 in (56–58.5 cm) | 21.25 in (54 cm) | 96 |
| L | 24–25 in (61–63.5 cm) | 23 in (58.5 cm) | 104 |
The folded cuff is about 2.2 in (5.5 cm) deep. From the folded lower edge to the crown, the finished hat is approximately 9.75–10.5 in (25–26.5 cm), depending on gauge and how far the body is worked before decreasing.
Materials
- Medium / #4 yarn with good recovery: about 200 (220, 240) yd / 183 (201, 220) m
- 4 mm (G-6) crochet hook, or size needed to meet gauge
- Stitch marker
- Yarn needle and scissors
A smooth, plied acrylic, wool, or wool-blend yarn shows the ridges well and gives the cuff enough stretch to sit comfortably. The pictured sample is cream; any solid or gently tonal shade will keep the relief clear.
Gauge
In the textured body after blocking, 18 stitches and 14 rounds = 4 in (10 cm). Measure across the center of the swatch, excluding the outer edges. For the cuff, aim for about 14 rib rows = 4 in (10 cm) along the strip.
Make a swatch in the round for the body texture and wash or block it as you plan to treat the finished hat. Compare your measurements before choosing a size. If it helps translate your measured swatch into projected dimensions, use Yarnivo’s crochet gauge calculator; the fit and crown shaping still depend on the size and instructions below.
Abbreviations
- BLO — back loop only
- ch — chain
- FPdc — front-post double crochet
- hdc — half double crochet
- hdc2tog — half double crochet two together
- sc — single crochet
- sl st — slip stitch
- st(s) — stitch(es)
Special stitch
Front-post double crochet (FPdc): Yarn over, insert the hook from front to back to front around the post of the indicated stitch, yarn over and pull up a loop, then complete as a double crochet. The post stitch is worked around the stitch post rather than into its top loops. On each textured round, work the FPdc around the FPdc from the previous round to keep the ridge vertical.
Ribbed folded cuff
The cuff is worked as a flat strip, then seamed into a ring. The strip is folded lengthwise so its two long edges meet; the first body round is picked up through both edges.
Ch 21.
Row 1: Sc in 2nd ch from hook and in each ch across — 20 sc. Ch 1, turn.
Row 2: Sc in BLO across — 20 sc. Ch 1, turn.
Repeat Row 2 until the strip measures approximately 19.5 (21.25, 23) in / 49.5 (54, 58.5) cm when gently stretched, or until it fits the wearer with comfortable negative ease. At the stated cuff row gauge, this is about 68 (75, 81) rows total, including Row 1; use the measured length as the final guide. Fasten off, leaving a long tail.
Bring the short ends together without twisting. Using the tail, mattress-stitch the ends to form a ring. Fold the strip lengthwise with the wrong sides facing each other and align the two long edges. The folded edge becomes the lower cuff edge.
Pick up the body stitches
With the folded cuff held flat, join yarn through both aligned long edges at the seam. Work sc evenly through both layers around the opening, distributing the stitches as evenly as possible:
- Size S: 88 sc (11 repeats of 8)
- Size M: 96 sc (12 repeats of 8)
- Size L: 104 sc (13 repeats of 8)
Join with a sl st to the first sc without twisting. Place a marker for the beginning of the round. Check that the folded cuff is not twisted and that the two layers are caught in every pickup stitch.
Textured body
The body repeat is 8 stitches: one hdc, two FPdc, then five hdc. The paired FPdc stitches make one raised rib; the surrounding hdc stitches form the recessed ground.
Round 1: Ch 1 (does not count as a stitch). Hdc in each stitch around. Join with a sl st to the first hdc. Do not turn.
Round 2: Ch 1. *Hdc in next st, FPdc around each of next 2 sts, hdc in next 5 sts; repeat from * around. Join with a sl st to the first hdc.
Rounds 3 onward: Repeat Round 2, working each FPdc around the corresponding FPdc below it. Keep the stitches in the five-stitch ground sections as hdc.
Continue until the body, measured from the top edge of the cuff, is about 4.75 in (12 cm). Finish after a complete round and stop at the marker. The body should measure roughly 4.5–5 in before crown shaping; adjust only the number of straight body rounds, not the stitch count.
Crown shaping
The texture ends before the crown. Work the crown in hdc so the eight decrease points can be spaced evenly without disrupting the raised ridges.
At the start of each crown round, count the stitches currently on the round. Divide that number by 8. In each of the eight sections, work (section count − 2) hdc, then hdc2tog. For example, with 96 stitches, each section has 12 stitches: work 10 hdc, then hdc2tog in each section. This removes exactly 8 stitches every round.
| Size | Crown rounds | Stitch count after final decrease round |
|---|---|---|
| S (88 body sts) | 10 | 8 |
| M (96 body sts) | 11 | 8 |
| L (104 body sts) | 12 | 8 |
Crown Round 1: Ch 1. Work (hdc in next [section count − 2] sts, hdc2tog) 8 times. Join with a sl st to the first hdc. Place the marker in the first stitch of the next round.
Repeat Crown Round 1, recalculating the section count from the current stitch count each time. The count drops by 8 stitches per round. Continue until 8 stitches remain. Fasten off, leaving a 10 in (25 cm) tail.
Thread the tail through the front loops of the remaining 8 stitches. Pull closed firmly, pass the yarn through the center to the inside, and secure it on the wrong side.
Finishing
Weave in the body end and the cuff seam tail. Fold the cuff up evenly so the folded edge sits at the lower edge of the hat. Wet-block gently to the finished measurements, smoothing the textured ribs without flattening them. Let the hat dry fully before wearing.
Fit notes and troubleshooting
- The cuff is too loose: Shorten the strip slightly before seaming. The folded cuff should stay in place without squeezing.
- The cuff is too tight: Add a few rows to the strip, then redistribute the required body stitch count evenly around it.
- The body flares: Check that the pickup count matches your size and that no extra stitches were added at the seam.
- A ridge wanders: Make each FPdc around the FPdc directly below, rather than around the next hdc.
- The crown forms a point: Keep all eight decreases evenly distributed and draw the final eight stitches closed snugly.
- The hat is too short or tall: Adjust the straight body rounds before starting the crown. Changing the stitch count or crown decreases can change the fitted shape.
For another warm winter accessory, browse HookElla’s ribbed crochet beanie pattern or the Wearables & Accessories collection.
Helpful questions
What sizes does the Cloudridge Beanie include?
The pattern includes adult S, M, and L for head circumferences of 20–21, 22–23, and 24–25 inches. Choose by measuring around the widest part of the head above the ears.
How is the folded cuff made?
Crochet a ribbed strip sideways, seam its short ends into a ring, fold the strip lengthwise, then crochet through both aligned long edges to begin the hat body.
What creates the raised vertical texture?
Repeated front-post double crochet stitches stand above a half-double-crochet ground. Two raised stitches form each vertical ridge pair, with five ground stitches between pairs.
Can I use another yarn weight?
Use a medium /
Does the pattern include crown shaping?
Yes. The crown is shaped with eight evenly spaced half-double-crochet decreases per round until eight stitches remain, then the opening is gathered closed.