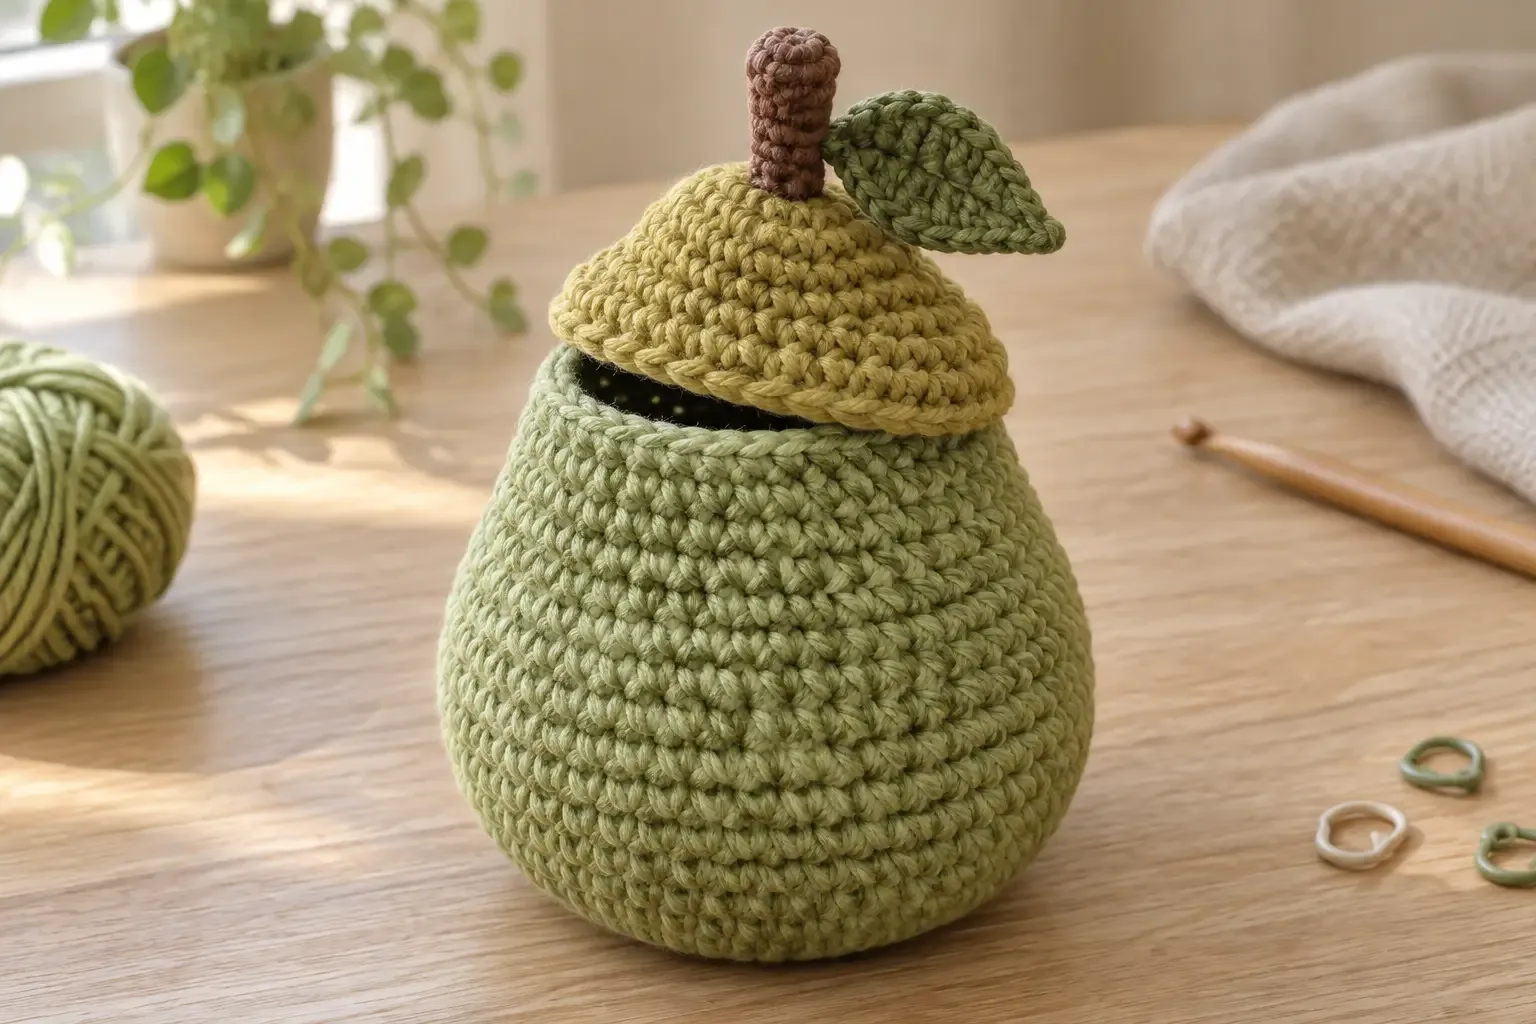
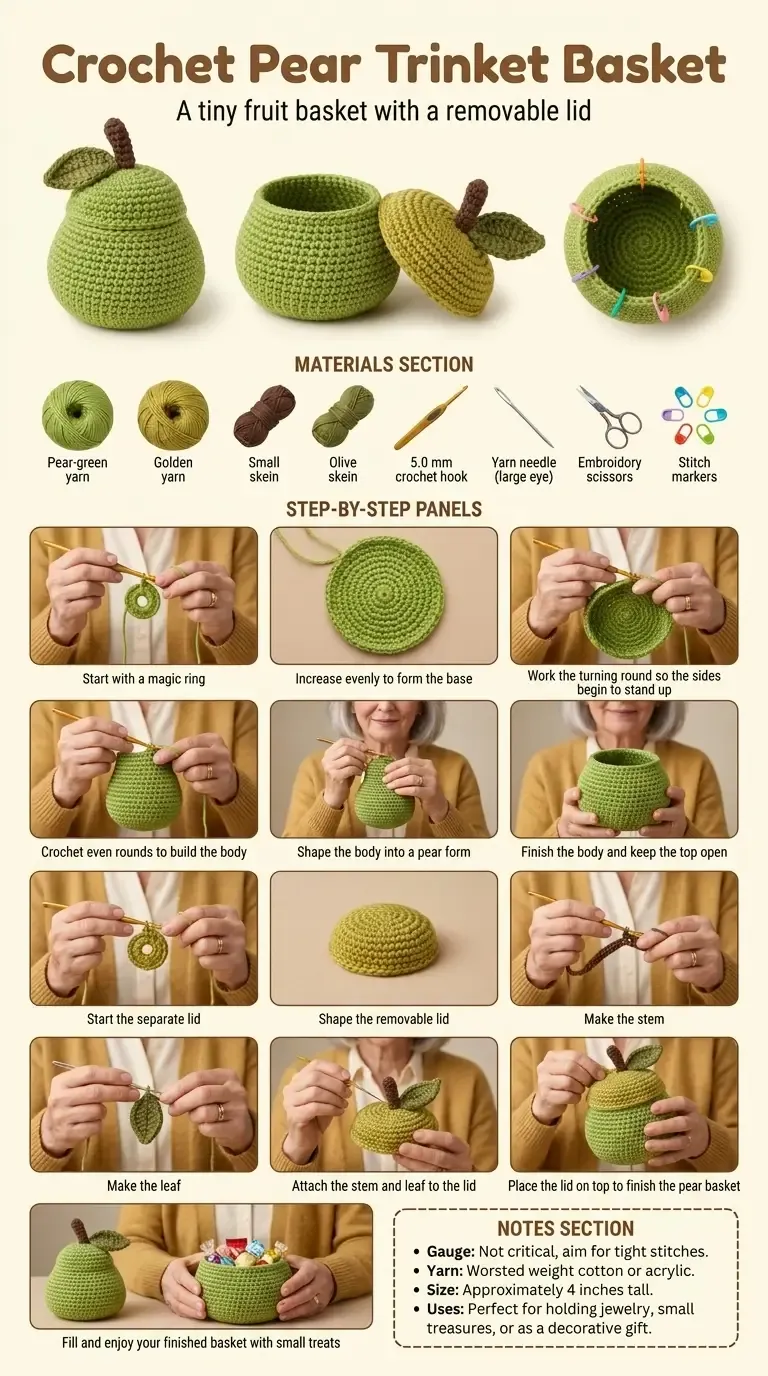
This little pear basket is a practical container with a playful fruit shape. The body begins as a flat circle, rises in single crochet rounds, and then narrows toward the neck before a separate golden-green lid, stem, and leaf are added.
About this pattern
This pear-shaped container is worked from the bottom up in joined single-crochet rounds. The first rounds create a broad, flat base; evenly spaced decreases then taper the upper body into a smaller neck. The separate lid repeats the circular increases and finishes with a short brim, while a small stem and leaf complete the fruit shape.
These are original HookElla instructions based on the supplied finished and construction images. US terminology is used throughout. The pattern has not been physically tested, so check the lid fit and finished measurements as you work.
Materials
- Worsted-weight (category 4) cotton or acrylic yarn: approximately 130 yd (119 m) pear green
- Approximately 45 yd (41 m) golden or yellow-green yarn for the lid
- Small amounts of brown yarn for the stem and olive yarn for the leaf
- 5 mm (H-8) crochet hook
- Tapestry needle, scissors, stitch marker, and optional felt for the base
Finished size and gauge
The finished basket is approximately 4.5 in (11.5 cm) wide and 3.5–4 in (9–10 cm) tall, or about 4.5 in (11.5 cm) including the lid. Gauge is flexible for a container; aim for about 4 single crochet stitches and 4 rounds per inch (16 stitches and 16 rounds per 4 in / 10 cm). Make the body and lid at the same gauge.
Abbreviations
- ch — chain
- sc — single crochet
- sc2tog — single crochet two stitches together
- sl st — slip stitch
- st(s) — stitch(es)
- inc — 2 sc in the same stitch
Pattern notes
- Join every round with a slip stitch to the first sc; the ch 1 does not count as a stitch.
- Mark the first stitch and move the marker after each join.
- Work the base increases evenly so it stays flat. The later decreases are spaced evenly to create a smooth pear taper.
- Keep the lid separate; it is designed to lift off rather than hinge.
Instructions
Pear body
With pear-green yarn, make a magic ring. Alternatively, ch 2 and work Round 1 into the second chain.
- Round 1: 6 sc in the ring — 6 sts. Join.
- Round 2: Ch 1, inc in each stitch around — 12 sts. Join.
- Round 3: Ch 1, sc in the next st, inc in the next st around — 18 sts. Join.
- Round 4: Ch 1, sc in the next 2 sts, inc in the next st around — 24 sts. Join.
- Round 5: Ch 1, sc in the next 3 sts, inc in the next st around — 30 sts. Join.
- Round 6: Ch 1, sc in the next 4 sts, inc in the next st around — 36 sts. Join.
- Round 7: Ch 1, sc in the next 5 sts, inc in the next st around — 42 sts. Join.
- Round 8: Ch 1, sc in the next 6 sts, inc in the next st around — 48 sts. Join.
- Rounds 9–10: Ch 1, sc around — 48 sts. Join after each round.
- Round 11: Ch 1, sc in the next 6 sts, sc2tog around — 42 sts. Join.
- Rounds 12–13: Ch 1, sc around — 42 sts. Join after each round.
- Round 14: Ch 1, sc in the next 5 sts, sc2tog around — 36 sts. Join.
- Rounds 15–17: Ch 1, sc around — 36 sts. Join after each round.
- Round 18: Ch 1, sc in the next 4 sts, sc2tog around — 30 sts. Join.
- Rounds 19–21: Ch 1, sc around — 30 sts. Join after each round.
Fasten off and weave in the end. The body should have a wide lower section and a 30-stitch opening at the neck. Add one plain round if you want more height, but keep the opening at 30 stitches for the lid.
Removable lid
With golden or yellow-green yarn, make a magic ring.
- Round 1: 6 sc in the ring — 6 sts. Join.
- Round 2: Inc in each stitch around — 12 sts. Join.
- Round 3: Sc in the next st, inc in the next st around — 18 sts. Join.
- Round 4: Sc in the next 2 sts, inc in the next st around — 24 sts. Join.
- Round 5: Sc in the next 3 sts, inc in the next st around — 30 sts. Join.
- Round 6: Sc in the next 4 sts, inc in the next st around — 36 sts. Join.
- Rounds 7–9: Ch 1, sc around — 36 sts. Join after each round.
- Round 10 (brim): Ch 1, sc in the next 5 sts, inc in the next st around — 42 sts. Join.
- Round 11: Ch 1, sc around — 42 sts. Join, fasten off, and leave a sewing tail.
Place the lid over the 30-stitch body opening. The 42-stitch brim should overlap the neck enough to stay in place while remaining easy to lift. If it feels tight, lightly block it over the basket before adding the stem.
Stem
With brown yarn, ch 8.
- Row 1: Sc in the second chain from the hook and across — 7 sc.
- Rows 2–6: Ch 1, sc across — 7 sc.
Fasten off, leaving a long tail. Roll the strip into a narrow tube, add a pinch of fiberfill, and sew the long edge closed. Stitch the stem to the center of the lid through several underside stitches.
Leaf
With olive yarn, ch 7. Starting in the second chain from the hook, work sl st, sc, hdc, dc, hdc, sc down one side. Ch 1, then work the same sequence back along the opposite side of the foundation chain. Slip stitch to the first stitch, fasten off, and sew the leaf beside the stem.
Assembly and finishing
Weave in all ends on the inside. Check that the lid sits level and lifts without catching on the stem. Add a felt circle inside the base if desired. Use the basket for dry, lightweight objects and follow the yarn label for spot cleaning.
Helpful tips
- Confirm the body stitch counts after shaping: 48, then 42, 36, and finally 30 stitches.
- Keep the decrease stitches aligned around the body so the pear taper looks smooth rather than angular.
- If the lid brim waves, use slightly looser tension on the final round or block it gently over the opening.
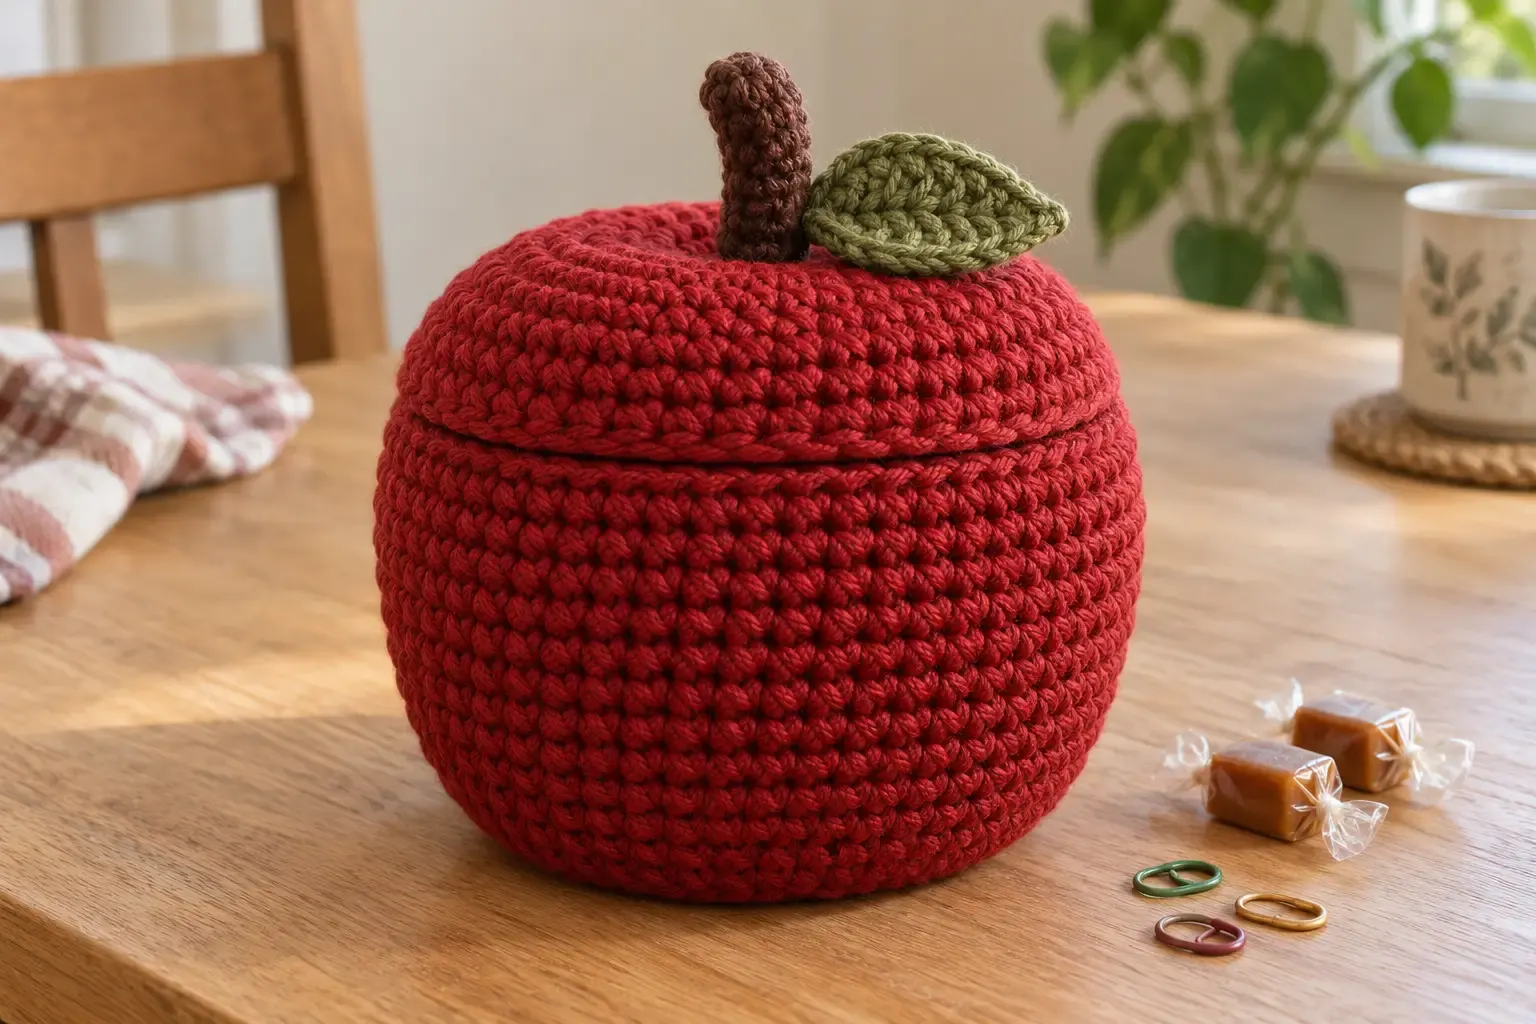
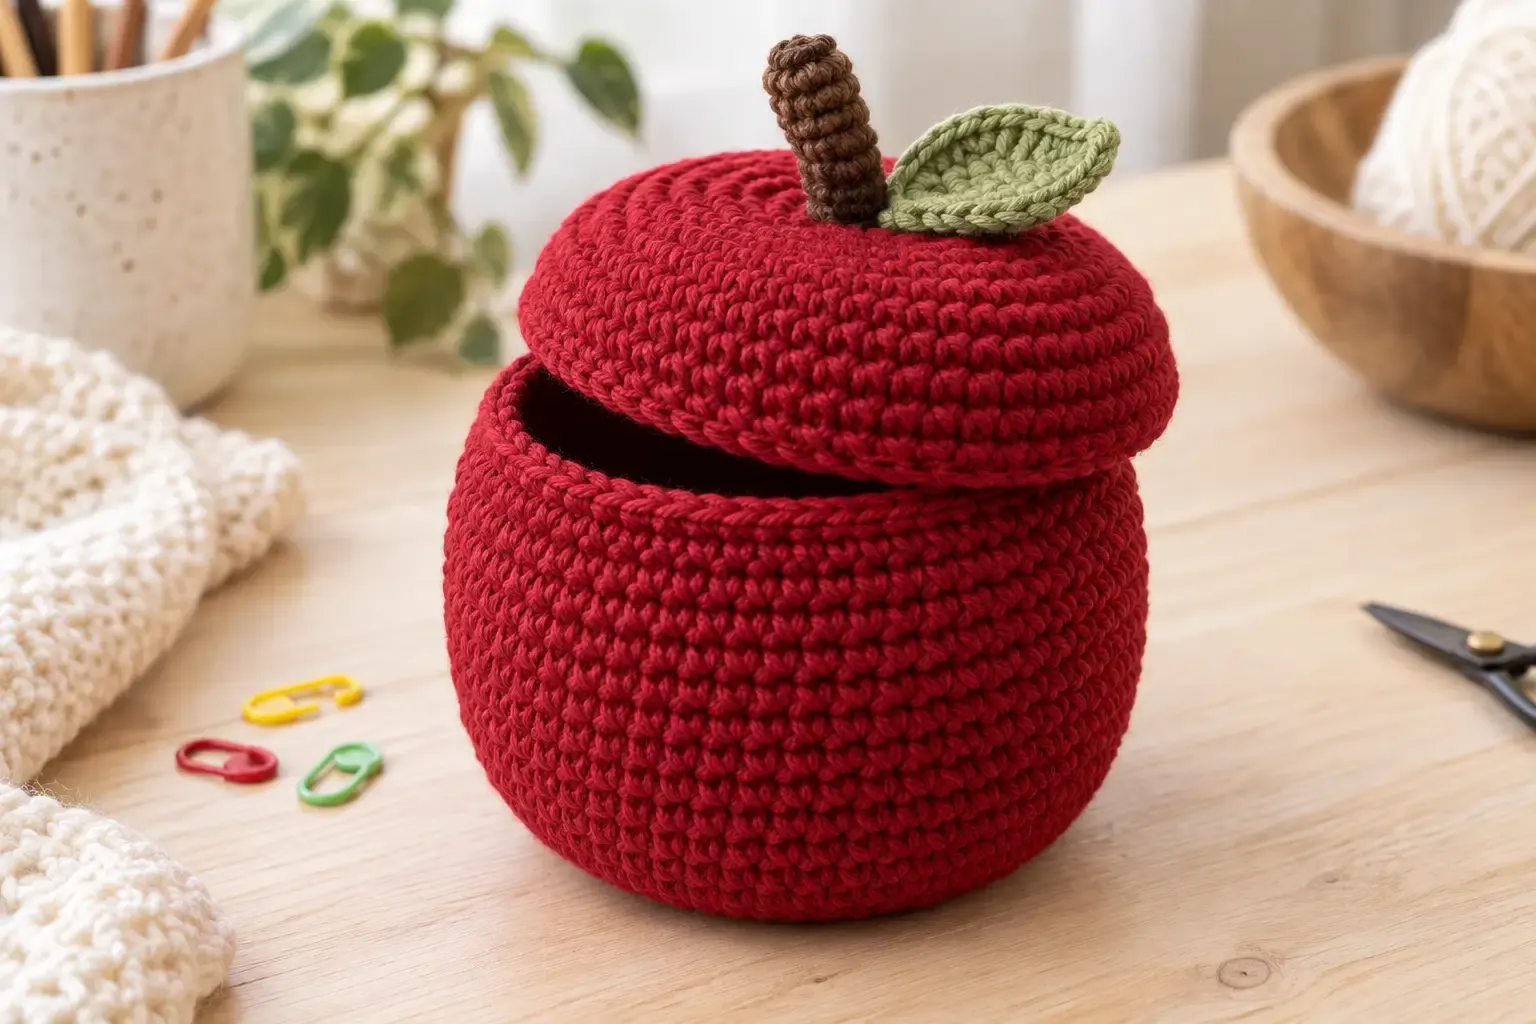
- Pair this project with the Crochet Apple Trinket Basket for a small fruit-themed storage set.
Helpful questions
What can I store in this pear basket?
It is useful for small, dry, lightweight items such as jewelry, stitch markers, clips, wrapped treats, or desk notions.
Can I make the pear taller?
Add plain body rounds before the neck decreases. Keep the final 30-stitch neck and lid measurements unchanged so the lid still fits.
How do I make the basket firmer?
Use a dense fabric with a hook that gives tight stitches. A felt circle inside the base can add stability without changing the crochet pattern.
Is the lid removable?
Yes. The lid is made separately and rests over the narrowed neck so you can lift it off to reach the contents.