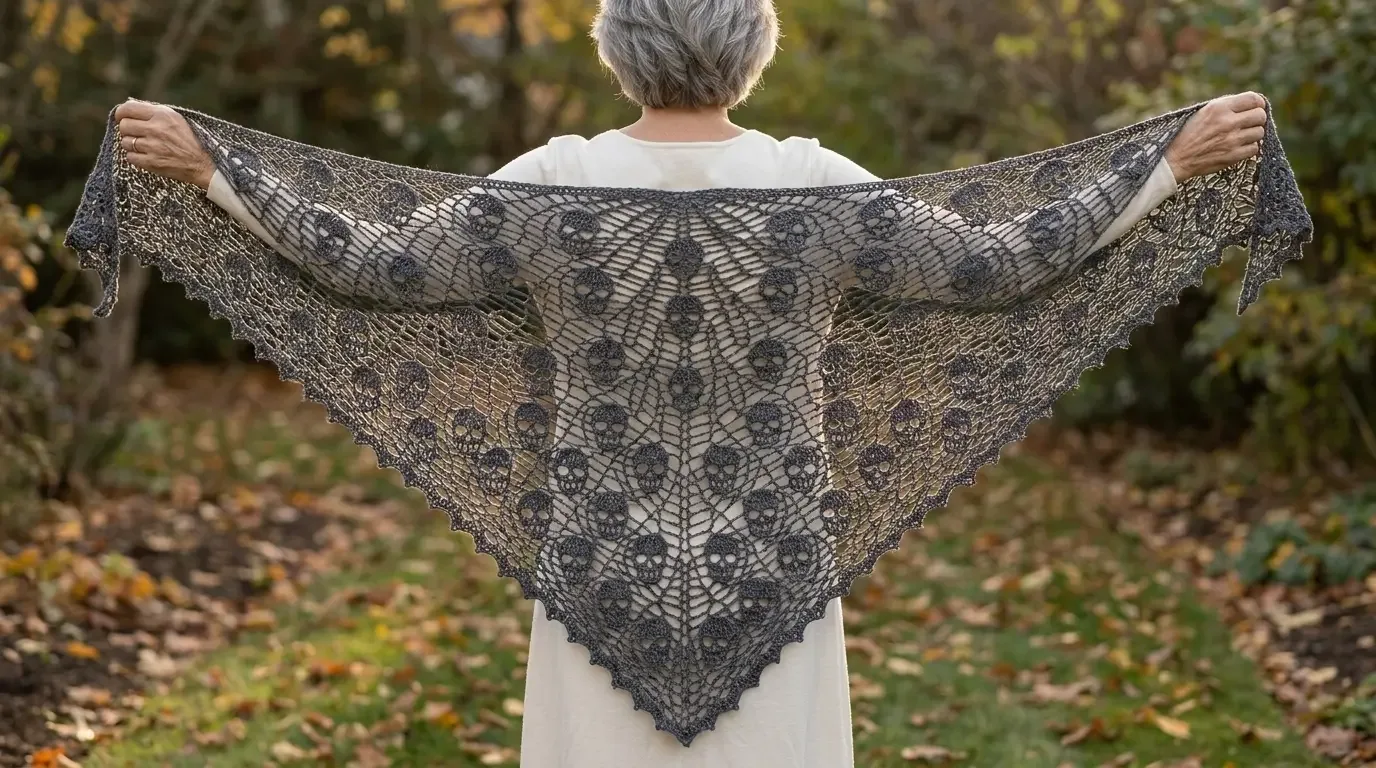
The Nightshade Skull Lace Shawl combines a light triangular mesh with small openwork skulls repeated across the fabric. A simple center-out increase gives the shawl its broad wingspan, while a pointed picot edge frames the charcoal lace.
A charcoal mesh shawl with skull lace
The Nightshade Skull Lace Shawl is worked from its lower point upward in an airy, center-out triangle. Chain-2 mesh keeps the fabric light, and thirteen small skull panels add a repeated lace motif without interrupting the simple increase rhythm. The finished shawl is approximately 67 × 31 inches (170 × 79 cm) after blocking.
This pattern uses US crochet terms. It is best for an intermediate crocheter comfortable with double crochet, chain spaces, reading a small grid, and sewing down lace motifs. The written body is intentionally straightforward; the motif panels are made separately and attached after blocking.
Materials and gauge
- 850–1,000 yd (777–914 m) sport-weight yarn, category 2, in charcoal. The estimate includes the shawl, thirteen motifs, and edging; yarn use varies with fiber and tension.
- 3.5 mm (E/4) crochet hook for the shawl and motifs
- Optional 5 mm (H/8) hook for a looser motif panel if your mesh is particularly firm
- Locking stitch marker, tapestry needle, scissors, measuring tape, blocking mat, and rustproof pins
Use a smooth yarn with enough drape to open when pinned. Make a mesh swatch and block it as you intend to finish the shawl. Gauge is 20 post-to-post mesh intervals = about 8.6 inches (21.9 cm) and 10 rows = about 4 inches (10 cm). For the horizontal check, measure from the center of the first double crochet post to the center of the 21st post. A row-end-to-row-end measurement will differ slightly.
At this gauge, Row 78 has 156 posts across 155 intervals and measures about 67 inches (170 cm) before the border; the narrow edging adds very little. The body is about 31 inches (79 cm) deep. If your swatch is substantially tighter or looser, change hook size before starting. Actual yarn requirements depend on your gauge and the amount of blocking.
Abbreviations and special stitches
- ch — chain
- dc — double crochet
- rep — repeat
- RS — right side
- sc — single crochet
- sl st — slip stitch
- sp — space
- st(s) — stitch(es)
- picot — ch 3, sl st in the first chain
- mesh interval — one dc post and the ch-2 space before the next post
The turning chain-3 counts as the first dc of a row. The ch-2 spaces are not stitches and are not worked into on the next body row; make fresh ch-2 spaces between the new dc posts.
Triangular mesh body
The shawl starts at its lower point. Place a marker in the first dc post of each row if you find the growing edges difficult to identify. Every new row adds one post at each edge, so Row r contains 2 × r dc posts: Row 1 has 2 posts, Row 20 has 40, and Row 78 has 156.
Row 1 (RS): Make a magic ring. Ch 3 (counts as dc), ch 2, dc in ring. Pull ring closed. Do not turn. (2 dc posts, 1 center ch-2 space.)
Row 2: Ch 3 (counts as first dc), dc in the same first dc. Ch 2, 2 dc in the final dc. Turn. (4 dc posts.)
Row 3: Ch 3 (counts as first dc), dc in the same first dc. Ch 2, dc in each dc post across until 1 dc remains. Ch 2, 2 dc in the final dc. Turn. (6 dc posts.)
Rows 4–78: Repeat Row 3, adding one dc at each outer edge on every row. The repeat can be read as: 2 dc in the first dc, ch 2 and dc in each middle dc post, ch 2 and 2 dc in the final dc. Do not work into the chain spaces from the previous row. Turn after each row. The stitch count on Row 78 is 156 dc posts.
For a shorter shawl, stop after any row once the triangle has the depth you want. To enlarge it, continue the same increase repeat beyond Row 78; each added row adds 2 posts and changes the wingspan as well as the depth. Use your own blocked measurements to decide when to stop. The Yarnivo Row Counter can track progress through the long increase run; it records rows but does not calculate the shawl’s shaping or finished size.
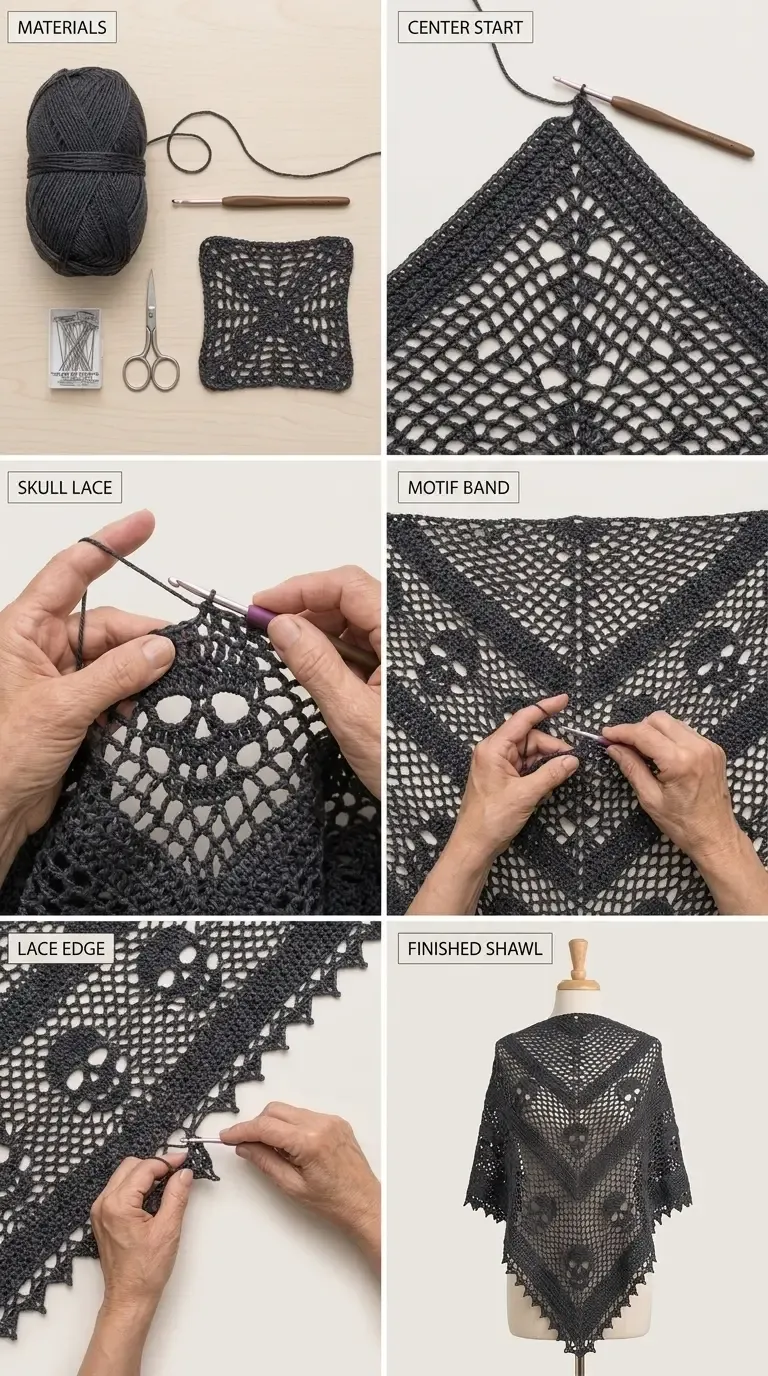
The panels show the project stages. Use the written mesh repeat and skull grid below for the exact stitch instructions.
Openwork skull motif
Make 13 motifs in the same charcoal yarn. Each motif is a 17-cell-wide by 11-row-high openwork panel. In the grid, # means a filled cell and . means an open cell. Read the grid from top to bottom for its appearance, but crochet it from the bottom row upward.
Motif stitches: For a filled cell (#), work 1 sc in the next foundation chain, stitch, or chain space. For an open cell (.), ch 1 and skip the next foundation chain, stitch, or chain space. A chain-1 space made in one row counts as the next position in the following row. Do not count turning chains as cells.
Ch 18 loosely.
Motif Row 1 (bottom grid row): Starting in the second ch from hook, work the cells of Grid Row 1 across. (17 cells.) Ch 1, turn.
Motif Rows 2–11: Work each successive grid row, using 1 sc for each # and ch 1, skip 1 position for each . Ch 1, turn after each row. Fasten off after Row 11, leaving a long sewing tail. Each row contains 17 cells.
Grid Row 11  .....#######.....
Grid Row 10  ...###########...
Grid Row 9   ..#############..
Grid Row 8   .###############.
Grid Row 7   ##...#######...##
Grid Row 6   ##...#######...##
Grid Row 5   .#######.#######.
Grid Row 4   ..#####...#####..
Grid Row 3   ...###########...
Grid Row 2   ....#########....
Grid Row 1   ....#...#...#....
Blocking and motif placement
Pin the shawl into a symmetrical triangle before attaching the motifs. Lightly block each skull panel separately so its eye and nose openings are clear. Place the panels in staggered bands, measuring along the fabric from the lower point and across from the centerline. The measurements below are approximate motif-center locations; adjust them slightly to keep every motif flat and clear of the border.
| Band | Motif centers measured up from the point | Side-to-side placement |
|---|---|---|
| 1 | 16 cm (6¼ in) | 1 at center |
| 2 | 34 cm (13½ in) | 2 at 19 cm (7½ in) left and right of center |
| 3 | 52 cm (20½ in) | 4 at 42 cm (16½ in) and 14 cm (5½ in) to either side |
| 4 | 69 cm (27 in) | 6 at 60, 36, and 12 cm (23½, 14, and 4¾ in) to either side |
This placement makes 13 motifs in total. If your blocked shawl is smaller or larger, keep the same staggered arrangement but bring the outer motifs inward so they sit at least 2 inches (5 cm) from the sloping edges. Use the long tail to sew around each panel perimeter, catching the mesh neatly at each filled cell and chain-space edge. Secure the corners and weave the tail into the dense stitches on the WS. Do not pull the sewing yarn so tightly that the mesh puckers.
Pointed picot edging
With the RS facing and the shawl laid flat, join yarn at the upper right corner.
Border Round 1: Work sc evenly along the top edge, sides, and lower point: work 1 sc in each dc post and ch-2 space along the top edge, about 1 sc in the end of each mesh row down each sloping side, and 3 sc in each of the two upper corners and the lower point. Adjust the side spacing slightly so the edge lies flat. Join with a sl st to the first sc. Place a marker in the center sc of each 3-sc corner group.
Border Round 2: Ch 1 (does not count), sc in each sc around. In each marked center corner stitch, work 3 sc and move the marker to the middle stitch of that group. Join with a sl st to the first sc.
Border Round 3 (picot points): Ch 1. Sc in each stitch around. At each marked corner stitch, work 1 sc, ch 5, sl st in the first ch to make a long point, then continue in the next stitch; move each marker up to the new corner sc as you pass it. Along the straight edges, after every fourth sc, ch 3 and sl st in the first ch for a small picot. Skip no stitches for these small picots. Join with a sl st to the first sc and fasten off.
Finishing and care
Weave in all ends on the WS without drawing the open mesh closed. Recheck the triangle’s symmetry and pin the motif bands evenly. Block gently to open the mesh and define the points; follow the yarn label, especially if the fiber contains acrylic or cotton. Let the shawl dry completely before unpinning. Store folded rather than hanging for long periods to avoid stretching the point.
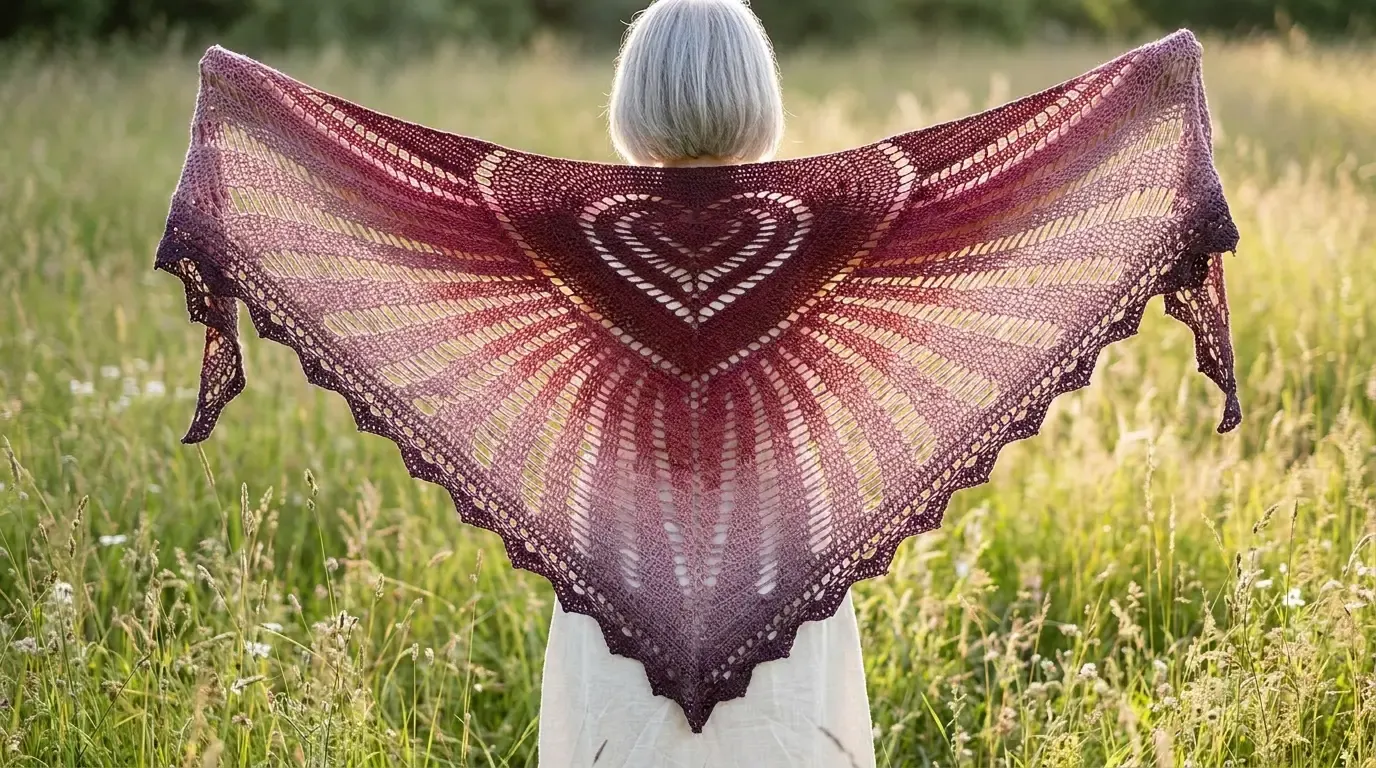
For another dramatic lace accessory, see the Roseheart Wing Shawl crochet pattern or browse the Wearables & Accessories collection.
Helpful questions
How is the triangular shawl shaped?
It begins at the lower point and gains one double crochet at each outer edge on every row. The 78-row body ends with 156 double crochet posts across its widest row.
Are the skull motifs worked into the mesh?
Each skull is worked as a small openwork panel in the same charcoal yarn, then sewn to the blocked mesh through its outer stitches and chain spaces. The panels are placed in four staggered bands.
Can I change the finished size?
You can stop before Row 78 for a smaller shawl or continue the same two-edge increase for more depth. The width and yarn use change with every added row, so measure your blocked work rather than relying on the original dimensions.
What yarn works best for this lace shawl?
A smooth sport-weight yarn with clear stitch definition shows the mesh and skull openings well. A soft wool blend or a drapey cotton blend can work; follow the yarn label when blocking.