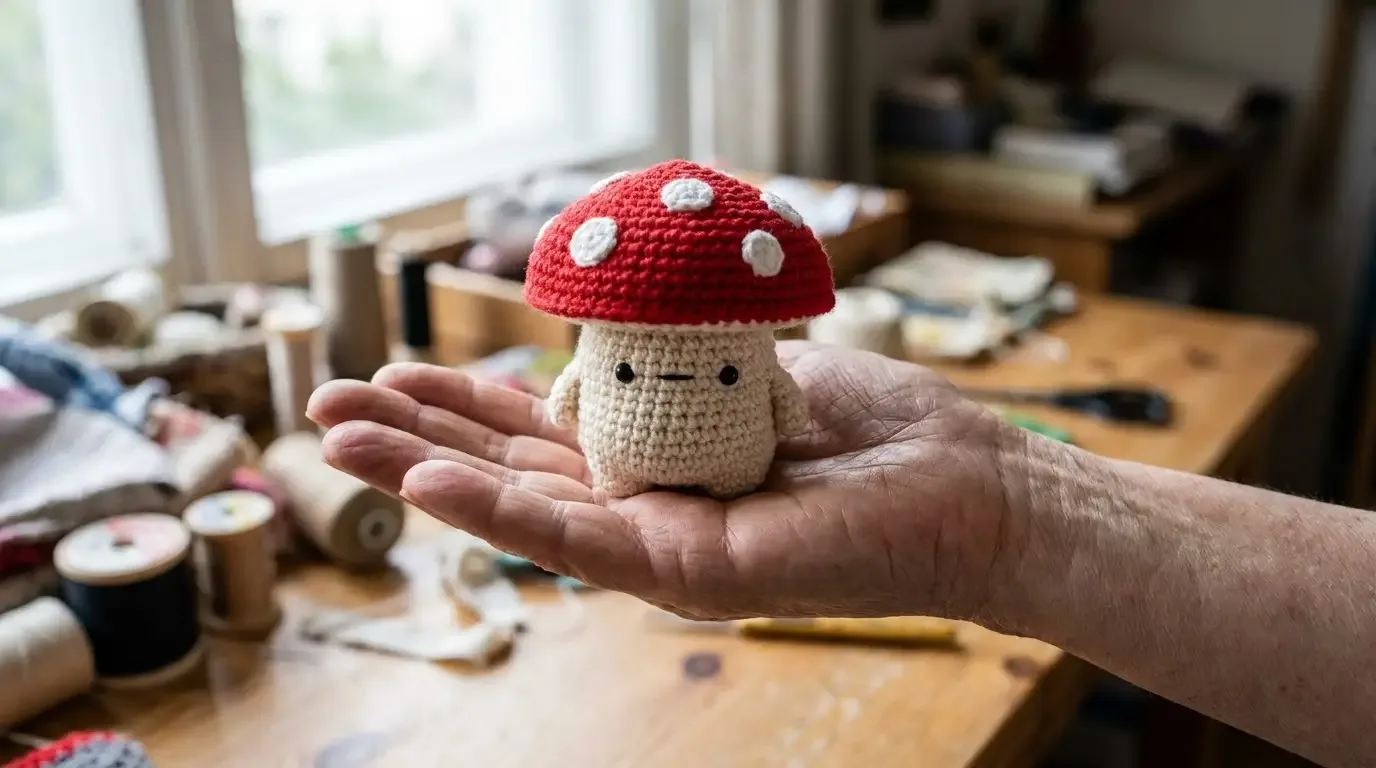
This pocket-size mushroom has a soft cream stem, a bright red spotted cap, and a tiny embroidered face. A small clicker sits inside a felt pocket sewn within the body, making a cheerful tactile desk or pocket fidget for adults.
A tiny mushroom with a hidden clicker
The Pocket Pop Mushroom is a small, palm-sized amigurumi with a rounded cream body, a separate red cap, and simple embroidered features. A small clicker insert is enclosed in a felt pocket and sewn inside the body before the cap is attached. The pattern uses continuous single-crochet rounds and simple increases, so careful counting is more important than complicated stitches.
Safety: This is an adult fidget and decorative item, not a baby or child’s toy. The clicker, felt, yarn ends, and any detached parts may present choking or other hazards. Keep it away from children and pets, inspect it before every use, and discard it if the fabric, pocket, clicker casing, or seams become damaged. Do not use a clicker with exposed parts, sharp edges, or a casing that can open.
Finished size and materials
Finished size is approximately 7 cm (2¾ in) tall with a cap about 4 cm (1½ in) wide. Size varies with yarn, hook, and tension. The body is worked from the top opening down in continuous rounds; the red cap is a separate open-bottom dome.
- Small amounts of smooth DK / light #3 yarn: about 15 g cream, 10 g red, and a small white scrap (roughly 45–60 yd / 41–55 m total)
- 3.0 mm crochet hook, or a size that gives a firm fabric with no stuffing visible
- A small, flat, enclosed clicker, ideally 18–20 mm across and no more than about 2.5 cm wide
- Soft felt for a close-fitting pocket, approximately 2.5 × 3 cm before folding; adjust to your clicker
- A small amount of polyester stuffing
- Black yarn for the face, tapestry needle, sewing needle and strong matching thread, scissors, stitch marker
Use yarn with good stitch definition. If the fabric has visible gaps, use a smaller hook; the stuffing and clicker should not show through the crochet. The stated dimensions are a guide rather than a gauge-dependent garment fit, but a small swatch can help you predict the final size.
US abbreviations and notes
- BLO — back loop only
- dec — invisible single-crochet decrease
- inc — 2 single crochet in the same stitch
- MR — adjustable magic ring
- sc — single crochet
- sl st — slip stitch
- st(s) — stitch(es)
Work the body and cap in a continuous spiral; do not join rounds or turn. Move a stitch marker to the first stitch of each round. Stitch counts appear in parentheses at the end of each round. To make an invisible decrease, insert the hook under the front loop of each of the next 2 stitches, yarn over and pull through both front loops, yarn over and pull through the 2 loops on the hook.
Cream body
With cream yarn, make an MR. Work tightly enough that the clicker and stuffing will be concealed.
- Round 1: 6 sc in MR. (6)
- Round 2: Inc in each st around. (12)
- Round 3: Sc, inc; repeat around. (18)
- Round 4: 2 sc, inc; repeat around. (24)
- Round 5: 3 sc, inc; repeat around. (30)
- Rounds 6–15: Sc in each st around. (30 each round)
Fasten off with a long tail. The body is a short cylinder with a rounded base and an open top. Weave the beginning tail through the starting ring and pull it closed.
Embroider the face
With the body upright and the starting ring at the bottom, choose the front. With black yarn, embroider two small horizontal eyes across Rounds 10–11, leaving about 4 stitches between their centers. Add a short, straight mouth one round below, centered between them. Anchor the ends on the inside and keep the embroidery snug but not tight enough to pucker the fabric. Do this before installing the clicker pocket or stuffing.
Red cap
With red yarn, make an MR. Keep the cap unstuffed; its dome should hold its shape over the body.
- Round 1: 6 sc in MR. (6)
- Round 2: Inc in each st around. (12)
- Round 3: Sc, inc; repeat around. (18)
- Round 4: 2 sc, inc; repeat around. (24)
- Round 5: 3 sc, inc; repeat around. (30)
- Round 6: 4 sc, inc; repeat around. (36)
- Rounds 7–10: Sc in each st around. (36 each round)
Fasten off, leaving a long sewing tail. Weave the starting tail through the cap’s MR and close the small hole. The last round is the open lower edge.
Five white cap spots
Make 5 spots with white yarn. For each spot, work 5 sc into an MR, pull the ring closed, and fasten off with a sewing tail. Sew one spot near the crown center and four spaced around the lower half of the cap. Keep the spots low and flat so they cannot catch easily; secure each with several passes through the spot and cap fabric, then bury the ends inside.
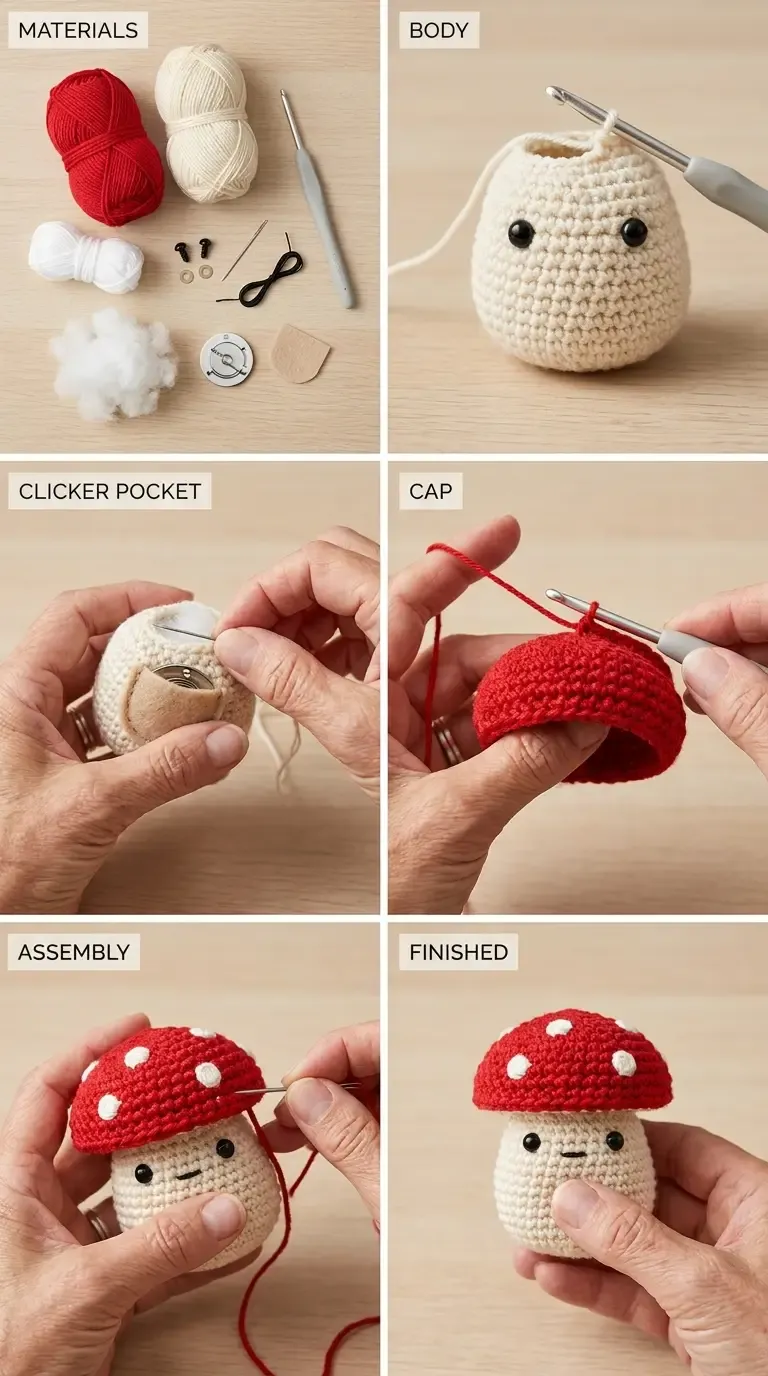
The construction image is a visual overview. Follow the written stitch counts and pocket/assembly directions here.
Felt clicker pocket and stuffing
Check that the clicker lies flat inside the body without stretching the fabric. If it does not fit comfortably, choose a smaller insert; do not force it into the body.
- Fold a piece of felt around the clicker to form a snug envelope. The finished pocket should be about 2.5 cm wide or sized to the actual clicker, with the push surface facing the front of the mushroom. Stitch the sides and bottom closed with strong thread. Close the top securely over the casing without stitching through or obstructing the click button. The clicker must not slide out or be removable through the pocket opening.
- Insert the pocket through the open top of the body and position it behind the embroidered face. Sew the pocket to the inside front wall at several points along its edges. Keep the clicker’s push surface facing outward toward the crochet fabric. Test that the clicker can still be pressed through the body before adding stuffing; if the fabric or pocket prevents it from working, adjust the position rather than cutting an unsecured opening.
- Add small tufts of stuffing around the sides and below the pocket to round the body. Keep the clicker accessible to press and avoid stuffing directly between its push surface and the body wall. Do not overfill; the top edge should remain easy to sew to the cap.
Assembly
The body opening has 30 stitches and the cap lower edge has 36 stitches. The cap is intentionally a little wider. Use six markers to divide the cap edge into six sections of 6 stitches, and six markers to divide the body opening into six sections of 5 stitches. Pin corresponding markers together, centering the cap over the face. With the red cap sewing tail, sew each 6-stitch cap section to its matching 5-stitch body section, easing the extra cap stitch evenly within each section. Take small, secure stitches through both top loops of the body edge and both loops of the cap edge. Work all the way around; do not leave a gap. Knot securely and bury the tail inside the body.
The cap should sit level, with its brim extending evenly beyond the cream body. If the cap tilts, unpick only that section and realign the markers before sewing again. Gently shape the dome with your fingers; do not add stuffing that could obstruct the clicker pocket.
Finishing and care
Check that every spot, the face embroidery, the felt pocket, and the cap seam are secure. Press the clicker several times through the crocheted body and confirm the insert stays in place. Follow the yarn and clicker manufacturers’ care directions; because this item contains a mechanical insert and felt pocket, do not machine-wash or soak it. Spot-clean the crochet surface with a barely damp cloth and let it air-dry completely. Do not use it if the clicker casing or any seam loosens.
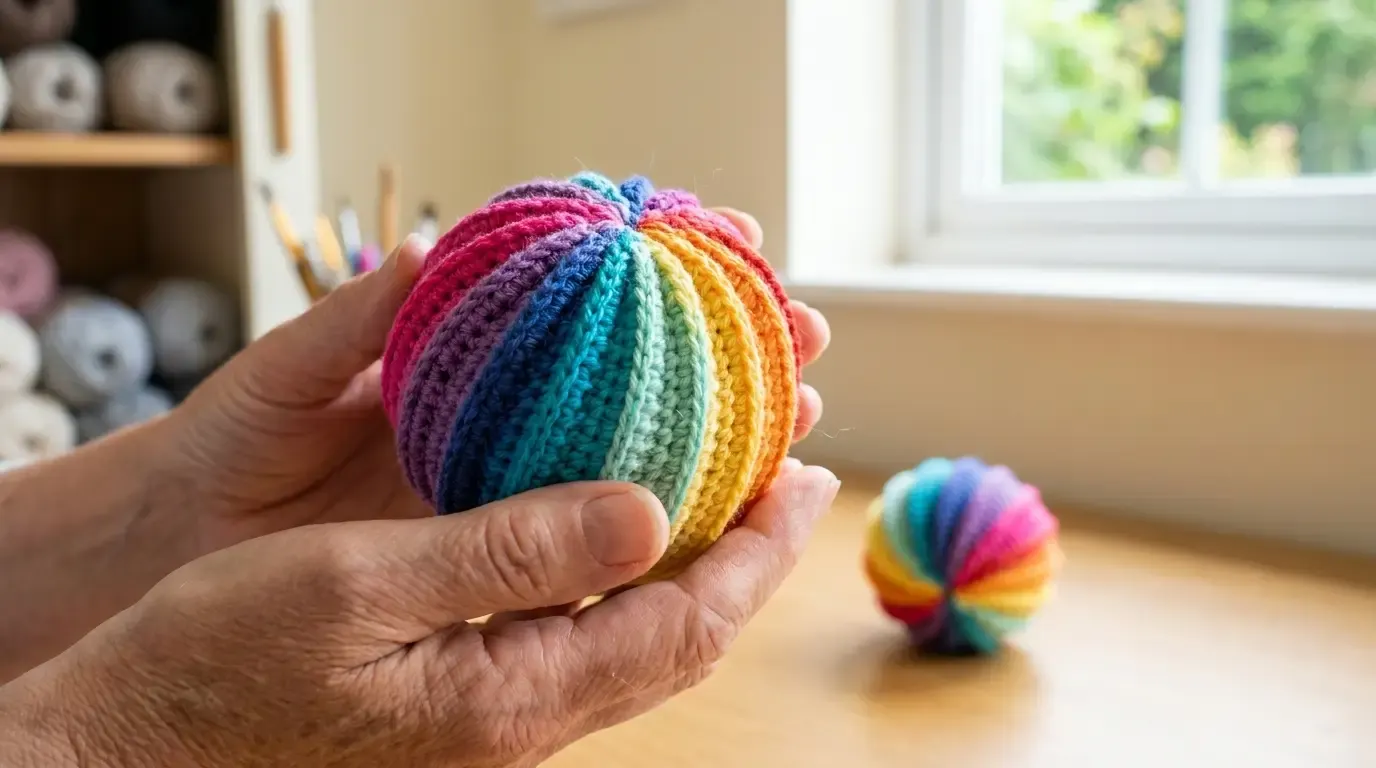
If you enjoy tiny round amigurumi, the Spiral Rainbow Ball is another small project to try.
Helpful questions
How tall is the Pocket Pop Mushroom?
With DK yarn, a 3 mm hook, and the stated gauge, it is about 7 cm (2¾ in) tall. The exact height depends on yarn and tension.
Can I use this as a toy for a baby or young child?
No. The clicker and other small materials can pose choking or injury hazards. This is an adult fidget/decorative make and is not a child-safe toy.
What kind of clicker fits inside?
Use a small, flat, fully enclosed clicker that fits inside a close-fitting felt pocket about 2.5 cm wide. Measure your insert before crocheting; larger clickers may not fit the finished body.
Do I need safety eyes?
No. The face is embroidered with yarn, so it uses no plastic eyes or glued pieces.
Can I leave out the clicker?
Yes. Skip the felt pocket and clicker, add a little extra stuffing, and close the body as directed for a small mushroom amigurumi.