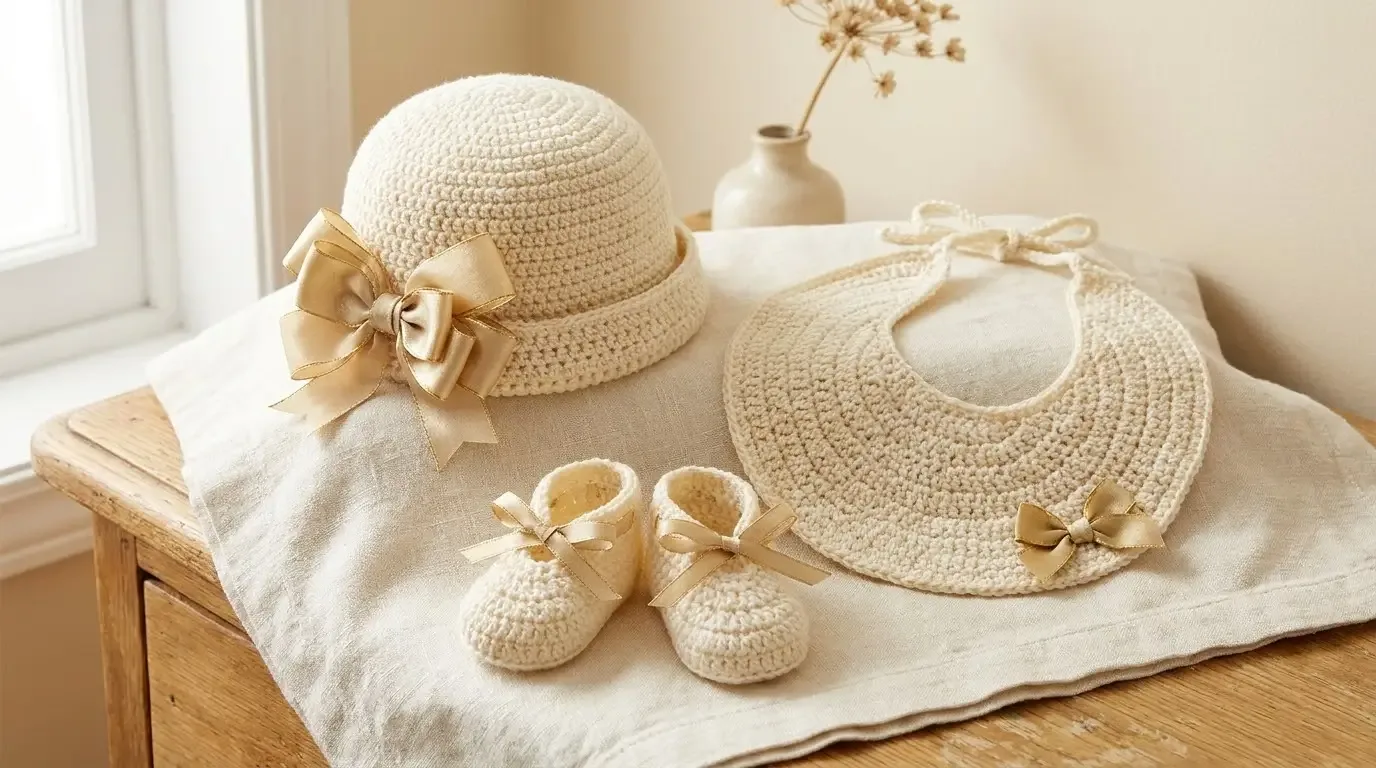
This heirloom-style layette pairs an ivory hat and coordinating bib with tiny booties finished in satin ribbon. The guide covers the set’s materials, sizing, gauge checks, construction order, and baby-safe finishing.
A coordinated ivory set with vintage details
This baby layette brings together three practical crochet pieces in one soft ivory palette: a hat with a turned-up brim, a rounded coordinating bib, and small booties with pull-tie bows. A layered pinwheel-style ribbon bow adds the dressy detail, while the neutral color keeps the set easy to pair with a special-occasion outfit or use as a handmade gift.
Materials and hook sizes
The set uses ivory worsted-weight yarn and three hooks, with a different hook size for the larger hat-and-bib fabric and the smaller booties. Gather:
- Worsted-weight yarn in ivory, with enough for the selected size and all three pieces.
- 6 mm crochet hook for the hat and bib.
- 3.75 mm crochet hook for the 0–3-month booties and 5 mm hook for the larger bootie size.
- Soft ribbon in a few widths for the layered hat bow, plus ribbon for the bootie pull ties.
- Yarn needle, sewing needle and thread for ribbon attachment, scissors, measuring tape, and stitch markers.
The hat and bib are worked with the 6 mm hook, while the smaller bootie hook creates a firmer, more compact fabric. Keep the pieces in the same ivory yarn family for a coordinated look, but use each hook size where specified rather than making every piece with the same hook.
Baby sizes and gauge
The set is shown in baby sizes for 0–3 months and 6–9 months. The bib coordinates with the hat and booties. Baby sizing is only a starting point: measure the baby’s head or foot when possible and check the finished measurements for the chosen size before beginning.
Gauge is especially important for the hat and booties. The hat gauge is 12 stitches and 13 rows over a 4 × 4 in (10 × 10 cm) swatch. A small difference in stitch size can make a hat sit too tightly or slide down, and a bootie that is only a little too short may not stay on comfortably. Make the hat swatch with the 6 mm hook before committing to the full piece, and check the bootie-specific gauge and finished measurements before starting. A swatch helps confirm stitch size; it cannot assess a baby’s fit.
How the three pieces come together
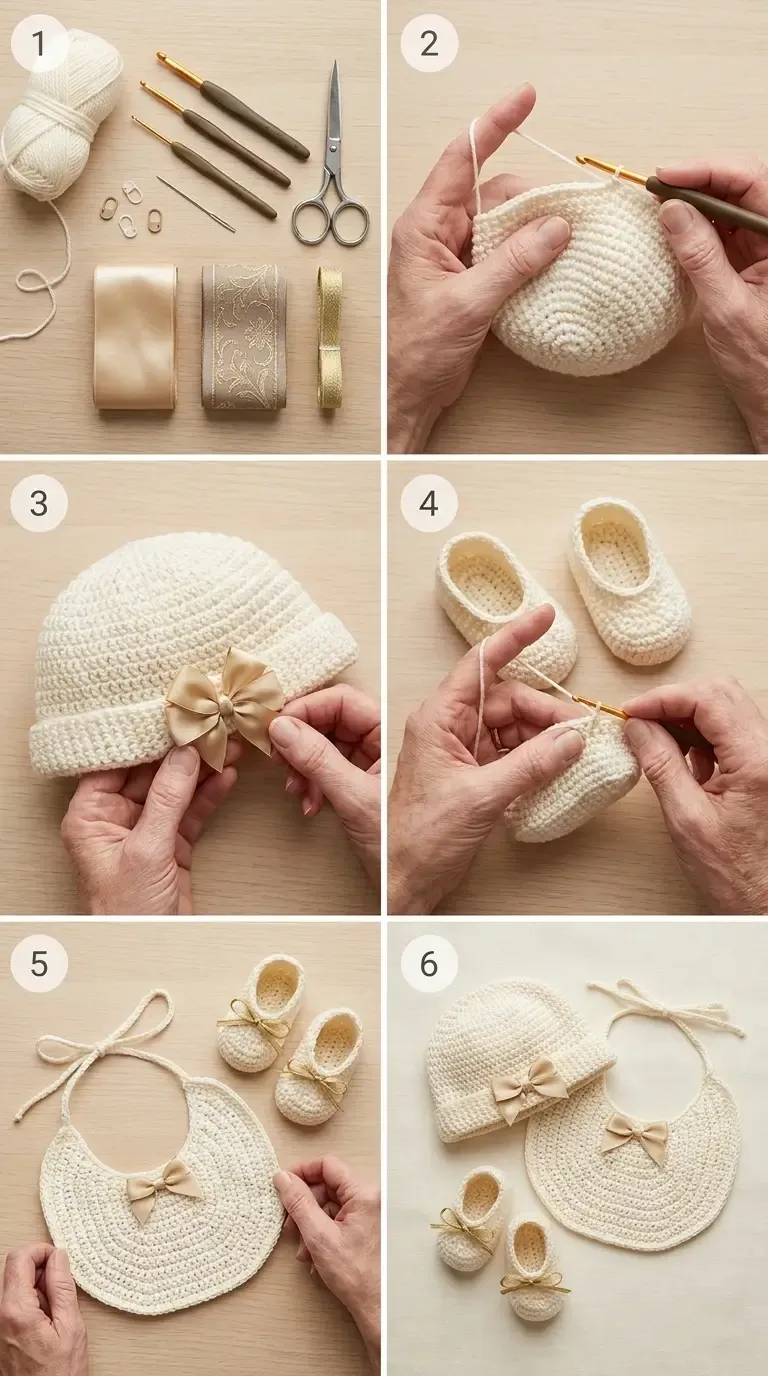
The construction image shows the broad workflow:
- Crochet the hat. Work the main hat fabric to the size selected from the pattern. Finish the lower edge with a turned-up brim, then position the layered pinwheel-style bow on the brim.
- Shape the booties. Use the hook specified for the chosen size. The sole and foot are shaped into a small shoe, then the upper is finished with a neat opening. Add a pull-tie bow to each bootie after checking that the ties sit comfortably and securely.
- Make the coordinating bib. Crochet the bib body and neck fastening, then add its matching bow detail.
- Finish and compare. Weave in yarn ends, secure the ribbon details, and compare the pair of booties for matching length and opening size.
Brim and ribbon planning
The turned brim is part of the hat’s finished shape, so check that it folds evenly around the lower edge before attaching the bow. Pin or baste the bow in place first, then sew it down through several points so it is less likely to twist or pull loose. For a layered pinwheel look, combine ribbon widths and textures in ivory or champagne tones while keeping the center secure and flat against the brim.
The bootie bows are pull ties rather than fixed decorative knots. Keep the tails short, tie them securely, and avoid leaving long loose ribbon ends. If ribbon frays, finish its cut ends using a method suitable for that ribbon and keep any heat-based tool away from the crocheted fabric and baby.
Yarn substitutions and finishing
If you substitute yarn, stay close to worsted weight and choose a soft, washable fiber suitable for frequent handling. Cotton tends to make a firmer fabric; acrylic or a washable wool blend may feel softer or springier. Fiber and brand changes can alter drape and stitch size, so make a fresh gauge swatch and use the specified hooks as a starting point, not as a guarantee of identical dimensions. Follow the yarn label for washing and drying.
Inspect every seam and ribbon attachment before use. The bows should be firmly sewn on, and the bootie ties should not trail or wrap around the baby’s neck or fingers. This decorative set is for supervised wear and photos, not sleep; keep loose ribbons and other soft items out of the baby’s sleep space. Check the finished items regularly for loose ends or trim.
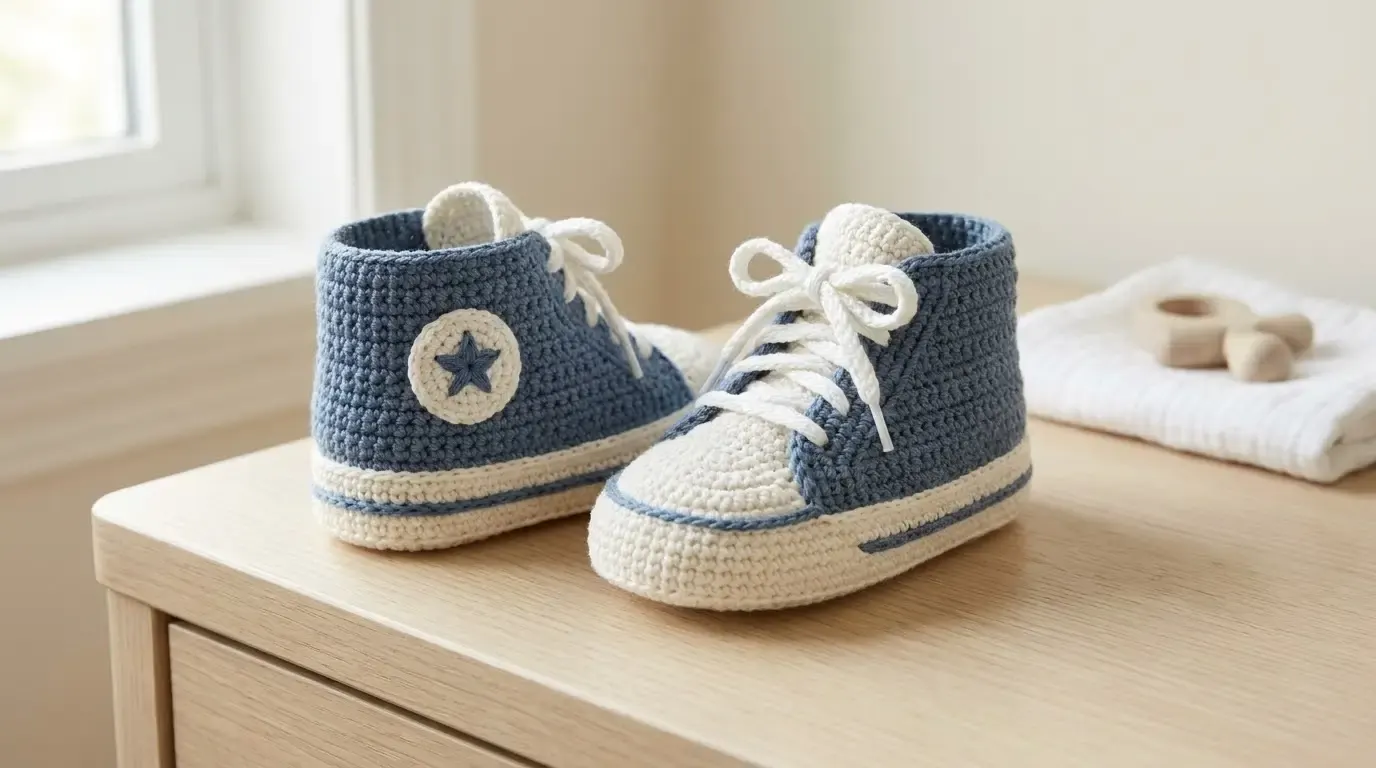
For more baby makes, browse HookElla’s Baby Crochet collection or see the crochet baby high-top sneakers guide.
Complete free pattern
For the full written instructions and original layette construction, visit the Glamorous Crochet Layette Set pattern by Krissys Over The Mountain Crochet.
Helpful questions
What pieces are in the crochet baby layette?
The coordinating set includes a turned-brim hat with a layered pinwheel-style bow, a matching bib, and booties finished with pull-tie bows.
What hook sizes does the pattern use?
The hat and bib use a 6 mm hook. The booties use a 3.75 mm hook for the 0–3-month size and a 5 mm hook for the larger baby size.
Does this HookElla guide include the full pattern?
No. It is a project guide and construction overview, not a row-by-row pattern.
Why should I check gauge for a baby layette?
Small changes in gauge can noticeably change a baby hat’s circumference and the fit of booties. Swatch with the specified hook and compare your fabric with the pattern’s gauge before beginning each fitted piece.