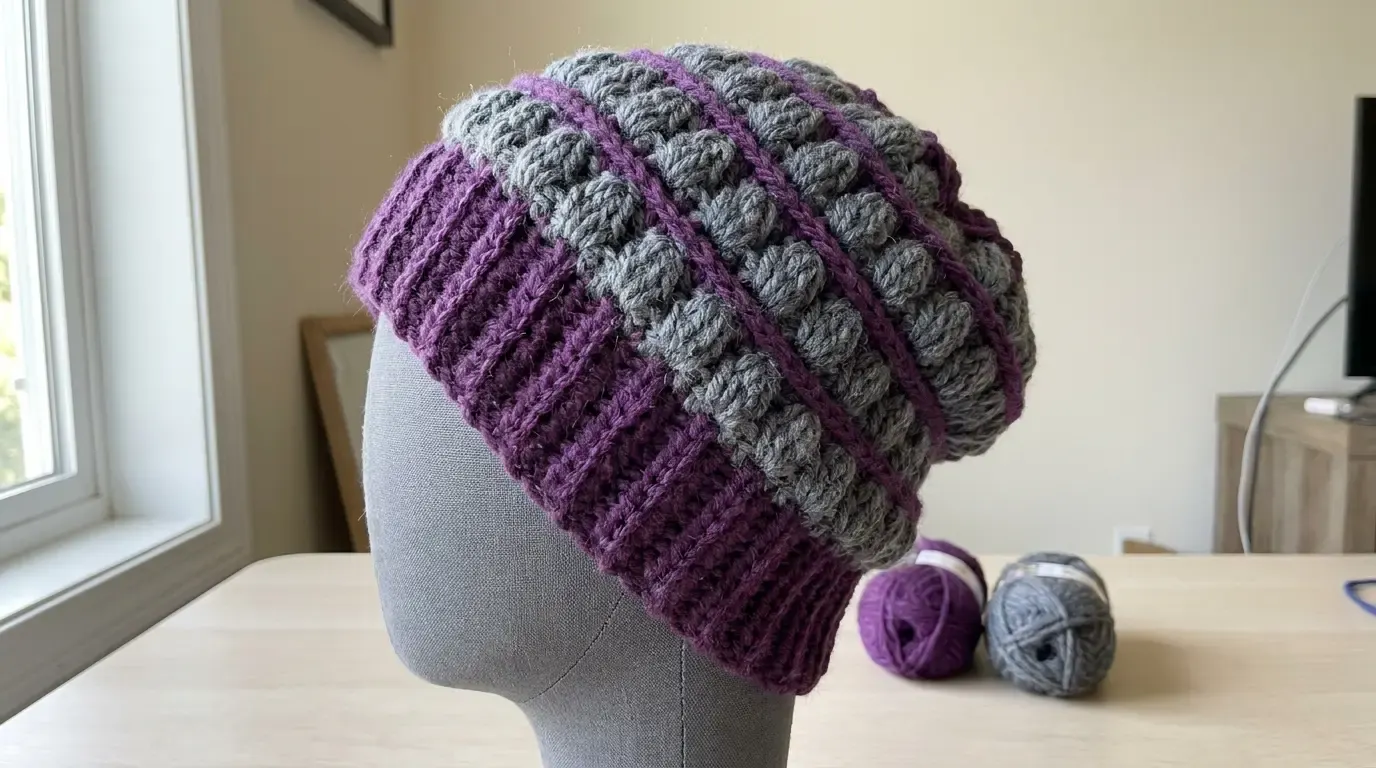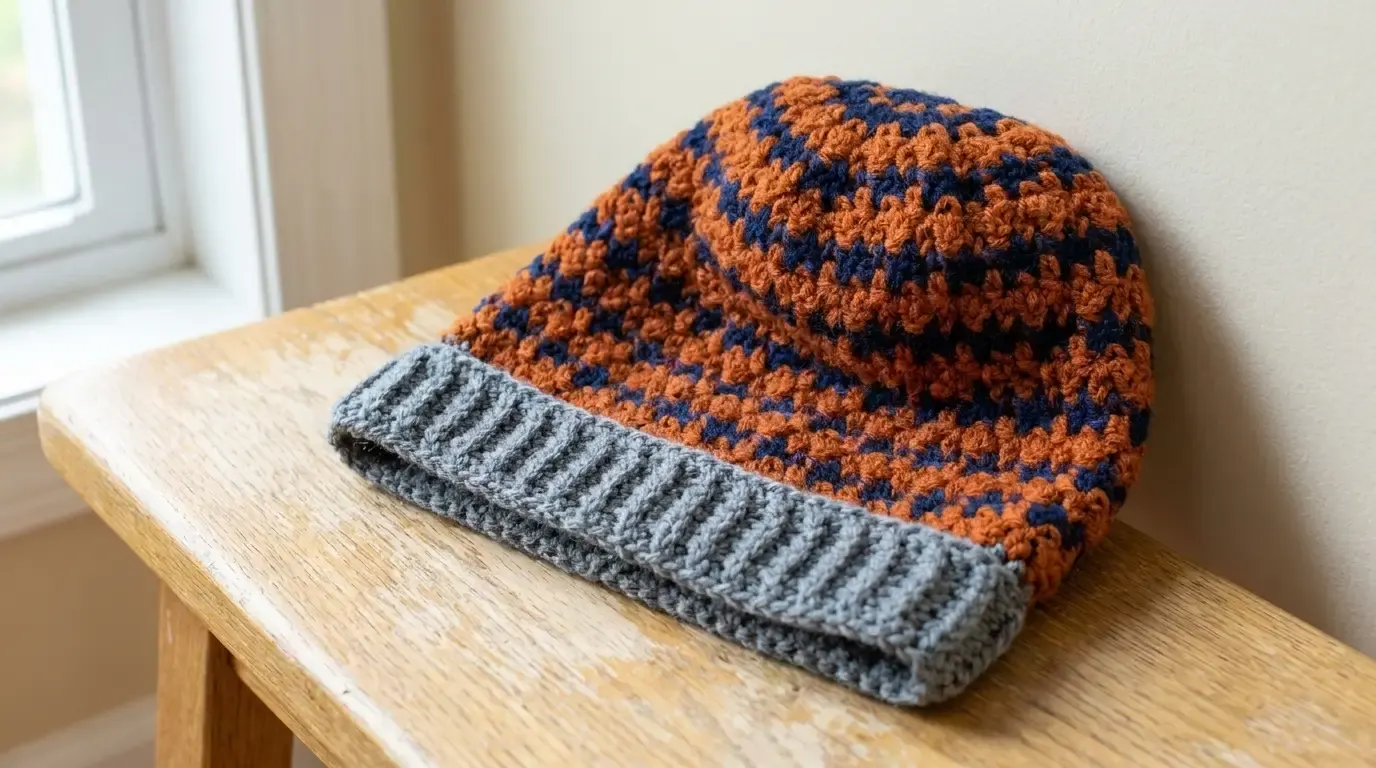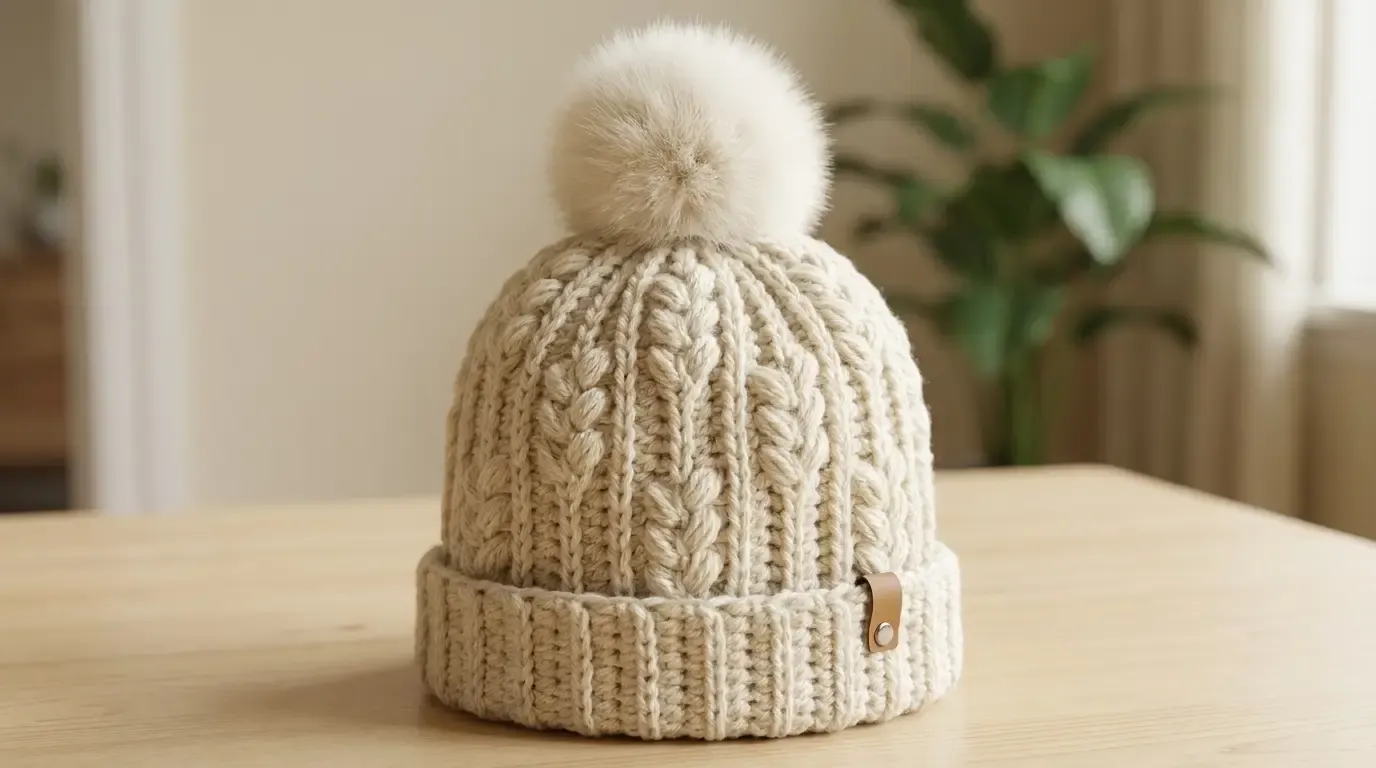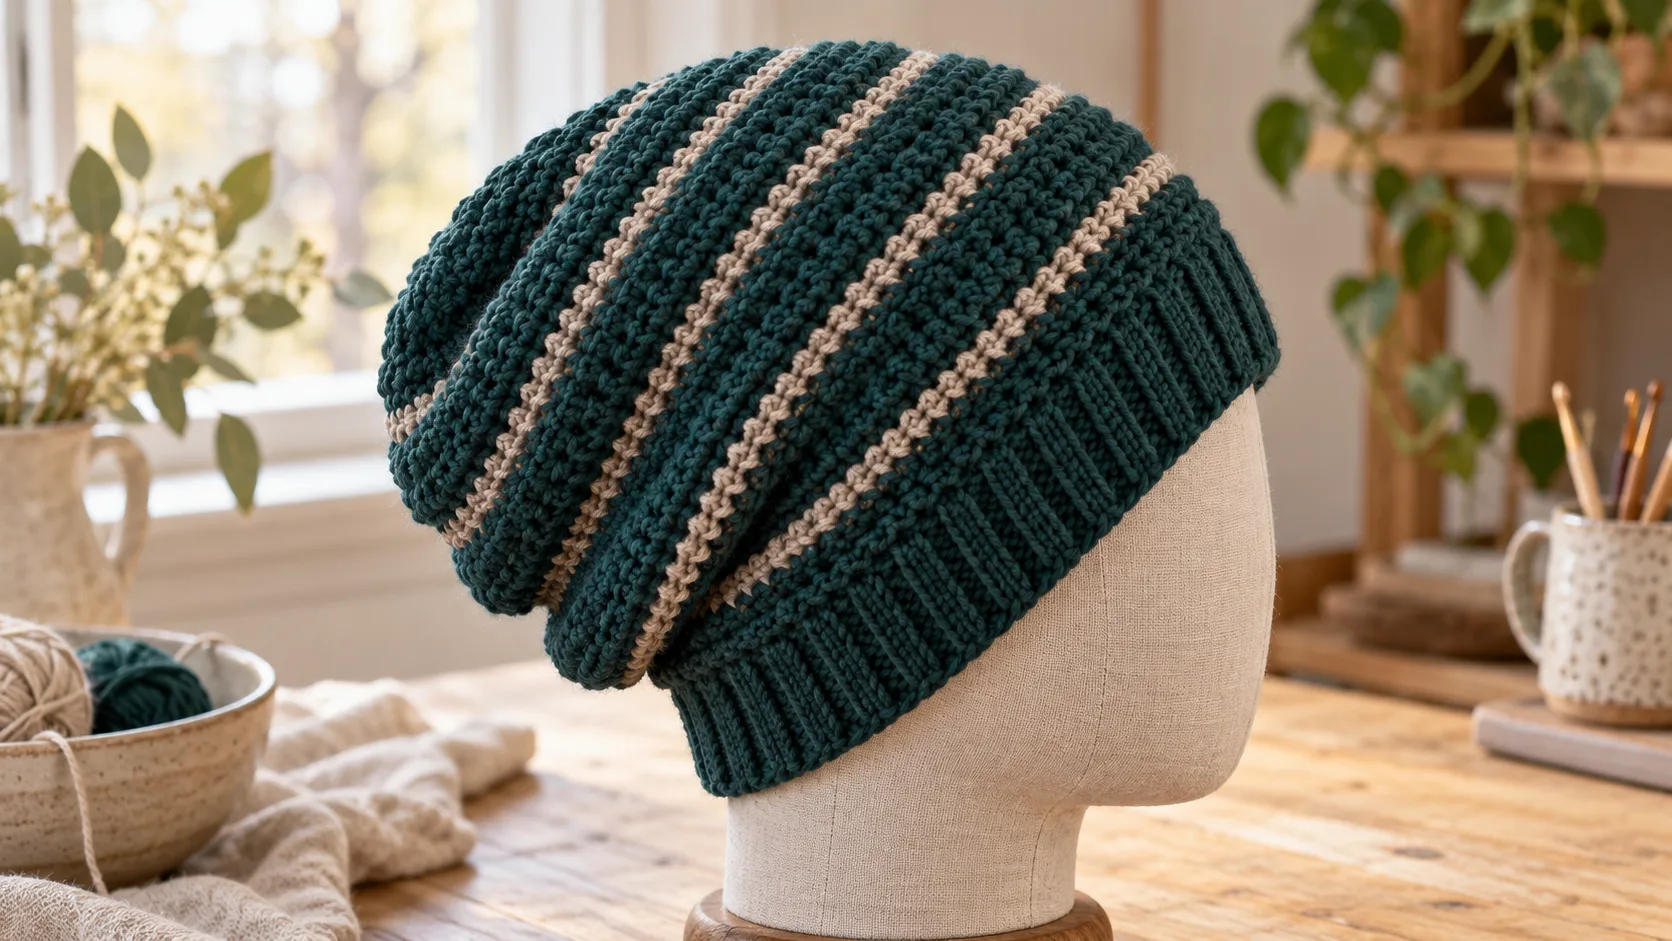
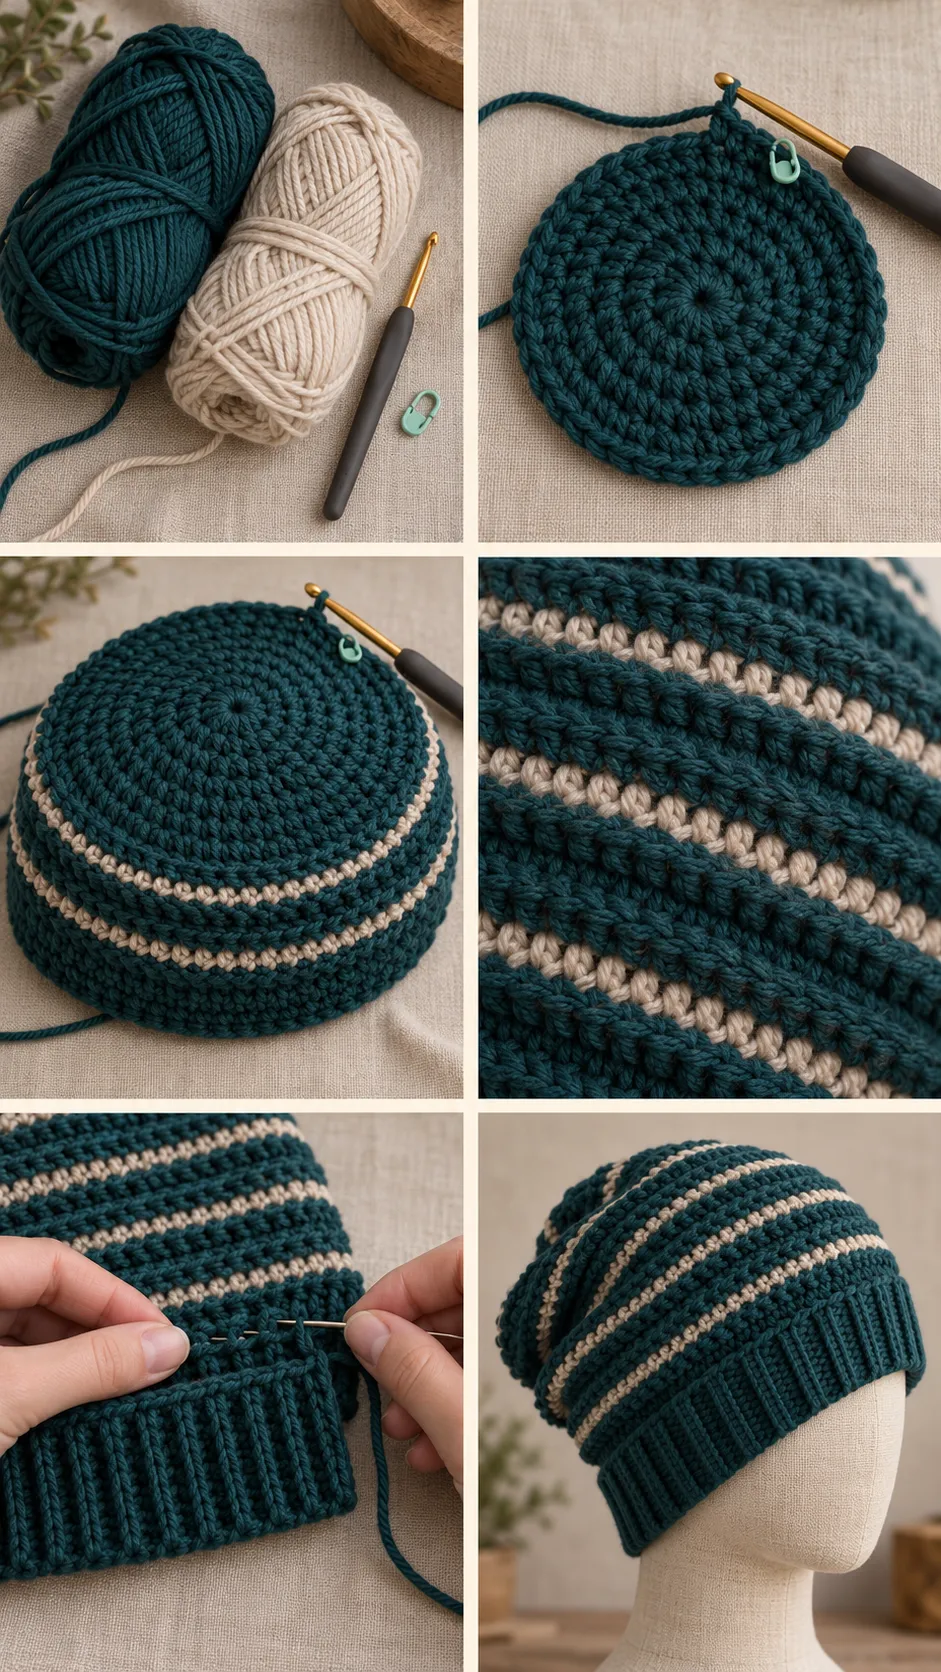
The Horizon-Ridge Beanie pairs a calm forest-teal field with slim oatmeal stripes and raised horizontal crochet ridges. It is worked from the crown down in joined rounds, then finished with a stretchy ribbed cuff made separately and sewn neatly to the opening.
About this pattern
The Horizon-Ridge Beanie is an independently written, one-size adult crochet design with a gently slouchy crown and a close-fitting ribbed cuff. Forest teal makes up the main fabric, while narrow oatmeal rounds separate the raised ridges. The construction infographic is a visual mockup rather than a photograph of a test crochet; the written stitch counts and target-gauge measurements have been reviewed, but the pattern has not been physically sample-tested.
Materials
- #4 medium / worsted-weight yarn: approximately 220–250 yd (201–229 m) Color A, forest teal, and 45–60 yd (41–55 m) Color B, oatmeal. Buy a little extra if your tension is dense or your yarn has less yardage per ball.
- 5.5 mm crochet hook for the crown and body.
- 4.5 mm crochet hook for the cuff.
- Stitch marker, yarn needle, scissors, and tape measure.
Choose a smooth, soft yarn with clear stitch definition and enough spring for the cuff. Fiber feel varies; for a gift, let the wearer handle a swatch when possible. These estimates are for the written adult size.
Finished size and fit
At the stated gauge, the body opening measures about 21⅓ in (54 cm) around before the ribbed cuff is stretched. From the center crown to the lower edge, the hat measures approximately 11¼ in (28.5 cm). It is intended for a head circumference of roughly 21½–22½ in (54.5–57 cm). Measure the recipient rather than relying on a general size label.
Gauge
With the 5.5 mm hook, work a flat swatch using the four-round body sequence below. After relaxing flat, 15 sts and 10 rounds should measure 4 in (10 cm). One four-round repeat should measure about 1⅝ in (4.1 cm) in height. With the 4.5 mm hook, the cuff gauge is 16 rows across the strip = 4 in (10 cm) relaxed; six single-crochet rows make a cuff about 1½ in (3.8 cm) tall.
To check cuff length gauge, make a strip at least 20 rows long, let it rest, and measure its row ends. Adjust hook size to meet gauge before making the full hat. The stated measurements are gauge-based estimates, not physical test results. A different gauge changes fit and yarn use.
Abbreviations (US terms)
- ch: chain
- hdc: half double crochet
- inc: work 2 hdc in the same stitch
- sc: single crochet
- sl st: slip stitch
- st(s): stitch(es)
- BLO: back loop only
- 3L: third loop of an HDC stitch
- RS: right side
Special stitches and construction notes
Hdc in the third loop (hdc 3L): On the outside of the hat, locate the small horizontal loop just below the top V of an HDC stitch. Insert the hook under that loop only and make one HDC. This pushes the top V forward to form a corded ridge. Use this only when the previous round is made of HDC stitches.
Hdc BLO: Insert the hook under the back loop only of the stitch from the previous round and make one HDC. This is the ridge stitch used immediately after a contrast SC round: SC stitches do not have an HDC third loop, so do not work HDC 3L into them.
The beginning ch 1 of each joined round does not count as a stitch. Join with a sl st to the first actual stitch. Place a marker in that first stitch and move it as you go. Keep the join directly above itself at the back of the hat.
Color A is used for the crown and body rounds except Rounds 12, 16, 20, and 24, which use Color B. At a color change, join the new shade at the first stitch with a sl st, ch 1, and work the first stitch in that same stitch. Carry the inactive strand loosely up the inside at the back join, catching it in the join on each round. Keep floats loose enough for stretch; do not carry yarn across the visible front.
Pattern instructions
Crown
With Color A and the 5.5 mm hook, make a magic ring. Do not turn. Join every round with a sl st to the first stitch; ch 1 does not count.
- Round 1: Ch 1, work 10 hdc into the ring; join. 10 sts. Pull the ring closed firmly.
- Round 2: Ch 1, 2 hdc in each st around; join. 20 sts.
- Round 3: Ch 1, (hdc in next st, inc in next st) 10 times; join. 30 sts.
- Round 4: Ch 1, (hdc in next 2 sts, inc in next st) 10 times; join. 40 sts.
- Round 5: Ch 1, (hdc in next 3 sts, inc in next st) 10 times; join. 50 sts.
- Round 6: Ch 1, (hdc in next 4 sts, inc in next st) 10 times; join. 60 sts.
- Round 7: Ch 1, (hdc in next 5 sts, inc in next st) 10 times; join. 70 sts.
- Round 8: Ch 1, (hdc in next 6 sts, inc in next st) 10 times; join. 80 sts.
Lay the crown flat. At gauge it should measure close to 6¾ in (17 cm) across. If it cups noticeably, your tension may be too tight; if it ripples, it may be too loose. Correct the hook or tension before continuing.
Textured body
Keep the same 80-stitch count throughout. Do not turn after joining. The rounds form four repeats: a ridge round, two plain HDC rounds, and a contrast SC stripe. The first ridge round follows the HDC crown and uses HDC 3L; after each SC stripe, use HDC BLO for the ridge round. This distinction is essential because the preceding SC stitches have no HDC third loop.
- Round 9 (Color A): Ch 1, hdc 3L in each st around; join. 80 sts.
- Round 10 (Color A): Ch 1, hdc in both top loops of each st around; join. 80 sts.
- Round 11 (Color A): Ch 1, hdc in both top loops of each st around; join. 80 sts.
- Round 12 (Color B): Join Color B, ch 1, sc in both top loops of each st around; join. 80 sts.
- Round 13 (Color A): Join Color A, ch 1, hdc BLO in each st around; join. 80 sts.
- Round 14 (Color A): Ch 1, hdc in both top loops of each st around; join. 80 sts.
- Round 15 (Color A): Ch 1, hdc in both top loops of each st around; join. 80 sts.
- Round 16 (Color B): Join Color B, ch 1, sc in both top loops of each st around; join. 80 sts.
- Round 17 (Color A): Join Color A, ch 1, hdc BLO in each st around; join. 80 sts.
- Round 18 (Color A): Ch 1, hdc in both top loops of each st around; join. 80 sts.
- Round 19 (Color A): Ch 1, hdc in both top loops of each st around; join. 80 sts.
- Round 20 (Color B): Join Color B, ch 1, sc in both top loops of each st around; join. 80 sts.
- Round 21 (Color A): Join Color A, ch 1, hdc BLO in each st around; join. 80 sts.
- Round 22 (Color A): Ch 1, hdc in both top loops of each st around; join. 80 sts.
- Round 23 (Color A): Ch 1, hdc in both top loops of each st around; join. 80 sts.
- Round 24 (Color B): Join Color B, ch 1, sc in both top loops of each st around; join. 80 sts. Fasten off Color B and secure the tail.
The body is four complete four-round repeats. At the stated target row gauge, 16 rounds measure about 6⅜ in (16 cm) from the crown edge to the lower opening. Keep all 16 rounds for this written size; adding or removing repeats changes the slouch and yarn use.
Ribbed cuff
With Color A and the 4.5 mm hook, make a cuff strip about 20 in (51 cm) long when relaxed. Its 80 row ends will be attached one-for-one to the 80 stitches around the hat opening.
- Foundation: Ch 7.
- Row 1: Sc in 2nd ch from hook and in each ch across; turn. 6 sts.
- Row 2: Ch 1, sc BLO in each st across; turn. 6 sts.
- Rows 3–80: Repeat Row 2. 6 sts in every row; 80 rows total.
Do not fasten off. Fold the strip with short ends together and join Row 80 to the foundation edge with a mattress stitch or sl sts through matching row-end loops. Keep the seam flat. Fasten off if needed and weave in this tail.
Attach the cuff to the hat
- With the hat RS facing out and the cuff RS facing out, align the cuff seam with the back join of the hat. The cuff’s long edge meets the hat opening evenly.
- Pin or clip the cuff at four evenly spaced points. Align the 80 cuff row ends with the 80 body stitches, one cuff row end for each body stitch.
- With Color A and a yarn needle, sew the cuff to the opening through each body stitch and its corresponding cuff row end. Keep the seam flexible; do not pull it tighter than the hat opening. Check that the cuff is not twisted before closing the seam.
Finishing
Secure the magic-ring tail through several crown stitches and weave it in firmly. Weave in the crown and color-change tails on the inside, splitting several stitches so the ends resist working loose. Stretch the cuff gently to confirm that the sewn seam has give. Steam or block only according to the yarn label; avoid flattening the raised ridges.
Fit adjustments and troubleshooting
- Crown is too small or too large: Check the 15-stitch gauge before changing the 80-stitch body count. Each crown round adds 10 stitches; changing the increase structure requires rechecking crown diameter and body circumference.
- Crown cups: Try a larger hook or slightly looser tension. If it waves, try a smaller hook. Recheck the crown flat after Round 8.
- Ridges are hard to see: Round 9 uses HDC 3L because Round 8 is HDC. Rounds 13, 17, and 21 follow SC rounds and use HDC BLO. Do not look for or use an HDC third loop after an SC round.
- Contrast stripes pucker: Loosen the carried strand at the back join or fasten off and weave ends instead. Never use a tight float to bridge rounds.
- Cuff does not meet evenly: Verify the strip has exactly 80 rows and each row end aligns with one of the 80 body stitches. Ease the fabric evenly between clips rather than stretching one section.
- Hat feels too short: First check the body row gauge and the stated 16 rounds. Additional four-round repeats add about 1⅝ in at target gauge and require more yarn.
Care
Follow the yarn label for washing and drying. If the fiber allows machine washing, use a gentle cycle and dry the hat flat to preserve the cuff and ridge definition. Reshape while damp and avoid hanging it by the cuff.
Frequently asked questions
Is this worked from the crown down?
Yes. The crown is increased first, the textured body continues in joined rounds, and a separate ribbed cuff is attached at the opening.
Can I omit the accent color?
Yes. Work the contrast single-crochet rounds in the main color while preserving the stitch sequence and counts.
More HookElla wearables
For another independently written hat pattern, try the Cloudridge 3D Beanie. You can also browse the Wearables & Accessories collection for more HookElla projects.
Use PUFELLA when sharing your finished Horizon-Ridge Beanie so makers can find this pattern.
Helpful questions
What size does this beanie fit?
The written size is for an adult head about 21½–22½ inches around. At gauge, the hat opening is approximately 21⅓ inches before the ribbed cuff is stretched on.
What yarn should I choose for a comfortable fit?
Choose a soft worsted yarn with spring and clear stitch definition. Fiber feel is personal, so let the intended wearer handle a swatch when possible and follow the yarn label for care.
How is the texture made?
The first ridge round after the crown is worked into HDC third loops. After each contrast single-crochet stripe, the next HDC ridge round is worked into back loops; two plain HDC rounds complete each four-round stripe repeat.
Does this pattern have a printable PDF?
The complete instructions are provided on this page. A separate PDF download is not currently offered.