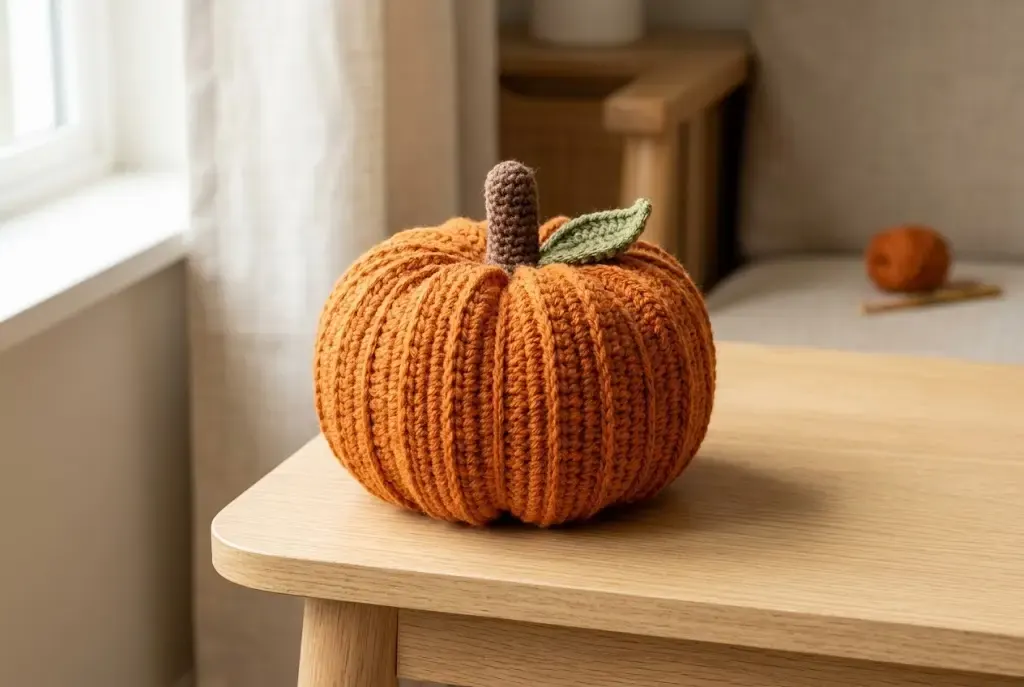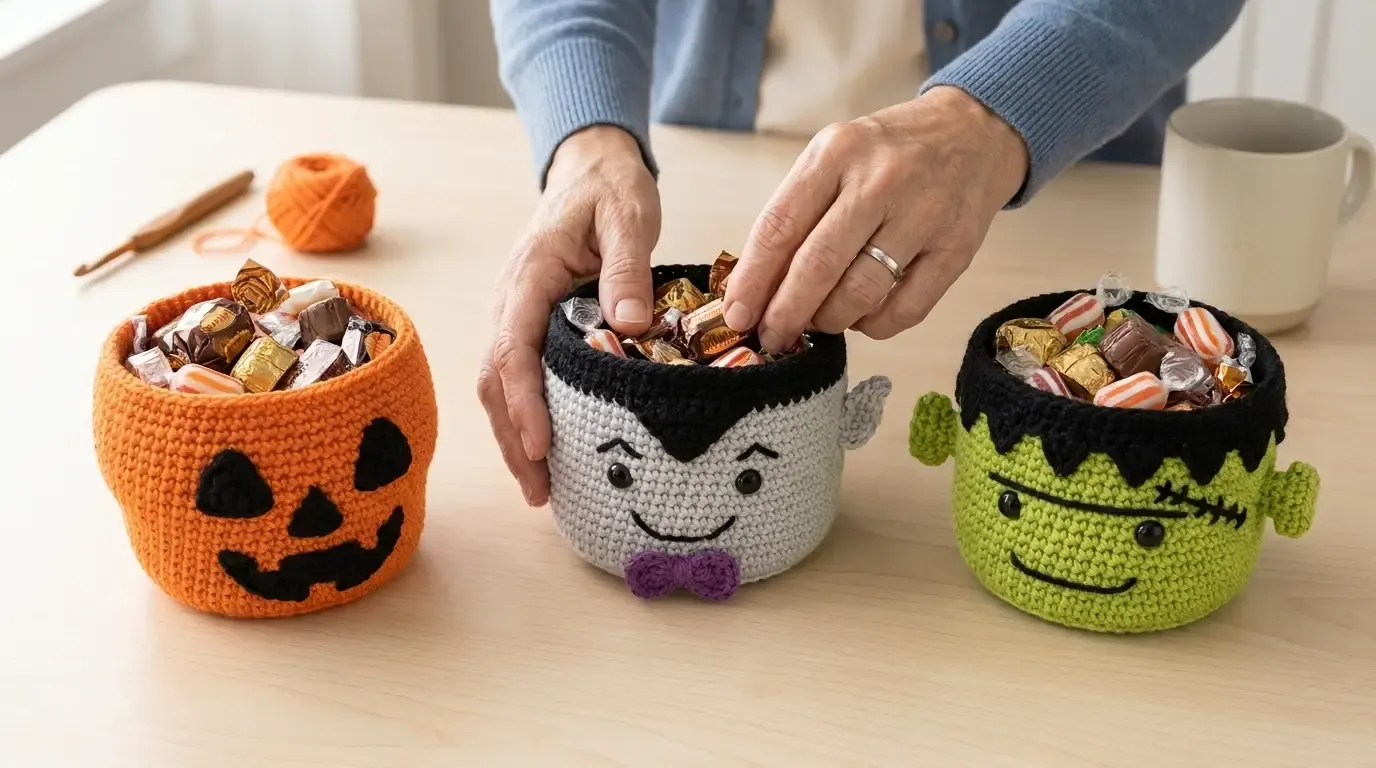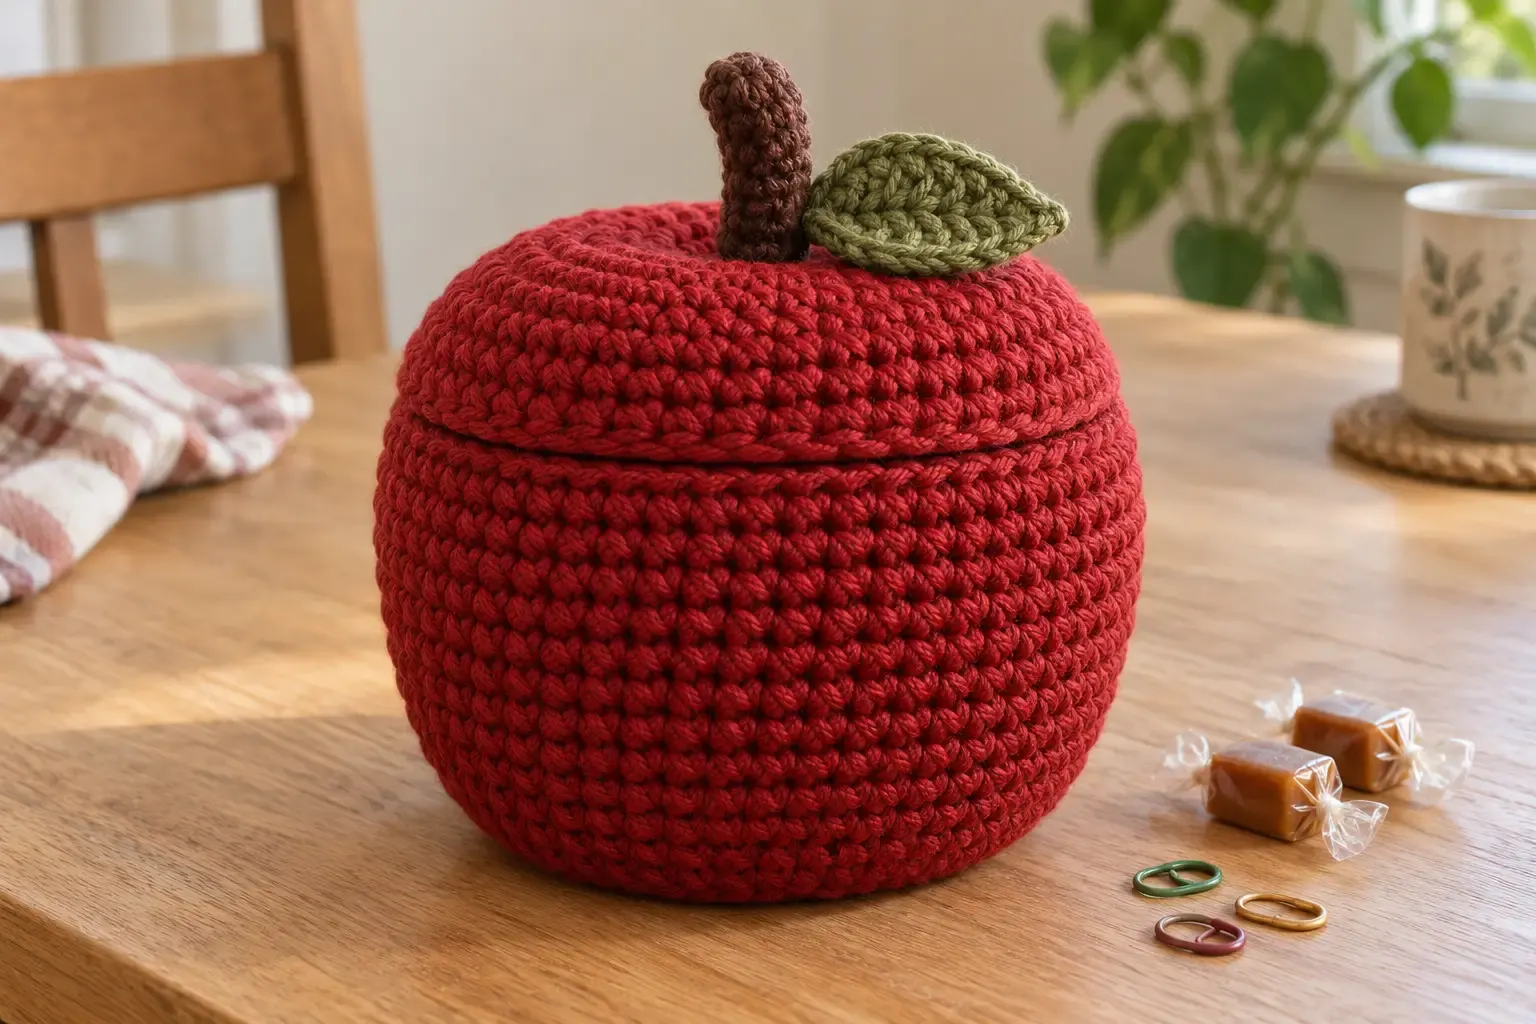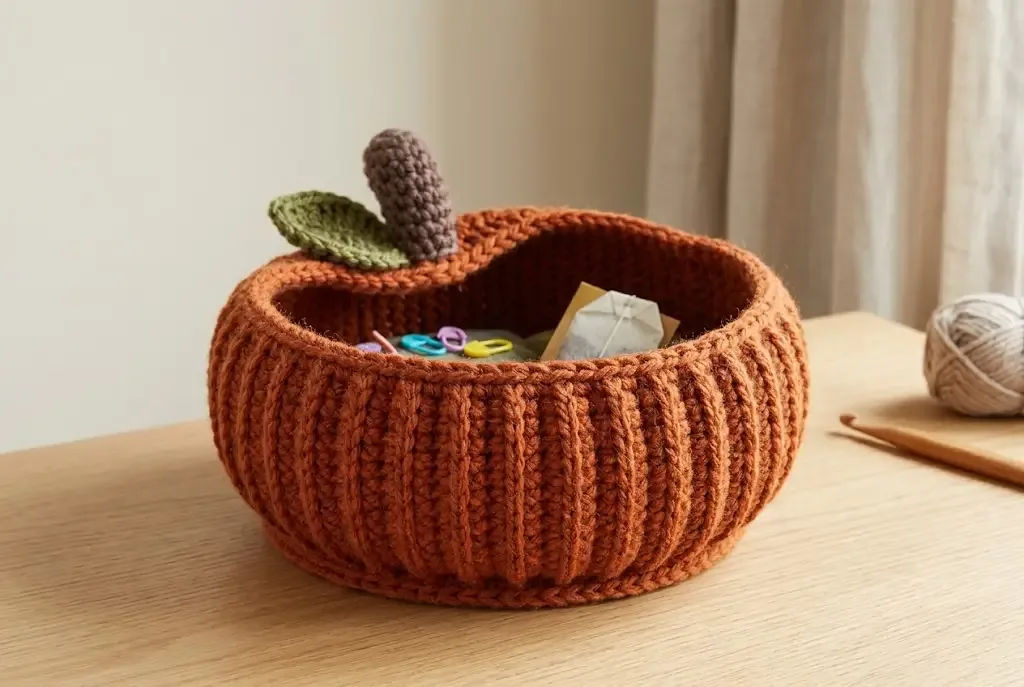
This ribbed crochet pumpkin is a useful little catch-all rather than a purely decorative pumpkin. A flat ribbed panel becomes the basket body, while a round crocheted base gives it a stable shape. Add the stem and leaf for a seasonal finish, or leave them off for an everyday yarn basket.
Before you begin
This is an original basket-style interpretation of the supplied pumpkin photographs. The images do not identify the original yarn, hook, gauge, stitch counts, or whether the pumpkin top shown is a fitted lid. The instructions below use a clearly stated bulky-yarn setup so the project can be made consistently, but make a short swatch and adjust the base or panel before committing to all of the rows.
The basket is worked in three parts: a flat ribbed body panel, a round base, and a small stem-and-leaf finish. The body is worked flat in US single crochet through the back loop only (sc BLO), which creates the vertical ridges visible in the process photograph.
Materials
- 200–250 yd (183–229 m) bulky or super-bulky yarn in pumpkin orange
- Small amounts of brown or taupe yarn for the stem and green yarn for the leaf
- 6.5 mm (K-10½) crochet hook, or the size that gives you a firm fabric
- Tapestry needle, scissors, and four stitch markers
- Optional: a small circle of felt for base reinforcement
Gauge and finished size
Gauge is not critical for a decorative basket, but it controls the opening and base fit. Aim for approximately 9 single crochet stitches and 9 rows in 4 inches (10 cm) of firm sc BLO fabric. The sample measurements are about 10 inches (25 cm) across and 6 inches (15 cm) tall before the stem. If your fabric is looser, use a smaller hook; if it is too stiff to fold comfortably, use a larger hook.
Abbreviations
- ch — chain
- sc — single crochet
- sc BLO — single crochet through the back loop only
- sl st — slip stitch
- st(s) — stitch(es)
Pattern notes
- Turning chains do not count as stitches.
- Work the body panel in rows, turning after every row.
- Work the base in joined rounds; chain 1 at the start of a round does not count as a stitch.
- Keep the body seam and base seam on the inside of the basket.
- The stitch counts below assume the stated 6.5 mm hook and a firm bulky-yarn fabric. Measure the panel against the base before sewing; do not force a mismatch.
Ribbed body panel
- Foundation: Ch 73.
- Row 1: Sc in the second ch from hook and in each ch across. 72 sts.
- Rows 2–14: Ch 1, turn. Sc BLO in each st across. 72 sts.
The panel should measure about 32 inches (81 cm) around and 6 inches (15 cm) tall when wrapped into the basket body. Add or remove two-row increments to change the height; at the stated row gauge, each two-row increment adds roughly 1 inch (2.5 cm). Keep the final row count even if you want the vertical ridges to line up neatly at the seam.
Fasten off, leaving a tail about 18 inches (45 cm) long. Fold the panel so the foundation edge meets the final row. Using the long tail and a tapestry needle, mattress-stitch the short edges together through the corresponding stitch loops. Knot securely and turn the tube right side out so the seam sits inside.
Round base
The base is worked from the center outward. Place a marker at the first stitch of each round and move it up as you work.
- Round 1: Make a magic ring and work 6 sc into it. Join with a sl st. 6 sts.
- Round 2: Ch 1, 2 sc in each st around. Join. 12 sts.
- Round 3: Ch 1, *sc in the next st, 2 sc in the next st; repeat from * around. Join. 18 sts.
- Round 4: Ch 1, *sc in the next 2 sts, 2 sc in the next st; repeat from * around. Join. 24 sts.
- Round 5: Ch 1, *sc in the next 3 sts, 2 sc in the next st; repeat from * around. Join. 30 sts.
- Round 6: Ch 1, *sc in the next 4 sts, 2 sc in the next st; repeat from * around. Join. 36 sts.
- Round 7: Ch 1, *sc in the next 5 sts, 2 sc in the next st; repeat from * around. Join. 42 sts.
- Round 8: Ch 1, *sc in the next 6 sts, 2 sc in the next st; repeat from * around. Join. 48 sts.
- Round 9: Ch 1, *sc in the next 7 sts, 2 sc in the next st; repeat from * around. Join. 54 sts.
- Round 10: Ch 1, *sc in the next 8 sts, 2 sc in the next st; repeat from * around. Join. 60 sts.
- Round 11: Ch 1, *sc in the next 9 sts, 2 sc in the next st; repeat from * around. Join. 66 sts.
- Round 12: Ch 1, *sc in the next 10 sts, 2 sc in the next st; repeat from * around. Join. 72 sts.
Fasten off, leaving a long tail. The finished base should have 72 stitches around its outer edge, matching the 72-stitch lower edge of the body panel. If your personal gauge makes the base too small or large, measure the base diameter against the opening of the body tube before sewing and adjust both pieces together rather than forcing a mismatch.
Assembly
- Turn the body inside out and place the base against the lower edge with right sides facing. Use four markers to divide the base and body into quarters.
- Sew the base to the body with a whipstitch, taking one stitch from the base and one stitch from the body edge at a time. Work slowly around the curves so the fabric does not pucker.
- Turn the basket right side out and push the base gently into its corners. Check that it sits flat before weaving in the joining tail.
- Work the rim and pumpkin details in the continuation section below.
Shape the pumpkin rim
With the body still joined at the side seam, work one round of single crochet evenly around the top edge. Join with a slip stitch. Do not crochet the rim tightly; the opening should stay comfortable to reach into.
For a softer pumpkin silhouette, thread a length of matching yarn through the outside of the uppermost body round and gently draw in four or five shallow sections. Keep the opening wide enough for the basket’s intended contents.
Add the stem and leaf
For the stem, chain 8 and work 7 single crochet back along the chain. Continue in rows of single crochet until the strip measures about 2½ inches (6 cm), then roll it into a small tube and seam the long edge. Stitch the stem securely to the center of the base or to an optional removable topper.
For the leaf, chain 7. Starting in the second chain from the hook, work a slip stitch, single crochet, half double crochet, double crochet, half double crochet, and single crochet down one side. Chain 1 and repeat the sequence on the opposite side of the foundation chain. Fasten off, weave in the end, and sew the leaf beside the stem.
Finish and use
Weave in every end on the inside of the basket. If you want a firmer base, cut a circle of felt slightly smaller than the crocheted base and place it inside; do not glue it permanently if you plan to wash the basket.
Use the basket for wrapped treats, tea sachets, stitch markers, or other dry, lightweight items. Follow the yarn label for washing and reshape the basket while damp.
Helpful questions
Is this pumpkin a stuffed amigurumi?
No. This version is an open catch-all basket with a stable crocheted base. It is meant to hold small dry items rather than be stuffed and closed like a toy pumpkin.
Can I make the basket taller?
Yes. Add rows to the ribbed body panel before seaming. Each four extra rows adds roughly 1 inch (2.5 cm), depending on your row gauge.
What yarn works best?
Choose a sturdy bulky or super-bulky yarn with enough body to stand up. Cotton, cotton blends, and washable acrylic are practical choices; very soft roving yarn may make a floppy basket.
Can I add a lid?
The supplied photographs suggest a pumpkin-style top may be used as a variation, but they do not establish its exact construction. Make the optional topper below only after measuring your finished basket opening.