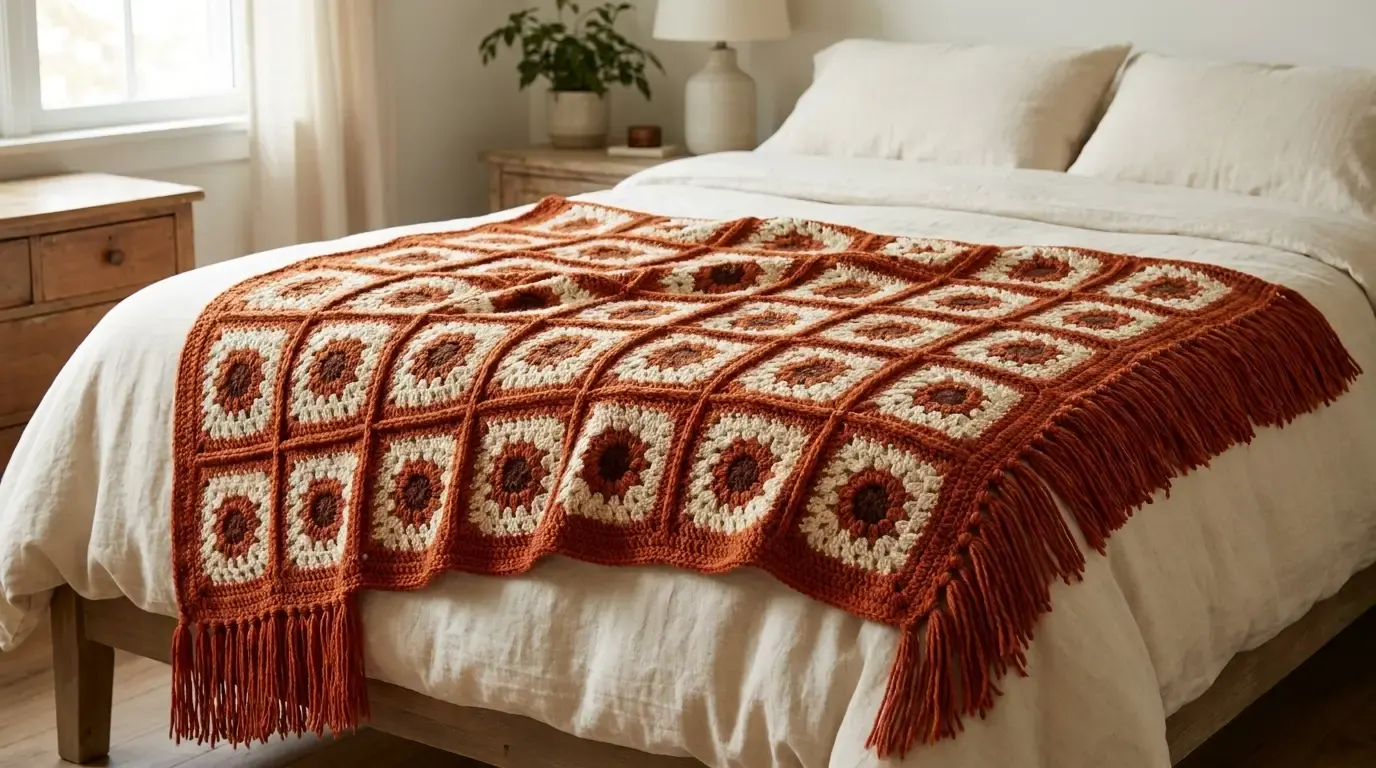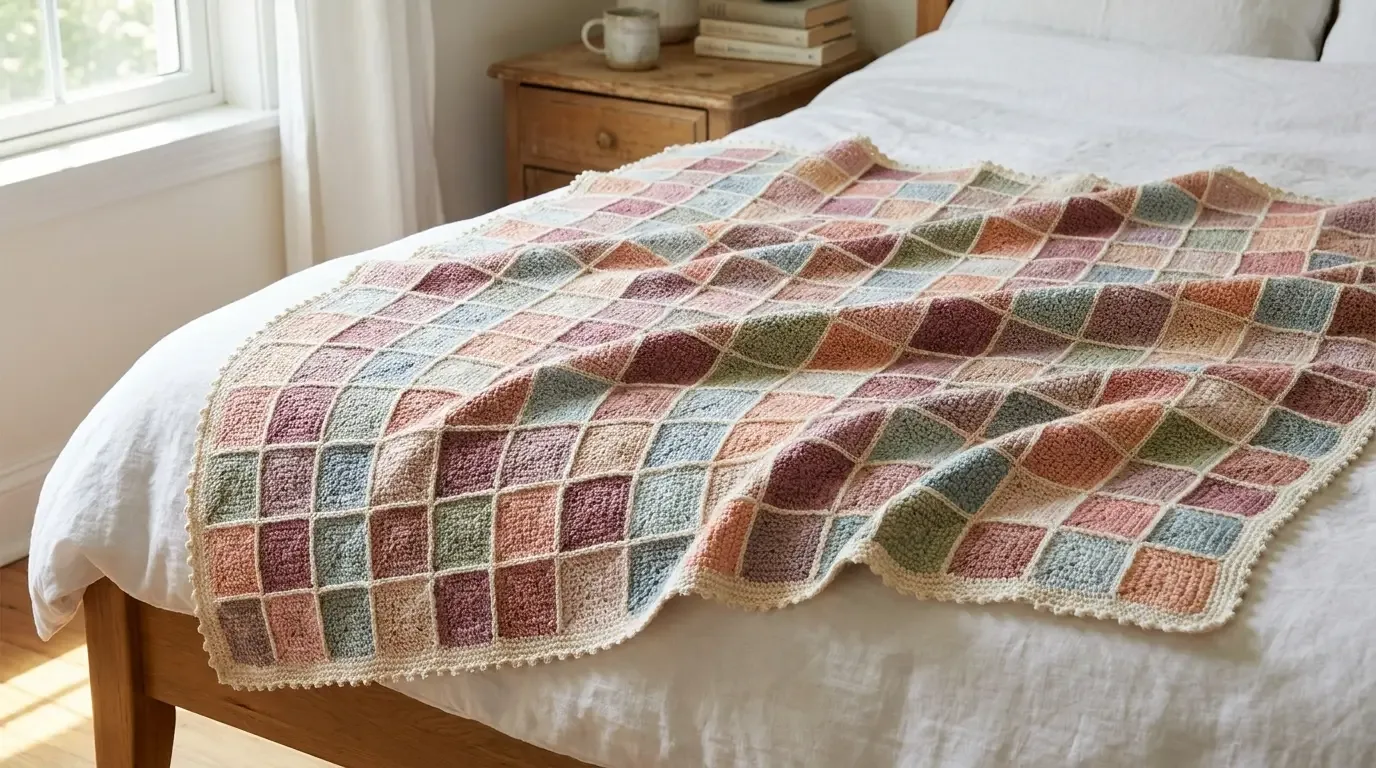
Tiny squares, a calm cream grid, and every shade in the scrap basket come together in Sandra Paul’s beloved Battenberg Blanket. This HookElla showcase explains the public project details and planning choices without reproducing the original pattern.
A little blanket with a big heirloom feeling
The Battenberg Blanket is a wonderful answer to the question, “What can I do with all these beautiful leftovers?” Tiny solid granny squares turn odds and ends of 4-ply yarn into a soft, orderly patchwork. Cream squares and cream joins calm the changing colours, so even a very varied stash looks intentional.
The original design is by Sandra Paul of Cherry Heart. Read the free Battenberg Blanket pattern on Ravelry and Sandra’s Battenberg Blanket finale post for the complete pattern, tutorials, diagrams, and border instructions. This HookElla article is an original inspiration and planning guide, not a replacement for those instructions.
What makes the Battenberg layout work
Each motif is a tiny solid granny square, worked in a single colour. A second set is made in off-white. Alternating the colourful and neutral squares creates the cake-like checkerboard effect while the pale grid gives the eye somewhere to rest. The modular join-as-you-go approach means the blanket grows as you crochet instead of leaving a mountain of finished motifs to sew together at the end.
Sandra’s completed project contains 1,020 squares in a 34-by-30 rectangle. Each square is about 5 cm (2 in), and the finished blanket measures approximately 180 × 156 cm (70 × 62 in). Those figures are useful targets, but your own gauge and yarn will determine the final dimensions.
Materials and gauge planning
For the documented version, gather:
- assorted 4-ply/fingering-weight scraps for the colourful squares;
- an off-white 4-ply or light sport yarn for the neutral squares, joins, and border;
- a 3.0 mm crochet hook, or the hook that gives a firm 5 cm square;
- yarn needle, scissors, and removable markers.
Sandra used Drops Merino Baby Off White for the pale work and approximately 3,200 m (3,500 yd) of colourful yarn plus 4,470 m (4,892 yd) of white yarn for the large blanket, including about 350 m (382 yd) in the border. Those quantities are a reference for a bed-sized version, not a requirement for a small throw.
Make several test squares before committing to a colour plan. A square that is only a few millimetres larger will multiply into a noticeably wider blanket after hundreds of motifs. Block the test square lightly, measure it across, and keep the same tension for both colour groups.
Building the colour story
The most successful palettes combine many related shades with one dependable neutral. Dusty rose, faded peach, sage, denim, lavender, ochre, and muted teal all work beautifully beside cream. Try sorting scraps into warm, cool, and “bridge” colours, then distribute them rather than placing similar shades in one corner.
The neutral squares do more than fill gaps: they create the visual rhythm. Keep their yarn consistent if possible, and reserve enough of the same dye lot for the join and final border. If you run short, a slightly warmer or cooler cream can be used deliberately as a design stripe rather than mixed randomly.
Construction overview (without reproducing the pattern)
1. Make the two motif families
Work a small solid granny square in each scrap colour, then make an equal number in off-white. The original pattern uses three rounds for the motifs. Keep the corners crisp and the four sides straight; uneven corners make the join ripple.
2. Join as you go
Sandra’s modular method connects a new square to its neighbours while the motif is being crocheted. The result is a tidy, flexible seam with far fewer loose ends than sewing 1,020 squares after the fact. Because the join is structural, follow the original tutorial for the exact loop placement and order of connections.
Plan the first few rows on a table. Alternate colour and neutral squares consistently, and photograph the arrangement before continuing. For a smaller blanket, reduce the number of columns and rows while keeping the checkerboard rhythm at the edges.
3. Grow a balanced rectangle
The blanket is worked in modular strips/sections until the planned rectangle is complete. Check the diagonal measurement every few rows: if the fabric starts to pull into a trapezoid, pause and correct the most recent joins before adding more motifs.
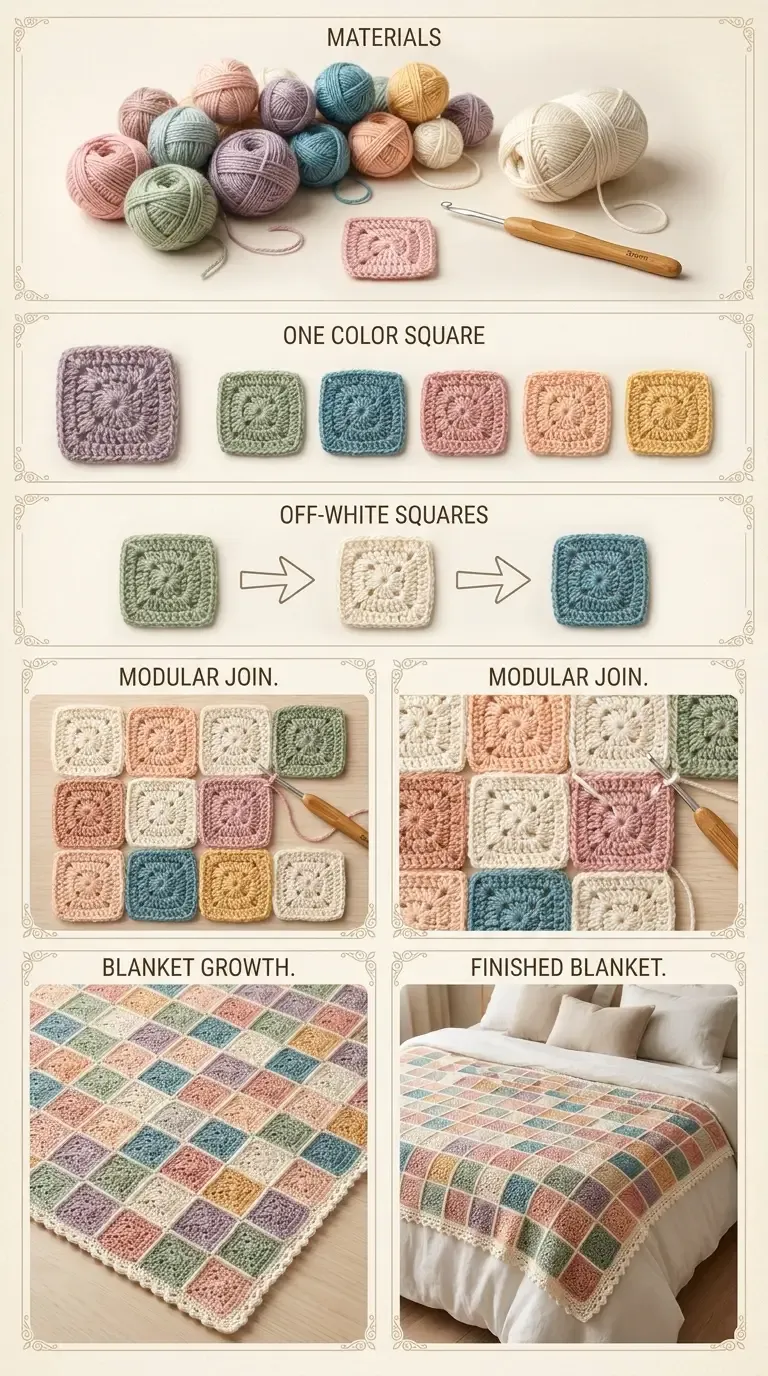
The HookElla construction image is a visual planning aid. Sandra Paul’s original pattern controls the exact square and joining instructions.
The border and final finish
The original blanket is finished with a simple cream border and a delicate picot-like edge that echoes the pale “marzipan” frame around a Battenberg cake. Work the border only after the main fabric has relaxed and the corners lie square. Ease extra fullness around a corner rather than forcing stitches into a tight turn.
Before the last round, weave in ends on the wrong side and lightly block the blanket to its intended rectangle. Pin through the cream join lines, not the open corners, and let the blanket dry completely. Shape each small edge point with your fingers; aggressive stretching can make the tiny motifs look distorted.
Resizing ideas
For a baby blanket, begin with a modest grid such as 12 × 16 or 15 × 20 squares and use the same alternating colour/neutral principle. A lap blanket can be made wider without making it very long by adding columns. Always calculate border yardage from the new perimeter and make a few spare squares for repairs.
If you change yarn weight, expect the square count and hook size to change too. A larger hook with DK yarn will create a faster, larger blanket, but it will no longer match the documented 5 cm gauge. The safest workflow is: swatch, block, measure, then choose the grid.
Troubleshooting
- Squares do not match: block them before joining and check that every motif has the same round count.
- The join puckers: loosen the joining tension or revisit the loop placement in Sandra’s tutorial.
- The blanket waves: the neutral and colour squares may be different sizes; measure both families.
- The edge is crooked: count columns and rows before adding the border, then square the blanket with gentle blocking.
- Colours look chaotic: reserve cream for every alternate position and spread strong colours apart.
FAQ
The original pattern is free and includes the full written instructions, photo guidance, diagrams, and modular-join videos. Use HookElla’s overview to plan your yarn and layout, then work from Sandra’s source for the technical steps.
For more modular inspiration, browse HookElla’s Rosy Heirloom Motif Blanket or explore the Blankets & Home collection.
The Battenberg Blanket rewards slow, satisfying crochet: one tiny square, one gentle join, and one more scrap rescued from the stash. With Sandra Paul’s free pattern beside you, the finished piece can become a colourful bedspread, a thoughtful handmade gift, or an heirloom that records years of favourite yarn.
Helpful questions
Who designed the Battenberg Blanket?
Sandra Paul of Cherry Heart designed the original Battenberg Blanket. HookElla’s post is an independent showcase, with credit and links to Sandra’s free pattern.
What does Battenberg mean in this crochet design?
The name refers to the checkerboard impression of colourful and pale squares, inspired by Battenberg cake. It is a visual description, not a copied recipe or tutorial.
How many squares are in Sandra’s documented blanket?
The finished project uses 1,020 tiny squares: 510 colourful squares and 510 off-white squares, arranged 34 squares across by 30 down.
What size is the finished blanket?
Sandra reports approximately 180 × 156 cm, or 70 × 62 inches, with each square close to 5 cm (2 inches).
What yarn and hook are listed?
The project uses assorted 4-ply/fingering yarn for the colourful motifs, Drops Merino Baby in Off White for the pale squares and border, and a 3 mm hook. Adjust the hook to suit your yarn and keep every square identical.
Is the full modular joining method included here?
No. This article intentionally omits the full written pattern, joining tutorial, diagrams, and border instructions. Use Sandra Paul’s free original pattern and tutorials for those details.
Can I make a smaller blanket?
Yes. A baby or lap version can use the same two-square colour system with fewer rows and columns. Make a test block, decide the finished dimensions, and plan a balanced border before joining the final row.