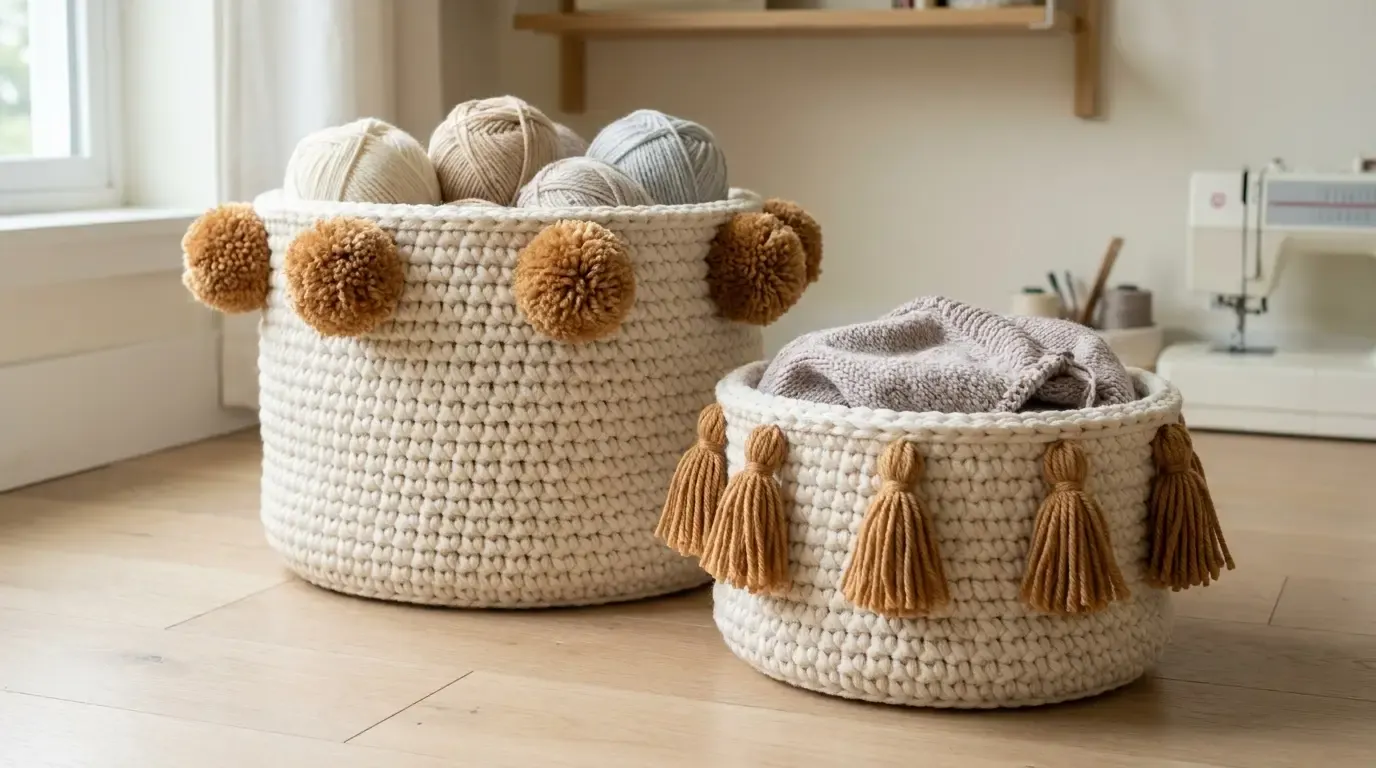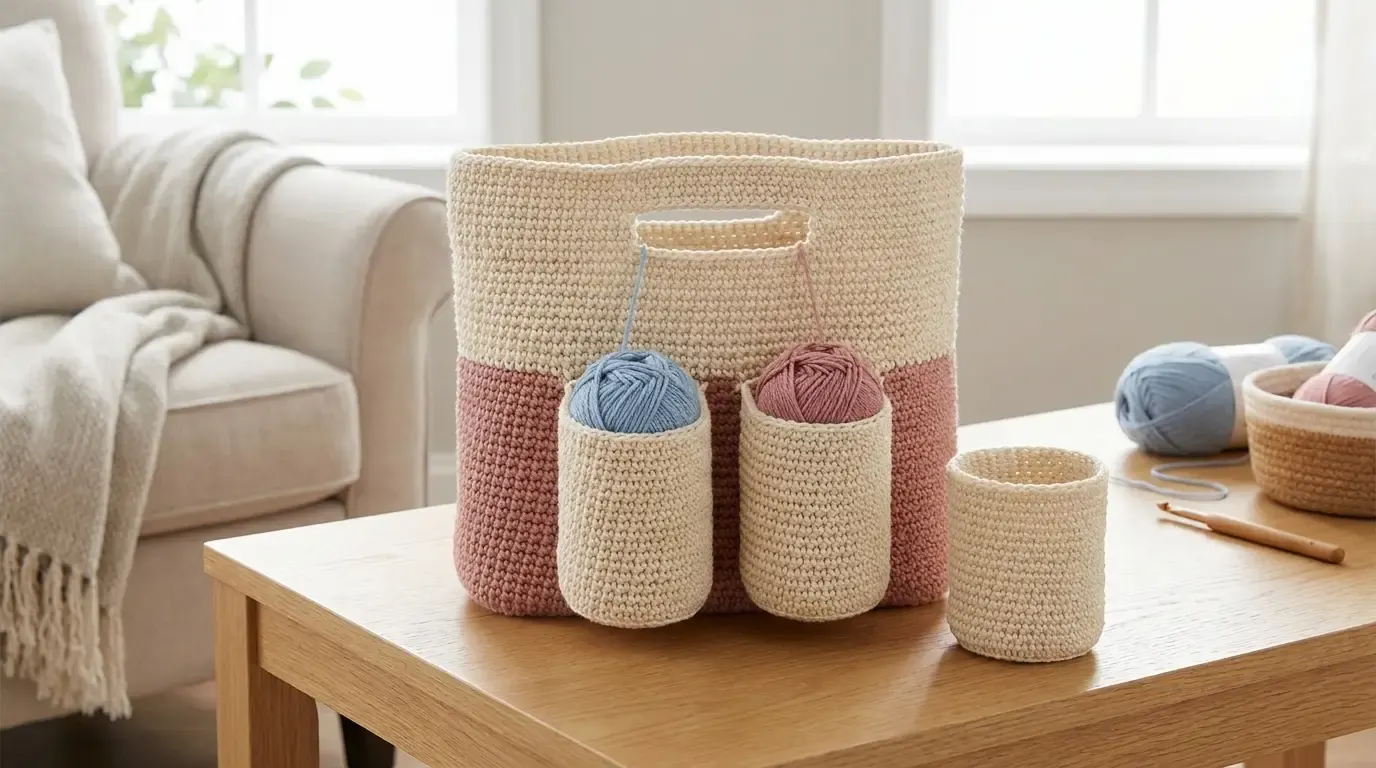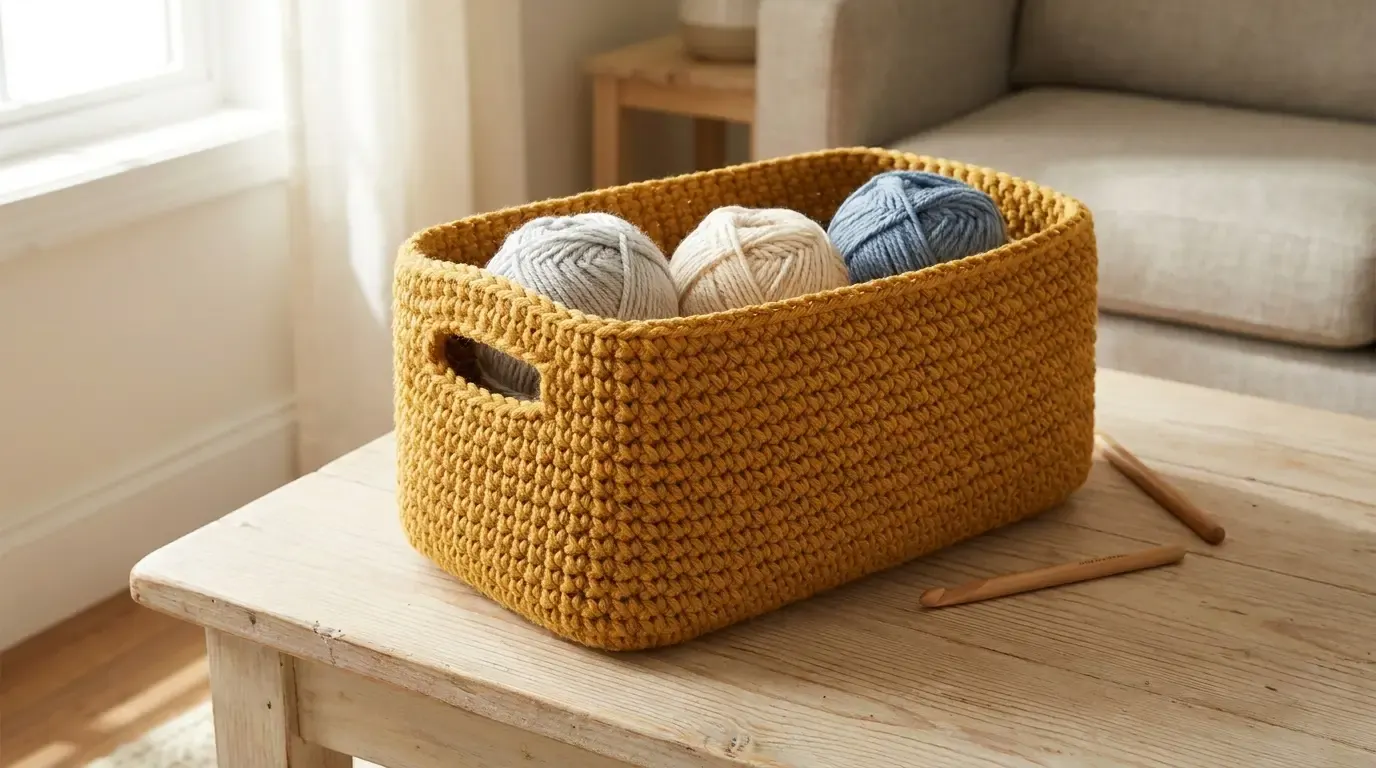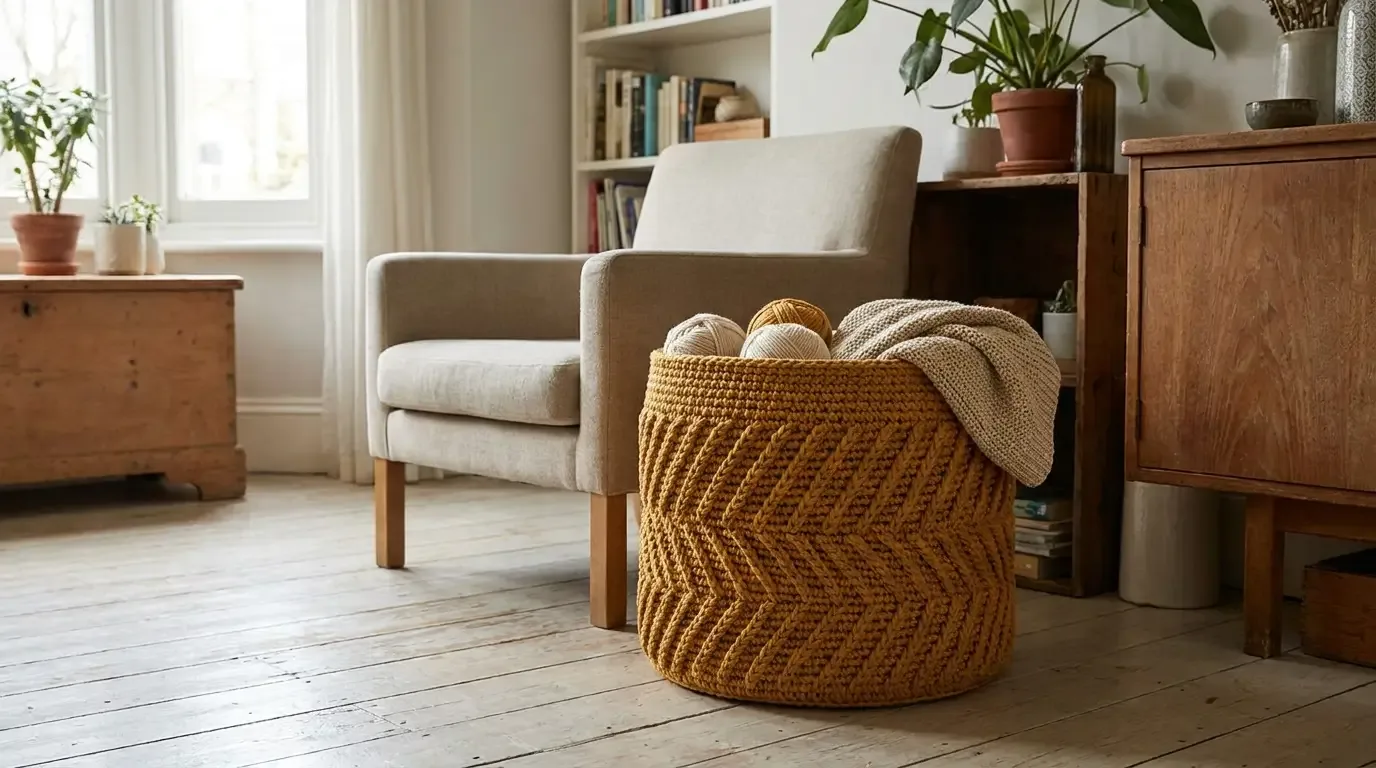
Thick yarn, a tight fabric, and one clever long stitch turn this basket into practical floor storage with a graphic chevron surface. The base is built in waistcoat single crochet, the sides continue without seams, and two built-in handles make the finished basket easy to move when it is empty.
A bold basket built from one continuous piece
This Chunky Chevron Crochet Basket combines a firm waistcoat-stitch circle with a diagonal texture that looks woven from a distance. The basket is large enough for yarn, blankets, or soft toys, yet the construction stays approachable because the base and sides are worked in continuous rounds.
The technical design is by Sarah Ruane of Ned & Mimi. This HookElla article presents the construction in fresh wording and uses only the supplied HookElla images. For the designer’s original tutorial and video support, visit the Chunky Crochet Basket pattern on Ned & Mimi.
Finished measurements and gauge
- Circumference: approximately 34 in (86 cm)
- Height: approximately 7 in (18 cm)
- Base: about 34 in around after 11 waistcoat rounds
- Gauge: approximately 8 stitches × 7 rounds = 4 in (10 cm) over the basket fabric
Basket gauge is flexible, but the hook must create a sturdy fabric. If your stitches are loose and the basket slumps, go down a hook size. If the long stitches are difficult to pull up without distorting the work, use a slightly larger hook or relax your tension.
Materials
- Approximately 250 yd (230 m) category 6 super bulky yarn
- 7.0 mm (L) crochet hook, or the size that gives a firm fabric
- Five stitch markers
- Tapestry needle
- Scissors
The source sample uses a single color, which makes the chevron movement easy to see. Mustard, rust, oatmeal, forest green, charcoal, and warm cream all suit the large-scale texture. A smooth acrylic, recycled T-shirt yarn, or cotton-blend super bulky yarn can work if it holds its shape and does not split when the long stitch is pulled upward.
Abbreviations (US terms)
- blo — back loop only
- ch — chain
- mc — magic circle
- pm — place marker
- sc — single crochet
- sk — skip
- sl st — slip stitch
- st(s) — stitch(es)
- wc — waistcoat single crochet
- long sc2tog — long single crochet two together
Work continuously; do not join rounds unless a finishing instruction says to. Move the first-stitch marker up after each round.
Special stitches
Waistcoat single crochet
Work a single crochet into the vertical “V” at the front of the stitch rather than under the usual top loops. Insert the hook between the two legs of that V, yarn over, pull up a loop, yarn over, and draw through both loops. The result is a dense, knit-like fabric.
Long sc2tog
This decrease creates the diagonal line. First work two regular sc stitches as established in the round. Working back over those stitches, insert the hook into the first leg’s stitch one round below and pull up a long loop to the height of the current round. Insert the hook into the next stitch two rounds below, pull up a second long loop, then yarn over and draw through all three loops.
The long loops should be tall but relaxed. If they are tight, the chevrons pull the basket inward; if they are too loose, the texture becomes floppy.
Build the waistcoat base
The base is a flat circle. Keep the center closed firmly and work all rounds without joining.
- Round 1: Make an mc, ch 1, and work 6 sc into the ring. Pull the tail closed. 6 sts.
- Round 2: Work 2 wc in every stitch. 12 sts.
- Round 3: *2 wc in the next st, wc in the next st; rep from * around. 18 sts.
- Round 4: *2 wc in the next st, wc in the next 2 sts; rep from * around. 24 sts.
- Round 5: *2 wc in the next st, wc in the next 3 sts; rep from * around. 30 sts.
- Round 6: Wc in the first 2 sts, *2 wc in the next st, wc in the next 4 sts; rep from * until 3 sts remain, 2 wc in the next st, wc in the final 2 sts. 36 sts.
- Round 7: *2 wc in the next st, wc in the next 5 sts; rep from * around. 42 sts.
- Round 8: Wc in the first 3 sts, *2 wc in the next st, wc in the next 6 sts; rep from * until 4 sts remain, 2 wc in the next st, wc in the final 3 sts. 48 sts.
- Round 9: *2 wc in the next st, wc in the next 7 sts; rep from * around. 54 sts.
- Round 10: Wc in the first 4 sts, *2 wc in the next st, wc in the next 8 sts; rep from * until 5 sts remain, 2 wc in the next st, wc in the final 4 sts. 60 sts.
- Round 11: *2 wc in the next st, wc in the next 9 sts; rep from * around. 66 sts.
- Round 12: Sl st in each stitch around. Join to the beginning with a sl st or use a seamless join. 66 sts.
The base should lie flat and feel dense. Measure around the outer edge; it should be close to 34 inches. If it is smaller, add another increase round in the same six-stitch rhythm. If it ripples, check that every increase round contains six increases.
Turn the basket walls upward
The side section begins directly from the base so there is no separate seam.
- Side Round 1: Ch 1. Working in the back loop only of the final base round, sc in every stitch. 66 sts. Do not join.
- Side Round 2: Sc in the first 2 sts and place a marker in the first sc. Work 1 long sc2tog, then skip the stitch behind that decrease. Repeat sc in the next 2 sts, long sc2tog, skip the stitch behind the long decrease around. Do not join.
- Side Round 3: Sc in the first 3 sts and move the marker to the first sc. Work the long sc2tog and skip the stitch behind it. Repeat sc in the next 2 sts, long sc2tog, skip the stitch behind it until 2 stitches remain. Sc in the final 2 sts, then make one last long sc2tog reaching into the marked stitch two rounds below. Skip the stitch behind it. Do not join.
- Side Rounds 4–9: Repeat Side Round 3. Keep the long decreases aligned with the previous chevron paths and maintain 66 stitches around.
At this point the walls should be approximately 5½–6 inches high. Keep the basket upright while working so you can see whether the diagonal texture is leaning consistently rather than spiraling randomly.
Add the integrated hand openings
Mark the handle positions before beginning the next round. With 66 stitches, place markers in stitches 15, 22, 48, and 55. Each pair marks an eight-stitch section that will become an opening.
Side Round 10: Continue the established chevron rhythm until the first marked section. Work the final sc before the marker, chain 10, and skip the next 8 stitches. Continue the chevron pattern around to the second marked section and repeat the same chain-10 opening. Finish the round without joining.
The chain spaces create the two openings. Keep both chains relaxed but not loose enough to sag. If you prefer smaller handles, chain 8 and skip 6 stitches; if you make a change, use the same adjustment on both sides.
Side Round 11: Slip stitch around the basket until reaching the first chain-10 space. Work 11 sc into that space to form a firm handle bridge. Slip stitch to the second opening, work 11 sc into it, then slip stitch around the remaining top edge. Join with a slip stitch to the beginning. Fasten off.
The top edge should now measure approximately 7 inches above the base, with two integrated openings. Reinforce the first and last stitches around each handle by weaving the yarn tail through the surrounding wall stitches.
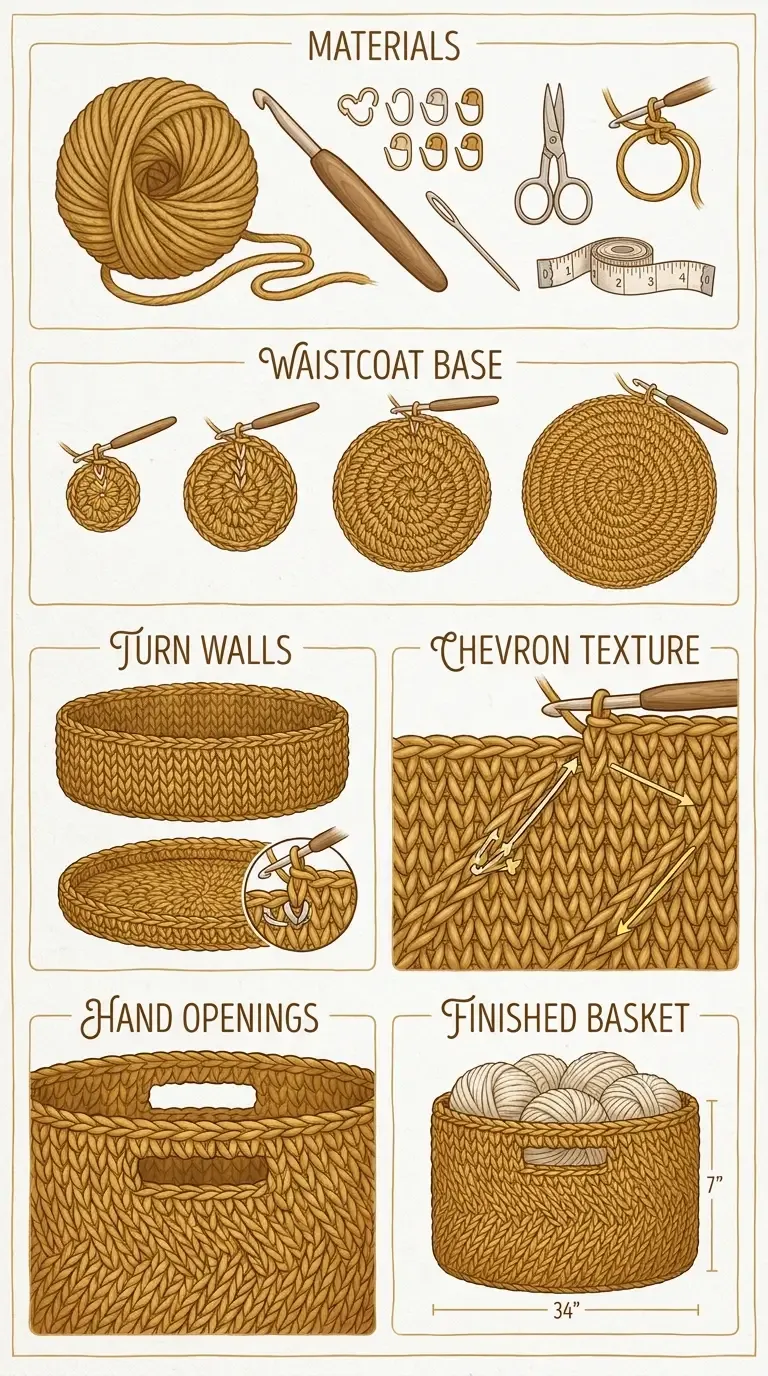
The HookElla construction image is a visual guide to the sequence; the written stitch definitions above control the placement of the long decreases.
Shape and finish
Weave in both ends on the inside of the basket. Stand the basket on a flat surface and gently push the base outward until it sits level. Fill it with soft items or place it around a bowl while it relaxes into shape.
Do not block super bulky acrylic with high heat. If the walls need a little support, use a removable fabric liner or a fitted cardboard insert beneath the contents rather than coating the crochet with glue.
Resizing the basket
The original construction makes resizing straightforward:
- Smaller diameter: Stop the base after an earlier six-stitch increase round, then begin Side Round 1 from that stitch count. Adjust the handle positions evenly around the new circumference.
- Larger diameter: Continue the base with additional rounds, adding six stitches per round. Keep the circle flat before turning upward.
- Shorter or taller walls: Repeat or remove Side Round 3 before the handle round. Maintain the same chevron rhythm so the diagonal paths stay continuous.
- Handle placement: Keep the two openings opposite one another. Mark them after counting the complete circumference rather than guessing from the visible spiral seam.
Because the long sc2tog reaches into earlier rounds, make a small test section after changing the stitch count. Confirm that the decrease lands cleanly before committing to the full wall height.
Troubleshooting
- Base cups or ruffles: Check the six increases in every increase round and use a hook that gives a flatter circle.
- Waistcoat stitches split: Insert the hook through the center of the front V, not through only one leg, and use a blunt hook tip if the yarn is dense.
- Chevron lines look broken: The long sc2tog must reach one round below for its first leg and two rounds below for its second leg. Keep the long loops at the current-round height.
- Basket leans: Mark the first stitch and count the side rhythm. A missed skip behind a long decrease can shift the entire pattern.
- Handles stretch: Reinforce the chain-space edges and keep the basket contents light. For heavier storage, add a fabric liner with its own handles.
Uses and care
The finished basket is useful for blankets, yarn cakes, soft toys, scarves, or a small stack of cushions. Avoid sharp tools, heavy books, wet laundry, or anything that could overload the integrated openings.
Follow the yarn label for cleaning. Spot clean when possible, reshape the empty basket by hand, and air dry completely. If the yarn is washable, use a gentle cycle in a laundry bag and support the basket while it is wet so the base does not stretch.
For more functional home crochet, explore HookElla’s Scrap Yarn Crochet Storage Basket, Fall Into Place Pumpkin Baskets Showcase, and Woodland Mushroom Lidded Basket.
This chunky chevron basket is a satisfying combination of practical shaping and standout texture: a dense waistcoat circle, continuous walls, diagonal long-stitch paths, and handles that are built into the basket rather than sewn on afterward.
Helpful questions
Who designed the original Chunky Chevron Basket?
The original design is by Sarah Ruane of Ned & Mimi. This HookElla version uses original wording and the supplied HookElla images while crediting and linking the source pattern.
What size is the finished basket?
The sample is approximately 34 inches around and 7 inches high. The base is about 34 inches in circumference after 11 waistcoat rounds.
What yarn and hook are recommended?
Use approximately 250 yards of category 6 super bulky yarn and a 7 mm L hook, adjusting the hook for a dense but workable fabric.
What creates the diagonal chevron texture?
The side rounds combine ordinary single crochet with a long single crochet two together that reaches down into earlier rounds. The staggered long decreases make the raised diagonal paths.
Can I change the basket diameter?
Yes. Add or remove base rounds, increasing by six stitches per round, then begin the side section when the circle reaches the desired circumference. Keep the fabric dense and check the stitch rhythm before continuing.
Are the handles strong enough for heavy loads?
The integrated openings are designed for moving an empty or lightly filled basket. Do not lift the basket with heavy books, wet laundry, or anything that could strain the stitches.